


10
English
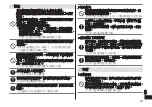
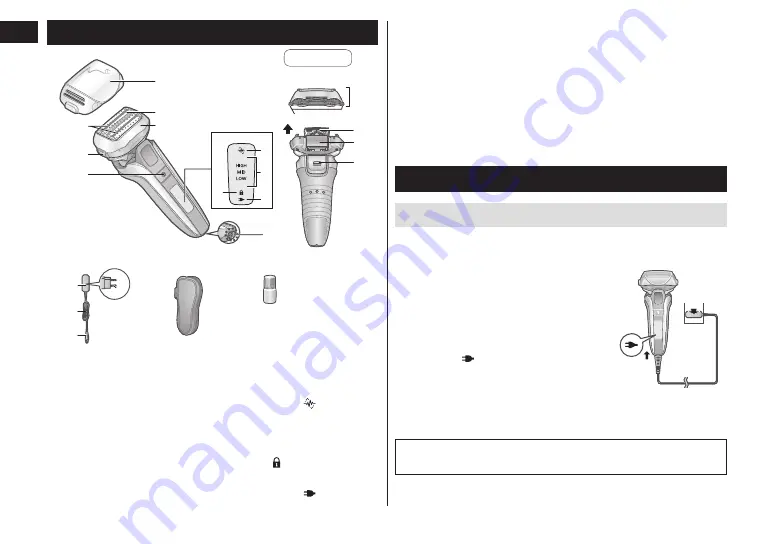
Parts identification
a
c
b
d
Back
A
Main body
1
Protective cap
2
System outer foil
3
Foil frame
4
Smooth rollers
• They help to glide
over the skin more
easily.
5
Foil frame release
buttons
6
Power switch
7
Lamp display
a. Shaving sensor
lamp ( )
b. Battery capacity
lamp
c. Switch lock lamp
( )
d. Charge status
lamp ( )
Appliance socket
Outer foil section
System outer foil
release buttons
Inner blades
Trimmer
Trimmer handle
B
AC adaptor (RE7-87)
Adaptor
Power plug
Cord
Appliance plug
Accessories
C
Travel case
D
Oil
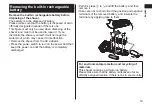
Preparation
Charging the shaver
•Turn the shaver off.
•Wipe off any water droplets on the appliance socket.
1
Insert the appliance plug
into the shaver�
2
Plug the adaptor into a
household outlet�
•Check that the charge status
lamp ( ) is glowing.
•Charging is completed after
approx. 1 hour.
3
Disconnect the adaptor
after charging is completed�
2
1
Note
You cannot operate the shaver while charging.
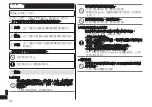
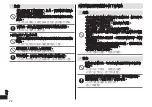
Содержание ES-LV5U
Страница 1: ...Operating Instructions Household use Rechargeable Shaver Model No ES LV5U English 3 21...
Страница 2: ...2...
Страница 21: ...21 Panasonic ES LV5U 22 25 26 26 27 29 30 31 31 33 33 34...
Страница 22: ...22 Panasonic Panasonic...
Страница 23: ...23 26...
Страница 24: ...24...
Страница 25: ...25 Panasonic 26 Panasonic...
Страница 26: ...26 a c b d A 1 2 3 4 5 6 7 a b c d B RE7 87 C D 1 2 1 3 2 1 3...
Страница 27: ...27 LOW MID HIGH 5 6 10 35 2 20 30 3 1...
Страница 28: ...28 2 LOW HIGH 5 LOW LOW 2 3 5 2 29 1 2 2 3 5 1 2 2 5...
Страница 29: ...29 1 2 a 1 2 2 20 3 30 4...
Страница 30: ...30 5 1 2 3 4 1 2 1 2...
Страница 31: ...31 Panasonic ES LV5U WES9181 WES9170 6 6 1 Panasonic 28 30...
Страница 32: ...32 29 1 2 2 3 5 29...
Страница 33: ...33 30 1 2 3 Panasonic 1 5...
Страница 34: ...34 3 6 V...
Страница 35: ...35 MEMO...