


- 31 -
Preparation
[TRAVEL DATE]
Set the departure date and return date of your vacation. The
number of days which have passed since the departure date (i.e.
what day of the vacation it is) is then recorded when you take
pictures and can be displayed at playback. You can stamp your
pictures with this information using [TEXT STAMP]
.
[OFF]/[SET]
∫
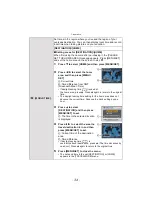
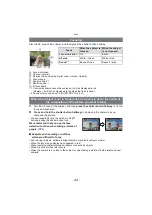
Setting the travel date
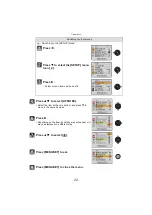
1
Press
4
to select [SET] and then
press [MENU/SET].
2
Press
3
/
4
/
2
/
1
to set the departure
date, and then press [MENU/SET].
3
/
4
: Select the month
2
/
1
: Select the date
3
Press
3
/
4
/
2
/
1
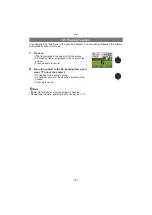
to set the return
date, and then press [MENU/SET].
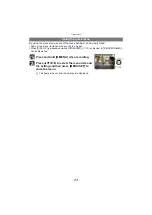
• The frames of dates from the departure
date to the return date undergo a color
change.
4
Press [MENU/SET] to close the
menu.
• The departure date and return date you have set appear in the
[TRAVEL MODE] menu.
∫
Canceling the travel date
These settings are canceled automatically when the current date
passes the return date. To cancel the settings part-way through
your vacation, set [TRAVEL DATE] to [OFF] in Step
1
of “Setting
the travel date”. Note that when [TRAVEL DATE] is [OFF],
[DESTINATION]
is also set to [OFF] automatically.