15
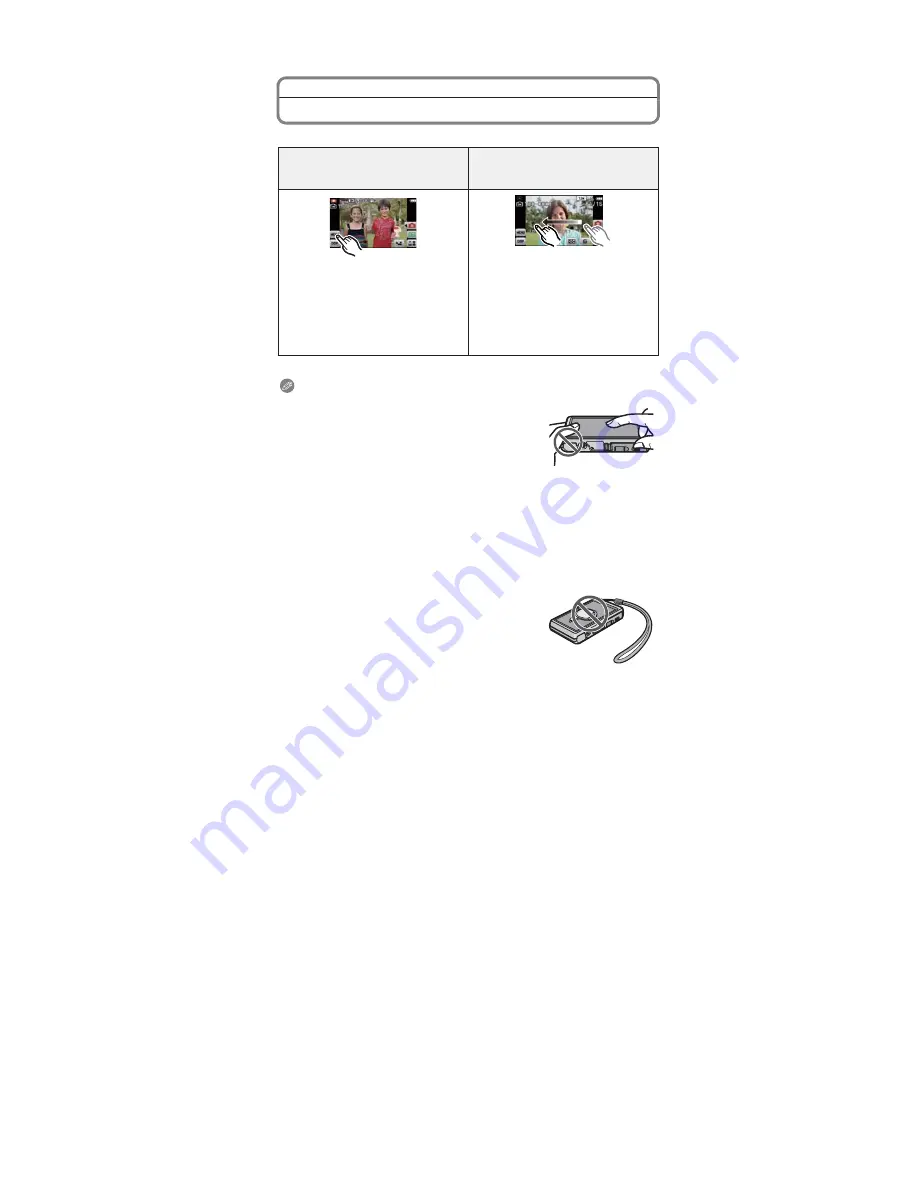
How to Use the Touch Panel
This touch panel is a type that detects pressure.
Touch the screen
To touch and release the touch panel.
Drag
A movement without releasing the
touch panel.
Use this to perform tasks such as
selecting icons or images displayed on
the touch panel.
It may not operate properly when
multiple icons are touched
simultaneously, so try to touch the
center of the icon.
This is used when performing tasks
such as moving to the next image by
dragging horizontally, or changing the
range of the displayed image.
This can also be used to perform tasks
such as switching the screen by
operating the slide bar.
Note
If you use a commercially available liquid crystal
protection sheet, please follow the instructions that
accompany the sheet. (Some liquid crystal protection
sheets may impair visibility or operability.)
Apply a little extra pressure
when touching if you
have a commercially available protection sheet affixed
or if you feel it is not responding well.
Touch panel will not operate properly when the hand holding this unit is pressing
on the touch panel.
Do not press using anything with a sharp tip or anything hard, except for the
supplied stylus pen.
Do not operate with your fingernails.
Wipe the LCD monitor with dry soft cloth when it gets dirty with finger prints and
others.
Do not scratch or press the LCD monitor too hard.
■
About the Stylus pen
It is easier to use the stylus pen (supplied) for detailed
operation or if it is hard to operate with your fingers.
Do not place it where small children can reach.
Do not place the stylus pen on the LCD monitor when
storing. LCD monitor may break when the stylus pen
is pressed strongly against the LCD monitor.
Содержание DMC-FX77EB
Страница 13: ...13 4 Specifications ...
Страница 19: ...19 3 Error Code List The error code consists of 8 bits data and it shows the following information ...
Страница 25: ...25 Fig D2 8 3 2 Removal of the LCD Unit Fig D3 ...
Страница 26: ...26 8 3 3 Removal of the Touch Panel Unit Fig D4 8 3 4 Removal of the Top Operation Unit Fig D5 ...
Страница 27: ...27 8 3 5 How to remove Flash Top P C B Fig D6 Fig D7 ...
Страница 36: ...36 8 5 6 Install of the Master Flange Unit 8 6 Removal of the Focus Motor ...
Страница 43: ...43 ...
Страница 62: ...S7 2 Packing Parts and Accessories Section 1 S 17 208 212 214 213 207 206 205 201 209 204 200 210 202 ...


