14
Load (L):
The iris camera setting is loaded into the
setup software.
Store (S):
The setting is stored into the iris camera. The
setting is activated when the power is supplied to
the iris camera again or the iris camera is reset.
• Tool (T)
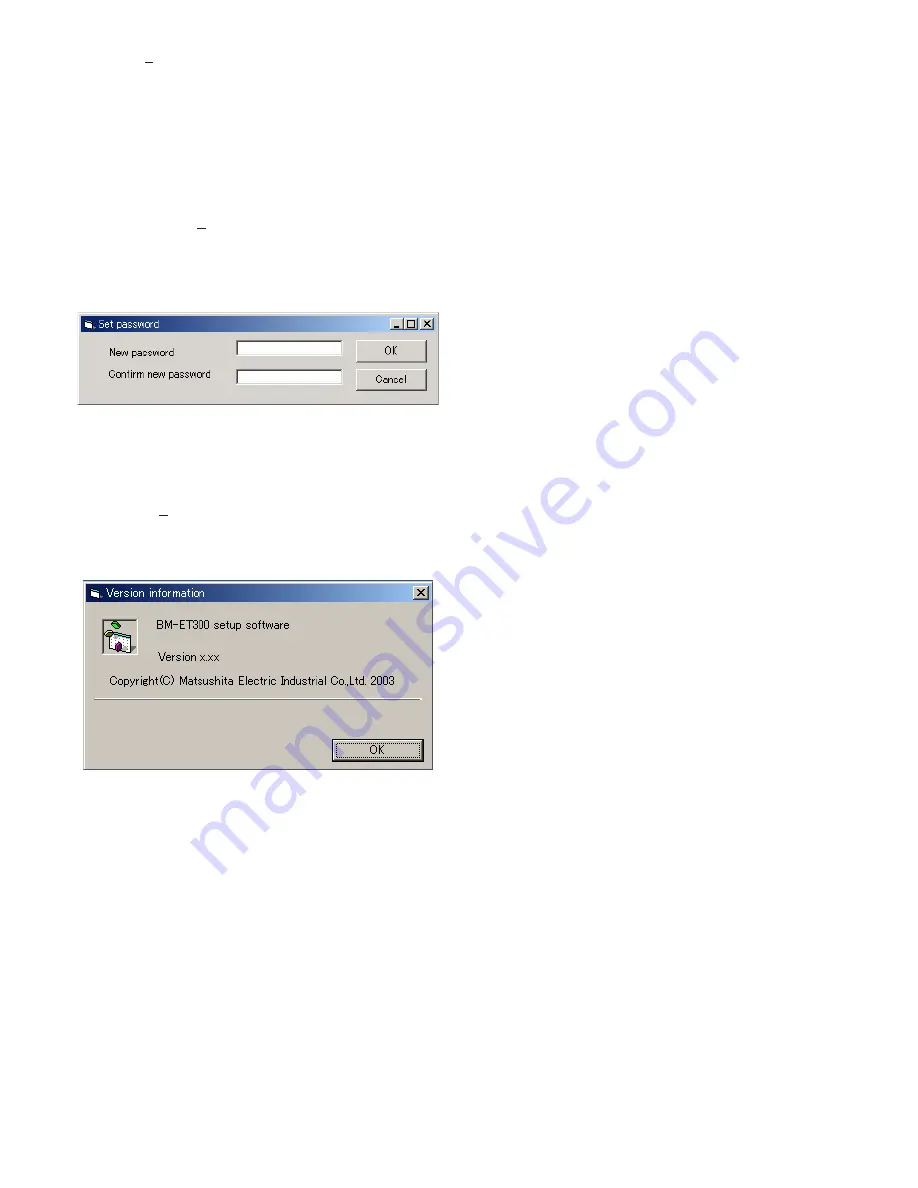
Set password (P):
When you click on this item, the "Set
password" window appears. Then, you will change
the password used for booting the setup software.
(6 to 16 alphanumeric are available.)
Enter a new password in the box "New password".
Then, enter the password again in the box "Confirm
new password". After the entry, click on "OK".
Version (V):
When you click on this item, the version of
the setup software is displayed. When you click
"OK", the window will be closed.
●
Buttons
• Load Button
The setting is loaded from the iris camera into the setup
software.
• Store Button
The setting is stored into the iris camera. The setting is acti-
vated when the power is supplied to the iris camera again
or the iris camera is reset.
• Close Button
The system setup software is quitted.
●
Setting Parameters
Camera ID:
The ID of iris camera is entered in a decimal
number.
1 to 999999999 is available. The ID should be same as
what is set in the administration software.
• Network Setting Parameters
ET300 IP Address:
The IP address of iris camera is
entered.
Server IP Address:
The IP address of iris server is
entered.
Gateway IP Address:
The IP address of gateway of the
network, to which the iris camera is connected, is
entered.
Subnetmask:
The subnet mask of the network, to
which the iris camera is connected, is entered.
• Card Reader Setting Parameters
Card Reader Connection:
This parameter stands for
the existence of a card reader. When a card reader
is connected to the iris camera, "Yes" is selected.
Card Recognition Only:
This parameter is available
only when a card reader is connected.
Yes:
The ID data, which has been output from a
card, is transferred to an access control panel.
The iris recognition is not carried out.
No:
The ID data and iris data are used for recogni-
tion.
When iris recognition is successfully completed:
The ID data is transferred to an access control
panel.
When iris recognition is not successfully com-
pleted: Parity bit is added to the reject ID (men-
tioned later), which is transferred to an access
control panel.


