Chapter 3 Preparation
—
Turning on/off the power
- 33 -
Turning on/off the power
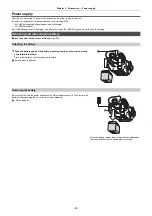
Turning the unit on and off with the power button
1
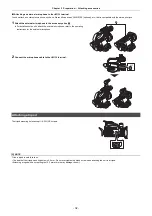
Open the LCD monitor and press the power button to turn on the unit.
A
The status indicator lights on.
∫
To turn off the unit
Hold down the power button until the status indicator goes off.
@
NOTE
0
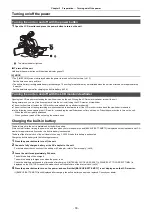
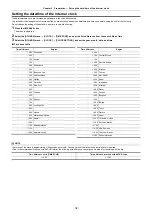
The [TIME ZONE] screen is displayed when the power is turned on for the first time. (
Set the time zone, date, and time.
0
The built-in battery (rechargeable battery) will discharge. The setting for date/time may be initialized when the unit is not turned on for approximately
6 months.
Set the date/time again after charging the built-in battery. (
34)
Turning the unit on and off with the LCD monitor/viewfinder
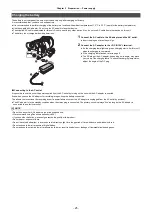
Opening the LCD monitor or extending the viewfinder turns on the unit. Closing the LCD monitor/viewfinder turns off the unit.
During normal use, you may find it convenient to turn the unit on/off using the LCD monitor or viewfinder.
≥
The unit will not turn off unless the LCD monitor is closed and the viewfinder is retracted.
≥
The unit will not turn off during recording or while connected to a network even if the LCD monitor is closed and the viewfinder is retracted.
≥
In the following cases, opening the LCD monitor or extending the viewfinder does not turn on the unit. Press the power button to turn on the unit.
j
When the unit is originally purchased
j
When you have turned off the unit using the power button
Charging the built-in battery
The date/time set in the unit is maintained by the built-in battery.
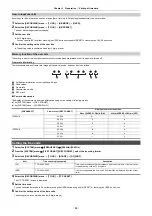
If this unit is left without turning the power on, and then when you turn the power on and [BACKUP BATT EMPTY] is displayed on the viewfinder and LCD
monitor for approximately 5 seconds, the built-in battery is exhausted.
The date of the internal clock of the unit resets to January 1, 2020 if the built-in battery is exhausted.
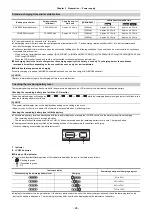
Charge the built-in battery with the following procedure.
1
Press the power button to turn off the unit.
2
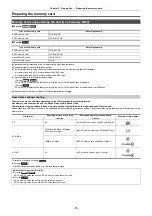
Connect a fully charged battery or the AC adaptor to the unit.
For details about the connection of the battery or AC adaptor, refer to “Power supply”. (
3
Leave the unit for approximately 24 hours.
The built-in battery will be charged.
The built-in battery recharges even when the power is on.
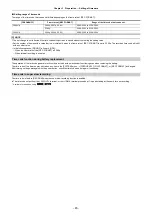
Check the date/time setting and the time code after charging. If [INTERNAL CLOCK HAS RESET] [<PLEASE SET TO CORRECT TIME>] is
displayed on the STATUS screen of the mode check, set the date/time of the internal clock. (
4
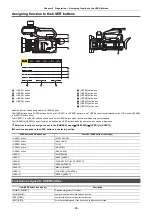
Press the power button to turn on the power, and confirm that [BACKUP BATT EMPTY] is not displayed on the LCD monitor.
If [BACKUP BATT EMPTY] is still displayed after charging, the built-in battery needs to be replaced. Consult your dealer.
Содержание AG-CX7
Страница 8: ...Chapter 1 Overview Before using the unit read this chapter ...
Страница 16: ...Chapter 2 Description of Parts This chapter describes the names functions and operations of parts on the unit ...
Страница 155: ...Chapter 7 Output and Screen Display This chapter describes the screen displayed on the output video and LCD monitor ...
Страница 166: ...Chapter 8 Connecting to External Devices This chapter describes the external devices that can be connected to the unit ...
Страница 172: ...Chapter 9 Network Connection This chapter describes how to use the unit by connecting to a network ...
Страница 188: ...Chapter 10 Notes Maintenance of the unit or frequently asked questions are described ...
Страница 199: ...Chapter 11 Specification This chapter describes the specifications of this product ...
Страница 208: ... Panasonic Corporation 2020 Panasonic Corporation Web site http www panasonic com ...

