


Memorizing the Channels
(Continued)
17
1
Select the channel you want to delete in the
Programme Edit
menu.
Press
RED
button and a delete symbol appears alongside the
selected channel in the list. Press
RED
button again to finish the
delete.
To delete channels
This function allows you to delete your unwanted channels.
Repeat the above steps for more channels you want to delete.
2
3
=
If the Programme Edit menu has more than one page, you may press
5
or
6
to scroll the page upward or downward.
=
The deleted channels cannot be found unless you perform a channel search again.
Note
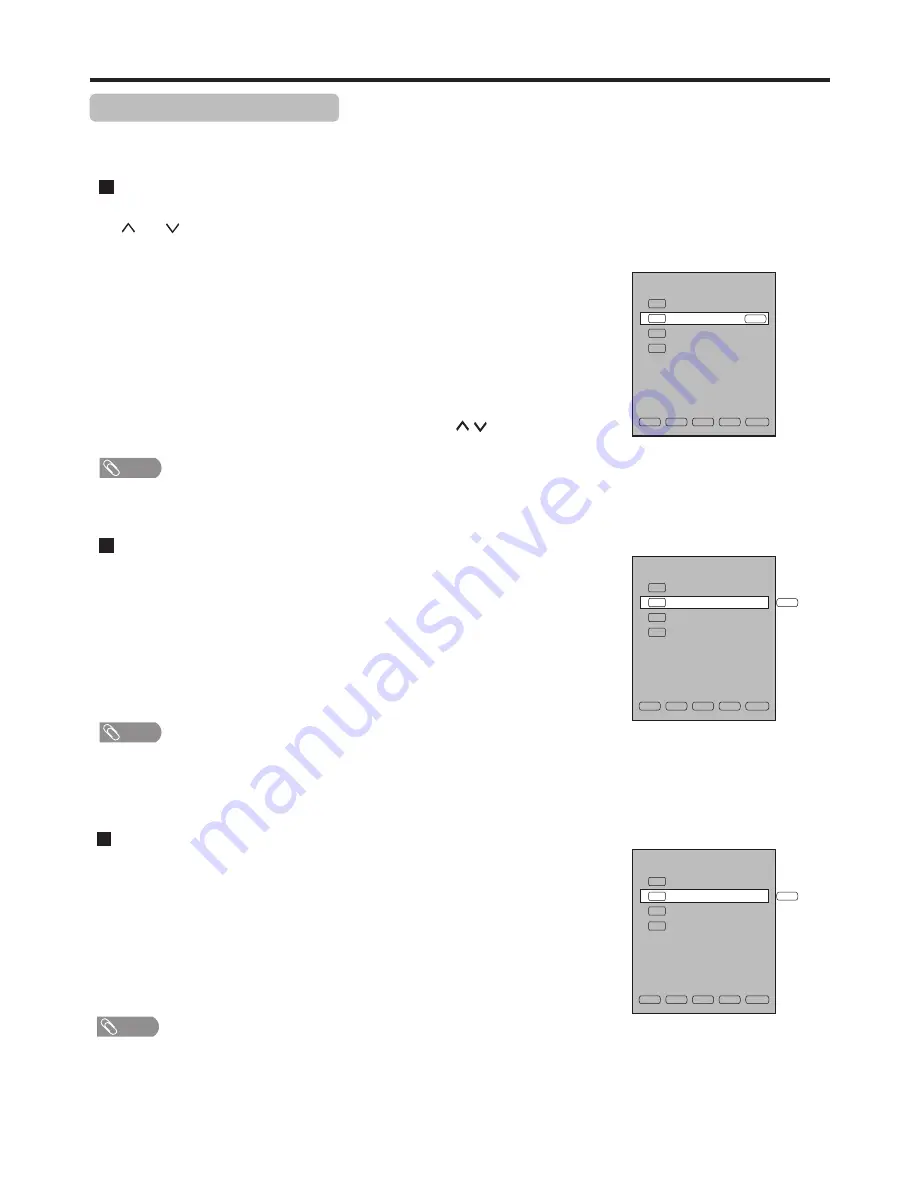
Programme Edit
2
TV
C-42
1
TV
S-03
3
TV
S-04
4
TV
C-04
NAME
DEL
MOVE
SKIP
Fav.List
DEL
Channel List Management
1
Navigate to
Channel
menu
and press
6
or
5
to select
Programme Edit
item
and then press
4
or
OK
to access.
Press
6
or
5
to select your unwanted channel, press
BLUE
button and a skip
symbol appears alongside the selected channel in the list, which means this
channel will be skipped.
=
If the Programme Edit menu has more than one page, you may press
5
or
6
to scroll the page upward or downward.
=
To restore a skipped channel, navigate to the
Programme Edit
menu, select the channel and press
BLUE
button to cancel the skip symbol.
Note
2
3
To skip unnecessary channels
After auto search, you can skip unnecessary channels so that only the channels you want to watch can be selected by
CH / CH .
1
Select the channel you want to move in the
Programme Edit
menu.
To sort channels
This function allows you to arrange the channel order.
Repeat the above steps for each channel you wish to move.
2
3
=
If the Programme Edit menu has more than one page, you may press
5
or
6
to scroll the page upward or downward.
=
The order of the DTV channels is
=
automatically assigned and cannot be changed by user.
There will be no
MOVE
item in DTV mode.
Note
If you want to skip more channels, repeat the above steps to set more skip
symbols to more channels.
Press
EXIT
to quit the list. Now when you press CH / , these unwanted
channels will be skipped.
Programme Edit
2
TV
C-42
1
TV
S-03
3
TV
S-04
4
TV
C-04
NAME
DEL
MOVE
SKIP
Fav.List
SKIP
Programme Edit
2
TV
C-42
1
TV
S-03
3
TV
S-04
4
TV
C-04
NAME
DEL
MOVE
SKIP
Fav.List
MOVE
After auto search, a default channel list is created. You can make use of Programme Edit menu to select program, to skip
unnecessary channels, to delete channels, to sort programs, and to create a favorite channel list.
Press
YELLOW
button and a move symbol appears alongside the
selected channel in the list, then use
5
or
6
to move the channel
upward or downward to a desired new position. Press
YELLOW
button again to finish the sorting.


