background image

POWER SERVICING GROUNDING
ELECTRODE SYSTEM
(NEC ART 250, PART H)

6.

7.

8.

9.

10.

11.

12.

13.

14.

15.

16.

17.

Heat - The appliance should be situated away from heat sources such as radiators, heat registers, stoves, or other
appliances (including amplifiers) that produce heat.

Power Sources -The appliance should be connected to a power supply only of the type described in the operating
instructions or as marked on the appliance.

Grounding or Polarisation -The precautions that should be taken so that the grounding or polarisation means of
an appliance is not defeated.

Power - Cord Protection - Power-supply cords should be routed so that they are not likely to be walked on or
pinched by items placed upon or against them, paying particular attention to cords at plugs, convenience
receptacles, and the point where they exit from the appliance.

Protective Attachment Plug - If the appliance is equipped with an attachment plug having overload protection. This
is a safety feature. See Instruction Manual for replacement or resetting of protective device. If replacement of
the plug is required, be sure the service technician has used a replacement plug specified by the manufacturer
that has same overload protection as the original plug.

Cleaning - The appliance should be cleaned only as recommended by the manufacturer.

Power Lines - An outdoor antenna should be located away from power lines.

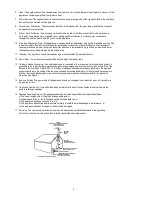
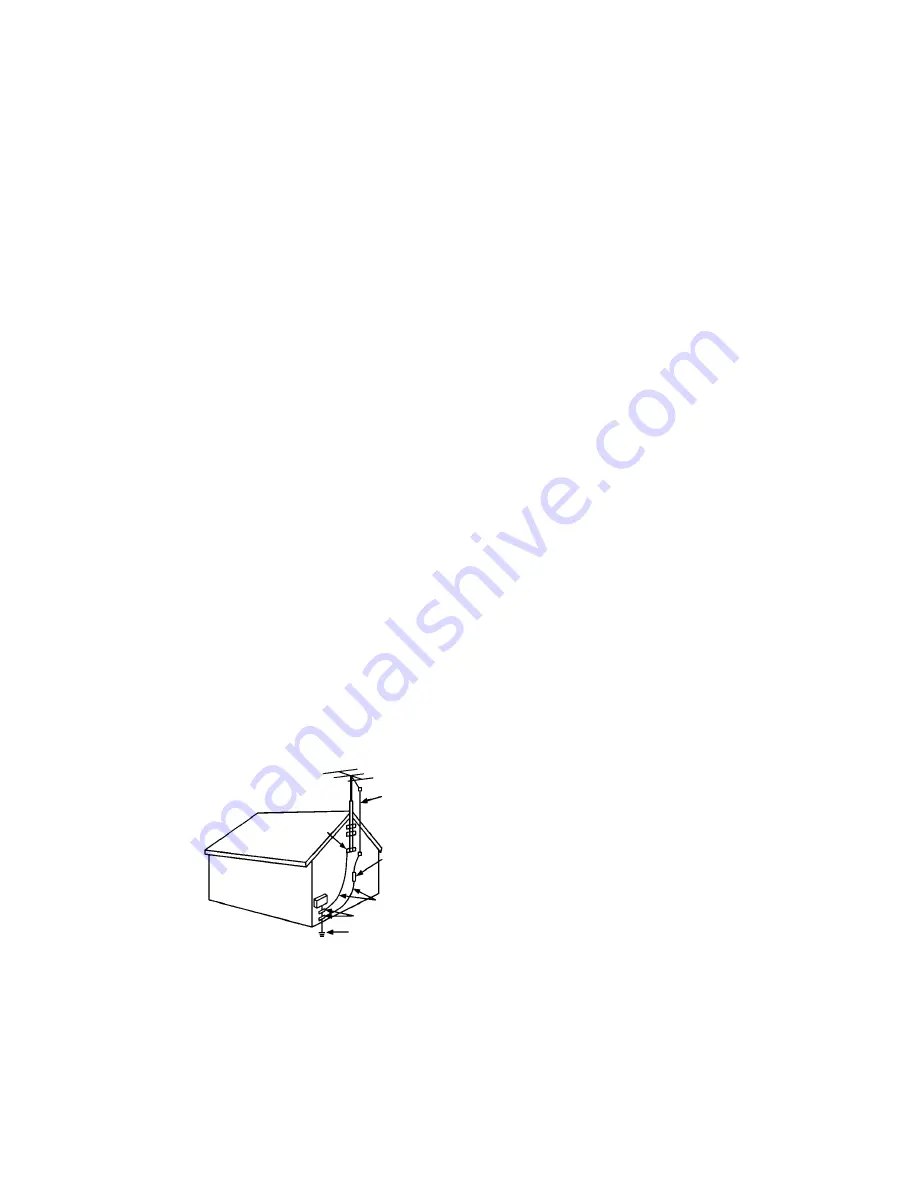
Outdoor Antenna Grounding - If an outside antenna is connected to the receiver be sure the antenna system is
grounded so as to provide some protection against voltage surges and built-up static charges. Article 810 of the
National Electrical Code, ANSI/NFPA 70, provides information with regard to proper grounding of the mast and
supporting structure, grounding of the lead-in wire to and antenna-discharge unit, size of grounding conductors,
location of antenna-discharge unit, connection to grounding electrodes and requirements for the grounding
electrode. See Figure 1.

Non-use Periods -The power cord of the appliance should be unplugged from the outlet when left unused for a
long period of time.

Object and Liquid Entry - Care should be taken so that objects do not fall and liquids are not spilled into the
enclosure through openings.

Damage Requiring Service -The appliance should be serviced by qualified service personnel when:
a) The power-supply cord or the plug has been damaged; or
b) Objects have fallen, or liquid has been spilled into the appliance; or
c) The appliance has been exposed to rain; or
d) The appliance does not appear to operate normally or exhibits a marked change in performance; or
e) The appliance has been dropped, or the enclosure damaged.

Servicing -The user should not attempt to service the appliance beyond that described in the operating
instructions. All other servicing should be referred to qualified service personnel. 

FIGURE 1

EXAMPLE OF ANTENNA GROUNDING 

AS PER NATIONAL

ELECTRICAL CODE

ANTENNA
LEAD IN
WIRE

ANTENNA
DISCHARGE UNIT
(NEC SECTION 810-20)

GROUND CLAMPS

NEC NATIONAL ELECTRICAL CODE

3

GROUNDING CONDUCTORS
(NEC SECTION 810-31)

Содержание PMSM-225

Страница 1: ...ni Component Sound System PMSM 225 PALSONIC CORPORATION PTY LTD 1 JOYNTON AVENUE WATERLOO NSW 2017 AUSTRALIA TEL 02 9313 7111 FAX 02 9313 7555 www palsonic com au PALSONIC CUSTOMER SERVICE TELEPHONE A...

Страница 2: ...Y CAUTION USE OF ANY CONTROLS ADJUSTMENTS OR PROCEDURES OTHER THAN THOSE SPECIFIC HEREIN MAY RESULT IN HAZARDOUS RADIATION EXPOSURE CAUTION TO PREVENT ELECTRIC SHOCK MATCH WIDE BLADE OF PLUG TO WIDE S...

Страница 3: ...is connected to the receiver be sure the antenna system is grounded so as to provide some protection against voltage surges and built up static charges Article 810 of the National Electrical Code ANSI...

Страница 4: ...where there is good ventilation all around you clean the system only with a soft line free cloth do not use aggressive or alcohol based cleaning agents you disconnect the power supply if the system ap...

Страница 5: ...onnected device Recording CDs with synchro start Recording from another tape dubbing Timer and clock Installation connections Appendix Setting the clock Displaying the time Setting the timer Timer tap...

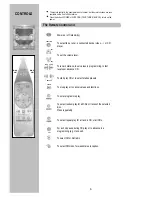
Страница 6: ...el To tune in stations to set values in programming to fast reverse or advance CD To start play CD or to select station presets To stop play or to cancel values and functions To enter programme play T...

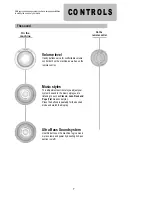
Страница 7: ...ell as on the remote control Music styles This adjustment section lets you adjust your system s sound to the music style you are listening to such as Classic Jazz Rock and Pops Flat means no style Pre...

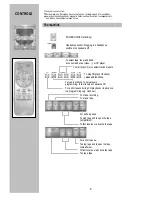
Страница 8: ...ed device video or CD player To start play CD or to select station presets SET To stop CD play or to cancel values and functions To tune in stations to set values in programming to fast reverse or adv...

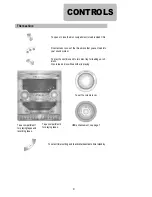
Страница 9: ...your sound system To play the next disc and to turn disc tray for loading up to 3 discs Also to load a disc while another is playing Tape compartment 1 for playing tapes and recording tapes Tape compa...

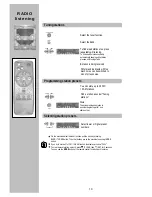
Страница 10: ...Find a station as under Tuning stations Select lower or higher preset numbers On the machine select the tuner function and the band by pressing BAND TUNER button The other buttons are on the machine...

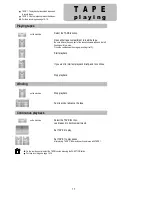
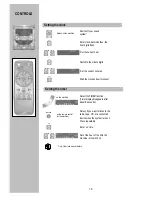
Страница 11: ...hand spool fully wound Close the compartment door again pushing it softly Start playback If you want to interrupt playback briefly and to continue Stop playback on the machine Stop playback Fast rewi...

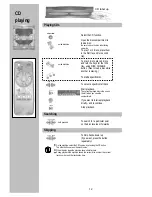
Страница 12: ...currently played disc is the one on the left when you open the compartment PLAY If you want to interrupt playback briefly and to continue Stop playback hold pressed To search for a particular point o...

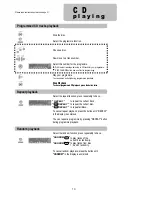
Страница 13: ...have to repeat the current track to repeat the current disc to repeat all discs To cancel repeat playback press the button until REPEAT in the display is unmarked You can repeat a programme by pressi...

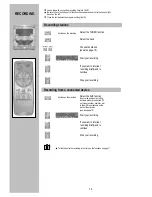
Страница 14: ...station see also page 10 If you want to interrupt recording briefly and to continue Stop your recording Select the AUX function Be sure the audio output of the device is properly connected TV set vid...

Страница 15: ...TAPE 1 to pause Start TAPE 2 to play Stop your recording If the tape is not rewound completely rewind it first If you want to start at the current position press REC button Use only good quality tape...

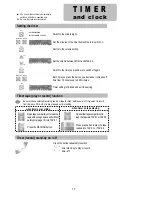
Страница 16: ...isappears after about 9 seconds Select if you want to listen to the radio tape CD or a connected device when the system turns on Press repeatedly on the remote control or the machine Enter on time Set...

Страница 17: ...en MIN 1 and MAX 26 Timer record stand by on off Timer tape play or record function Open tape compartment to load the tape with enough space and without safety hole page 15 into TAPE 1 Open either tap...

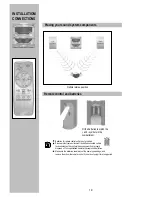
Страница 18: ...ies for remote control unit are not provided Please protect your environment As batteries contain certain toxic substances they pollute the environment if not properly disposed of Your specialised dea...

Страница 19: ...wn on the back of the sound system Do not stack objects on top of the sound system Do not block the ventilation holes of the sound system Place the system so that air can circulate freely Switch devic...

Страница 20: ...with adhesive tape Correct source CD tape tuner AUX selected Load a CD with the label facing upwards CD scratched broken deformed Try with another Condensation e g after a transport Wait for a while...

Страница 21: ...ide area or two disc inside scratch a disc or store it in direct sunlight high humidity or high temperature use record cleaning sprays benzene static electricity liquids or any other solvent if the di...

Страница 22: ...PALSONIC CORPORATION PTY LTD 1 JOYNTON AVENUE WATERLOO NSW 2017 AUSTRALIA TEL 02 9313 7111 FAX 02 9313 7555 www palsonic com au PALSONIC CUSTOMER SERVICE TELEPHONE AUSTRALIA 1300 657 888...

Отзывы: