background image

Basic Operations

16

Turning the Unit On and Off

Turning On

Insert the power cord into the wall outlet. Press the power switch to power on.
If the unit is in STANDBY mode, please press the POWER       button to turn on the unit.

Turning Off

With the power on, press the Power       button to turn off.
If you would like to cut off the power completely, press the power switch directly. 
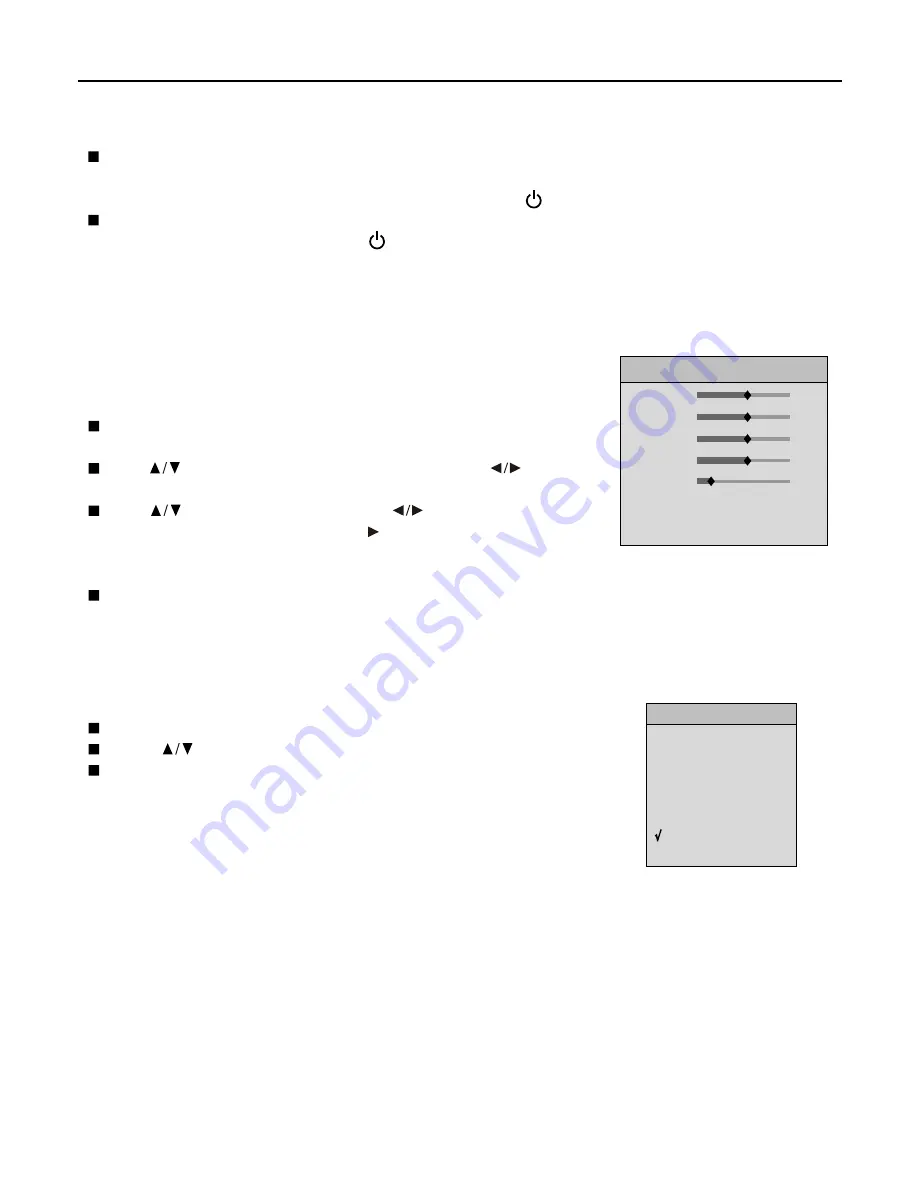
Viewing the MENU

Your PDP TV has a simple, easy-to-use menu system that appears on the
screen. This system makes it convenient and fast to use features on the unit.
The unit also lets you display the status of many of your PDP TV features. 

With the power on, press the MENU button on the remote control. The
main menu appears on the screen.
Use          to select submenu item. Use the ENTER or          to access
the selected submenu page.
Use          to select menu items and the          to adjust the value of the
selected item. Also use the ENTER      or to confirm your settings or
access the sub pages. Those items that are unnecessary to adjust
cannot be selected
During menu operations, use the MENU button to return to the parental menu or exit the menu operations.

Note:

To  clearly introduce the menu operations, this operating manual provides a description based on
operation with the remote control.

Select Input Signal Source

Press the INPUT button to display the INPUT SELECT menu. 
Press          to select the desired input source.
Press ENTER to confirm.

Note:

 the last input source will be memorised when the unit is turned off. 

Displaying Status Information

Press the INFO button on the remote control, the unit displays current status information such as channel

number, signal source, etc.

Displaying Supported Formats

Press the LIST button on the remote control, the unit displays all formats supported by this unit in current mode.

The button may not work in some modes, for example, in TV mode.

INPUT SELECT

D-SUB
HDMI
TV
AV 1
AV 2
S-VIDEO

HDTV 1

HDTV 2

Brightness

Contrast

Color

Sharpness

Color Temp.

Picture Mode

65

50

50

3

Warm

Personal

PICTURE

Содержание PDP5010

Страница 1: ...NTON AVENUE WATERLOO NSW 2017 AUSTRALIA TEL 02 9313 7111 FAX 02 9313 7555 www palsonic com au PALSONIC CUSTOMER SERVICE TELEPHONE AUSTRALIA 1300 657 888 127CM CORDLESS REMOTE PLASMA TELEVISION MONITOR...

Страница 2: ...Source Displaying Status Information Displaying Supported Formats Changing Channels Adjusting the Volume Memorising the Channels Storing Channels in Memory Automatically Storing Channels in Memory Ma...

Страница 3: ...vironmental considerations For disposal or recycling information please contact your local authorities or the Electronic Industries Alliance www eia org America only FCC STATEMENT America only FCC Not...

Страница 4: ...eaners or aerosol cleaners Use a damp cloth for cleaning 7 Ventilation Do not block any ventilation openings Install in accordance with the manufacturer instructions The vents and other openings in th...

Страница 5: ...requires extensive adjustment work by a qualified technician e If the product has been dropped or the cabinet has been damaged in any way f When the product displays an abnormal condition or exhibits...

Страница 6: ...is a very high technology product giving you finely detailed pictures Occasionally a few non active pixels may appear on the screen as a fixed point of blue green or red Please note that this does not...

Страница 7: ...mote control fails to operate the PDP TV functions replace the batteries in the remote control Open the battery cover Insert two size AAA batteries Install two AAA batteries matching the polarities of...

Страница 8: ...d not be bundled with the power cord and the like Power Connection 1 Connecting the female plug to the AC socket on the unit 2 Connecting the male plug to the wall outlet as illustrated Note This prod...

Страница 9: ...ncrease or decrease the sound volume level In OSD MENU press these buttons to adjust the value or setting of each item CH Press these two buttons to directly change the TV channel In OSD MENU press th...

Страница 10: ...nt inputs 1 Connect to the audio and component output jacks of a DVD player or Set Top Box Component inputs 2 Connect to the audio and component output jacks of a DVD player or Set Top Box AV outputs...

Страница 11: ...ST To display the supported format list in D SUB HDMI or Component input mode ADJUST To rectify the picture automatically in VGA mode AUDIO To select sound mode PICTURE To select picture mode SLEEP To...

Страница 12: ...e panel to avoid any issues Connect AV1 Input Terminals Connect the Audio Video cables between the Audio L R Video jacks on the unit and the video player For better video you can use the S video jack...

Страница 13: ...and the video camera To view the program from the AV2 input terminals please select AV2 in the INPUT SELECT menu after proper connection Video camera To video input To video output To audio inputs To...

Страница 14: ...select a program you wish to record firstly then turn on your VCR insert videotape for recording and press the Record button to begin recording Note The AV output terminals output the audio video sign...

Страница 15: ...the Audio cable between the audio input jacks on the unit and audio output jacks on the video player To view the program from component terminals please select HDTV1 or HDTV2 in the INPUT SELECT menu...

Страница 16: ...n Note The HDMI Sources are compatible with DVI displays through the use of a passive cable converter So you may connect product with DVI output jack to the unit Connect a passive cable converter betw...

Страница 17: ...on the video equipment or PC Connect the Audio cable between the audio input jacks on the unit and audio output jacks on the video player or PC To view the program from the D SUB interface please sel...

Страница 18: ...confirm your settings or access the sub pages Those items that are unnecessary to adjust cannot be selected During menu operations use the MENU button to return to the parental menu or exit the menu o...

Страница 19: ...er buttons to input the channel number and the unit goes to the selected channel To select a three digit channel press the button to display press the 0 9 number buttons to input the channel number an...

Страница 20: ...by one Press MENU to display the menu main page Press repeatedly to select CHANNEL item Press ENTER or to access the submenu Press repeatedly to select Manual Search item Press start manual search Pr...

Страница 21: ...The erased channels cannot be selected by using the CH buttons unless you use number buttons to input channel number directly Setting Colour and Sound System Press MENU to display the menu main page...

Страница 22: ...channel Use ENTER to confirm or MENU to return Editing Channel Name You may use this function to edit the channel name as your will From the channel editing sub page press to select Channel Name Edit...

Страница 23: ...nd AV mode Some items display in grey and you will find that they cannot be selected In this case these items are unnecessary to adjust The unit allows you to customise the color temperature in VGA mo...

Страница 24: ...ass Sound Mode Surround Descriptions Press to adjust the volume Press to adjust the sound balance Press to adjust treble sound effect Press to adjust bass sound effect Press to select a desired sound...

Страница 25: ...uld like to adjust Setting Menu Skin From the OSD SETTING sub page Press repeatedly to select OSD Skin item Press ENTER to access the sub page to set menu skin Press repeatedly to select item Press to...

Страница 26: ...you would like to use these functions Item Descriptions Sleep Timer Press to set sleep timer You may also use SLEEP button to quickly set sleep timer Current Timer Press to move the cursor use 0 9 but...

Страница 27: ...n for current image H Width Press to adjust horizontal width for current image V Width Press to adjust vertical width for current image Auto Adjust With working in component input mode or VGA mode if...

Страница 28: ...tness settings Sometimes poor picture quality occurs when having activated an S VHS camera or camcorder connected and having connected another peripheral at the same time In this case switch off one o...

Страница 29: ...may be heard from the display unit This sound is produced when the cabinet expands or contracts due to variations in temperature and is not a malfunction Cleaning and Maintenance The front of the disp...

Страница 30: ...D K VHF 1 12 2 12 2 12 2 13 2 12 1 12 UHF 13 57 21 69 21 69 14 69 21 69 21 69 CATV Z1 Z37 X Z 2 S1 S41 A 6 A 1 A W AA FFF X Z 2 S1 S41 Colour system Accessories PAL SECAM NTSC Operating manual x 1 Rem...

Страница 31: ...NIC CORPORATION PTY LTD 1 JOYNTON AVENUE WATERLOO NSW 2017 AUSTRALIA TEL 02 9313 7111 FAX 02 9313 7555 www palsonic com au PALSONIC CUSTOMER SERVICE TELEPHONE AUSTRALIA 1300 657 888 604 PS50T183 00 Ve...

Отзывы: