
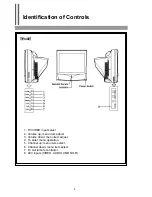
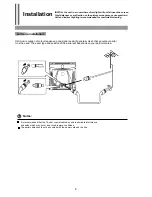
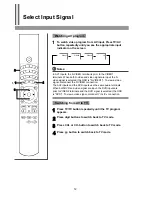

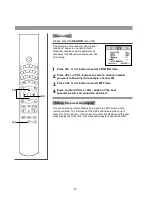

!
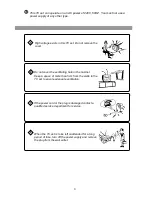
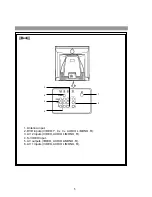
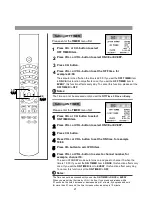
Install two "AAA" batteries
matching the +/- polarities
of the battery to the +/-
marks inside the battery
compartment.
Replace the battery cover.
Notes:
The battery life should be about one year under
normal use. Do not try to recharge batteries not
intended to be recharged.
Use only the size and type of batteries
specified. Do not mix different types of batteries
together or old batteries with fresh ones.
When the remote control will not be used for a
long period of time or when the batteries are
worn out, remove the batteries.
Do not throw the batteries into a fire. Dispose of
used batteries in the specified manner.
Do not drop, dampen or disassemble the
remote control.
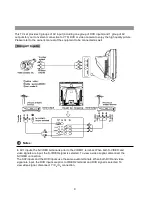
Notes:
When there is an obstacle between the TV and the
transmitter, the transmitter may not operate.
When direct sunlight, and incandescent lamp,
fluorescent lamp or any other strong light shines on
the REMOTE SENSOR of the TV the remote
operation may be unstable.
7
Open the battery cover.
!
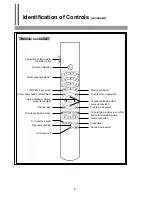
Effective range of the Remote
Installing batteries
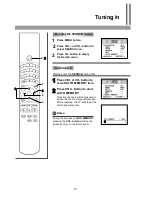
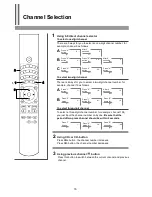
1
2
3