background image

Pakon Part#125307-B

October 10, 2006

4

6. While the computer is on and Windows is loaded, turn the scanner power switch into the ‘on’ 

position.

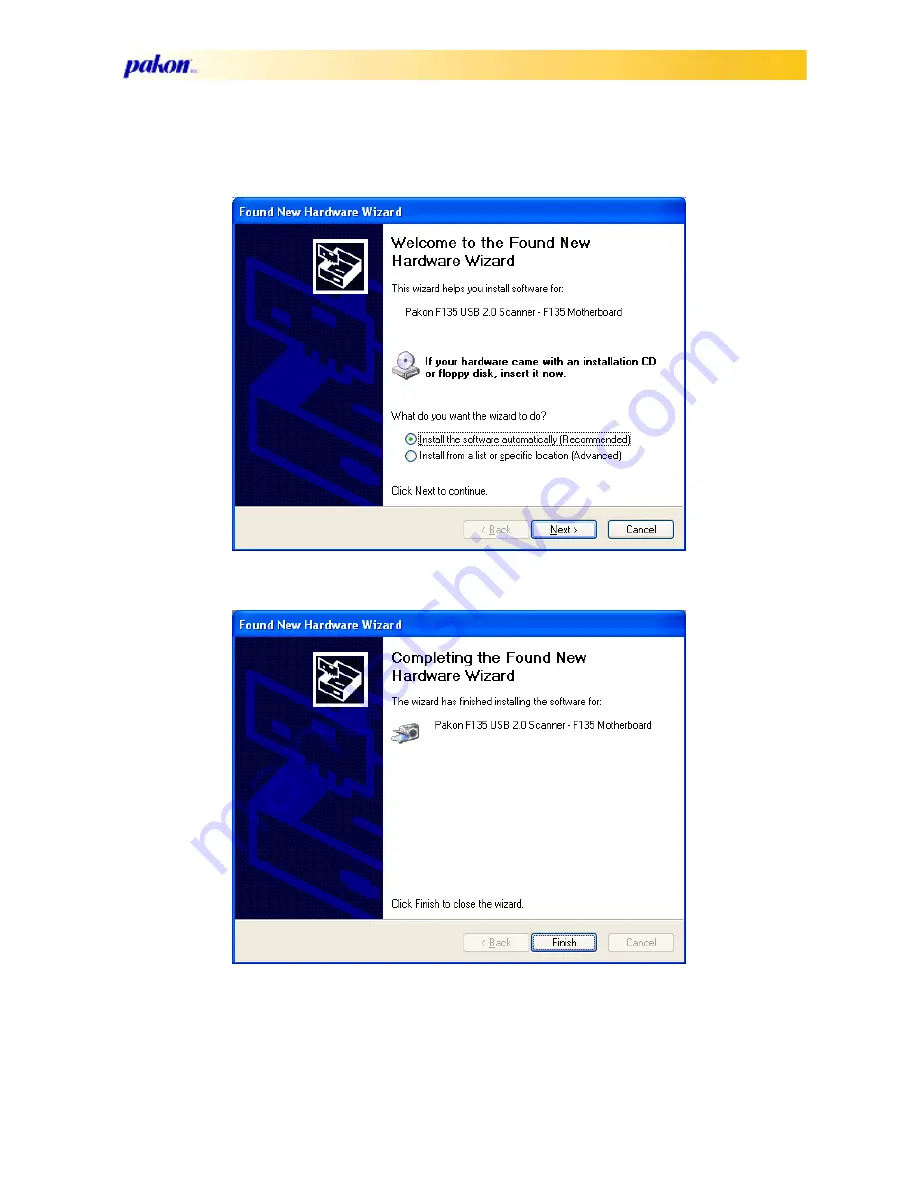
7. Windows will prompt you to click “Next” to continue the driver installation.

8. Then click on “Finish” to finish the driver installation.

9. The process will repeat twice before finishing.
10. After the driver is finished installing, verify that the scanner driver is properly installed, by 

viewing the scanner properties in the Device Manager under the heading, “Imaging Devices.”

Содержание F-135

Страница 1: ...F 135 F 135 Plus User Manual...

Страница 2: ...Screen resolution of 1024x768 or higher Power External power supply 15V 2 4 amps 50 60 Hz Input voltage frequency Plug polarity is plus center minus outside 5 5mm outer diameter 2 5mm inner diameter C...

Страница 3: ...tself Film Types and Variations The F 135 is designed to scan 35 MM color negative film 35 MM cut strips are supported in sizes from 3 frames to 40 frames However to ensure DX code reading the strips...

Страница 4: ...not already installed on the PC 2 Clear a space near your computer system to place the F 135 scanner The USB 2 0 cable must be able to reach the PC so it cannot be more than 6 feet 2m from the compute...

Страница 5: ...prompt you to click Next to continue the driver installation 8 Then click on Finish to finish the driver installation 9 The process will repeat twice before finishing 10 After the driver is finished i...

Страница 6: ...or Maintenance chapter BIOS Configuration The following BIOS options are used on systems configured by Pakon and are recommended to be configured as outlined below Option Setting Plug and Play O S Dis...

Страница 7: ...e scanner DX Code up and starting with the lowest number first as shown below Do not attempt to remove film from the scanner while the scanner motor is moving This will cause damage to both the film a...

Страница 8: ...s it is recommended to perform the following regularly Clean all customer film with a lint free cloth before scanning it When the scanner is turned off cover it with a plastic or lint free cover Use a...

Страница 9: ...resolution We recommend ensuring the film is clean before putting it into the scanner 1 Position the tip of the compressed air hose in the film track entrance and blow moving the hose up and down whi...

Страница 10: ...Pakon Part 125307 B October 10 2006 9 2 On the film exit side blow the air away from the film exit...

Страница 11: ...ard freight costs both ways for the repaired or replaced unit Any expedited shipping fees are the responsibility of the buyer After Warranty Service OEM Service Scanner Phone Service Incident charge o...

Страница 12: ...s not to be unreasonable withheld or 3 to any prod uct on which this serial number or name has been altered defaced or removed This warranty also shall not apply to any Pakon product whose unsatisfact...

Страница 13: ...serial number of your scanner If you prefer to email support please include the following information in your email request Any applicable error log files Version number of PSI Serial number of your...

Страница 14: ...nce with the instruction manual may cause harmful interference to radio com munications Operation of this equipment in a residential area is likely to cause harmful interfer ence in which case the use...

Страница 15: ...Pakon Part 125307 B October 10 2006 16 Shipping and Storage Conditions Temperature 25 to 60 degrees Celsius...

Отзывы: