Installation
150-458-100-05
18
February 23, 2000
HRE-458 List 1, List 1B, and List 2
7
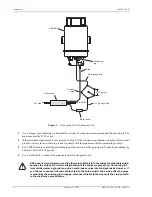
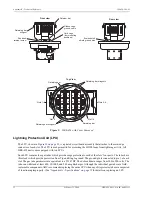
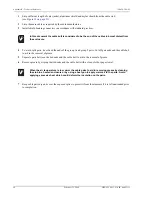
Position the cover clamp around the base of the cover and the baseplate flange. Handtighten the T-bolt
securely, then torque the T-bolt between 10 and 15 inch-pounds.
a
If you are pressurizing the enclosure from a portable pressure bottle, continue from
.
b
If you are pressurizing the enclosure from the main cable, continue from
c
If the enclosure is mounted aboveground and you are not pressurizing the enclosure, continue from
.
8
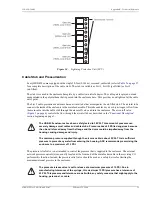
For the List 2 air core stub, block the cable stub in the splice case by placing an air dam in the stub according
to local practice to prevent pressure leakage back into the main cable. For pressurized List 1, List 1B and
List 2 units, make sure that the air cutoff valve is off (fully clockwise).
9
Use a portable pressure bottle and standard tire air chuck at the external Schrader air stem valve to pressurize
the enclosure to a maximum of 12 PSI (there is no minimum requirement as long as a slight positive pressure
is applied). Replace the air stem cap. Continue from
10 For List 2 units, open the air inlet tube by turning the air valve one full turn counterclockwise. Allow the
enclosure to pressurize from the main cable through the enclosure’s stub.
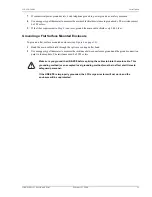
11 Check the O-ring and enclosure for leaks by painting the enclosure with a pressure-testing solution, such as
soap and water. If you detect a leak, tighten the T-bolt and tap lightly around the cover clamp. Repeat as
necessary until the cover is sealed.
12 Secure the HRE-458 with a padlock. (This step is not required for manhole-mounted enclosures; however, a
locking assembly is provided if needed.)
P
IVOTING
THE
E
NCLOSURE
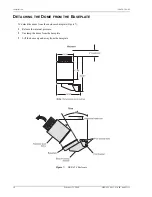
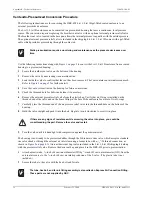
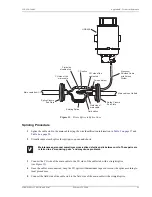
To pivot the enclosure out from its vertical position:
1
Loosen the four bolts that connect the pivot bracket to the enclosure baseplate.
2
Lift the housing up slightly and pull it out until the top bolts rest against the end of the two pivot bracket slots.
The desiccant bags shipped with the units must be activated prior to closing the lid. Do this by
removing the bags from their plastic container and placing them inside the enclosure.
Содержание HiGain HRE-458
Страница 4: ...Inspecting Shipment 150 458 100 05 iv February 23 2000 HRE 458 List 1 List 1B and List 2...
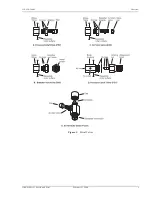
Страница 13: ...150 458 100 05 Overview HRE 458 List 1 List 1B and List 2 February 23 2000 5 Figure 3 Metal Valves...
Страница 49: ...150 458 100 05 Appendix D Glossary HRE 458 List 1 List 1B and List 2 February 23 2000 41...
Страница 50: ......

