60
Chapter 3
Removing the Primary HDD Module
1.
See “Removing the Lower Covers” on page 54.
2.
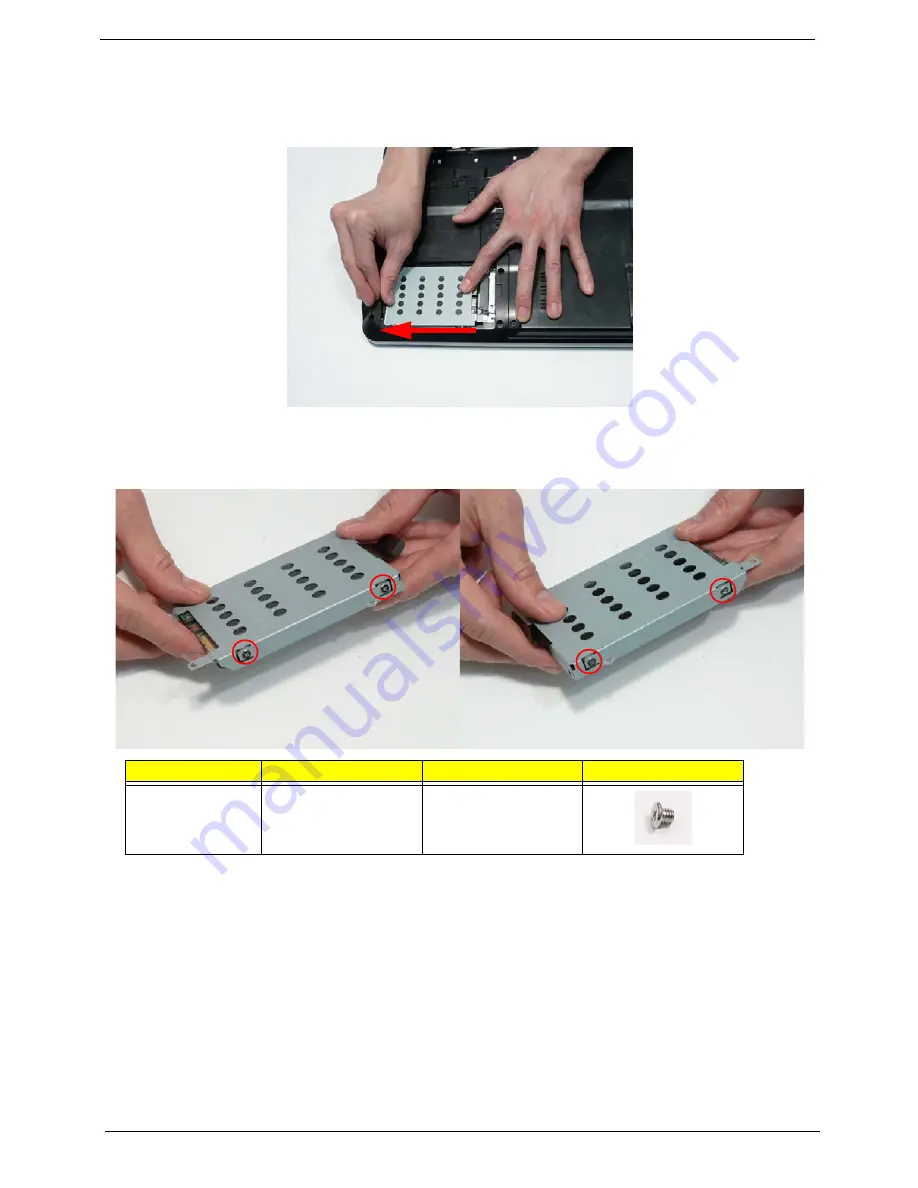
Using the pull-tab, slide the HDD Module in the direction of the arrow to disconnect the interface.
3.
Lift the HDD Module clear of the HDD bay.
NOTE:
To prevent damage to device, avoid pressing down on it or placing heavy objects on top of it.
4.
Remove the four screws (two each side) securing the hard disk to the carrier.
Step
Size
Quantity
Screw Type
HDD Carrier
M3*3
4
Содержание EasyNote LJ65
Страница 6: ...VI ...
Страница 14: ...4 Chapter 1 System Block Diagram ...
Страница 58: ...48 Chapter 2 ...
Страница 71: ...Chapter 3 61 5 Remove the HDD from the carrier ...
Страница 77: ...Chapter 3 67 8 Rotate the Switch Cover toward the LCD panel and lift it away from the Upper Cover ...
Страница 80: ...70 Chapter 3 5 Disconnect the FFC cable from the mainboard 6 Lift the keyboard clear of the chassis ...
Страница 85: ...Chapter 3 75 11 Carefully remove the LCD module from the chassis ...
Страница 94: ...84 Chapter 3 5 Lift the entire Speaker assembly clear of the Upper Cover ...
Страница 102: ...92 Chapter 3 5 Lift the RJ 11 Jack away from the Lower Cover to detach the adhesive securing it in place ...
Страница 118: ...108 Chapter 3 NOTE The LCD Module appears as shown when the Antennas Power Board and MIC are replaced correctly ...
Страница 148: ...138 Chapter 3 ...
Страница 178: ...168 Chapter 4 ...
Страница 199: ...Chapter 6 189 ...
Страница 208: ...Appendix A 198 ...
Страница 216: ...206 Appendix C ...
Страница 220: ...210 ...


