


36
Chapter 4
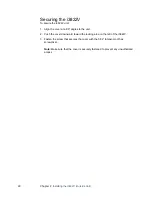
Verifying the i3822V and iPSU Installations
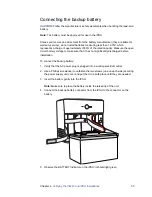
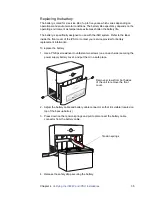
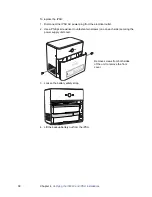
5. Remove the old battery from the housing and put it safely aside.
Note:
Be careful when removing the battery; it is heavy.
6. After removing the old battery, verify that the BATTERY indicator is completely
extinguished (not green or blinking red).
Note:
It can take up to three minutes before the BATTERY indicator is completely
off and the Power Supply Unit is ready to accept the new battery.
7. Insert the new battery gently into the housing.
Note:
Be sure to place the battery inside the raised bottom edge of the case.
8. Connect the battery cable connector to the battery cable.
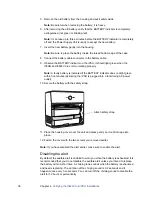
9. Observe the BATTERY indicator on the iPSU, it should light green when the
i38HG and i3822V are communicating properly.
Note:
A faulty battery is indicated if the BATTERY indicator does not light green
within five minutes (assuming the iPSU is plugged into a functioning AC power
outlet).
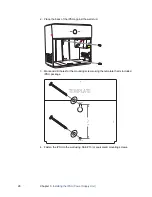
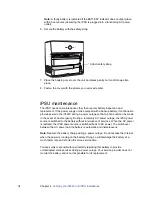
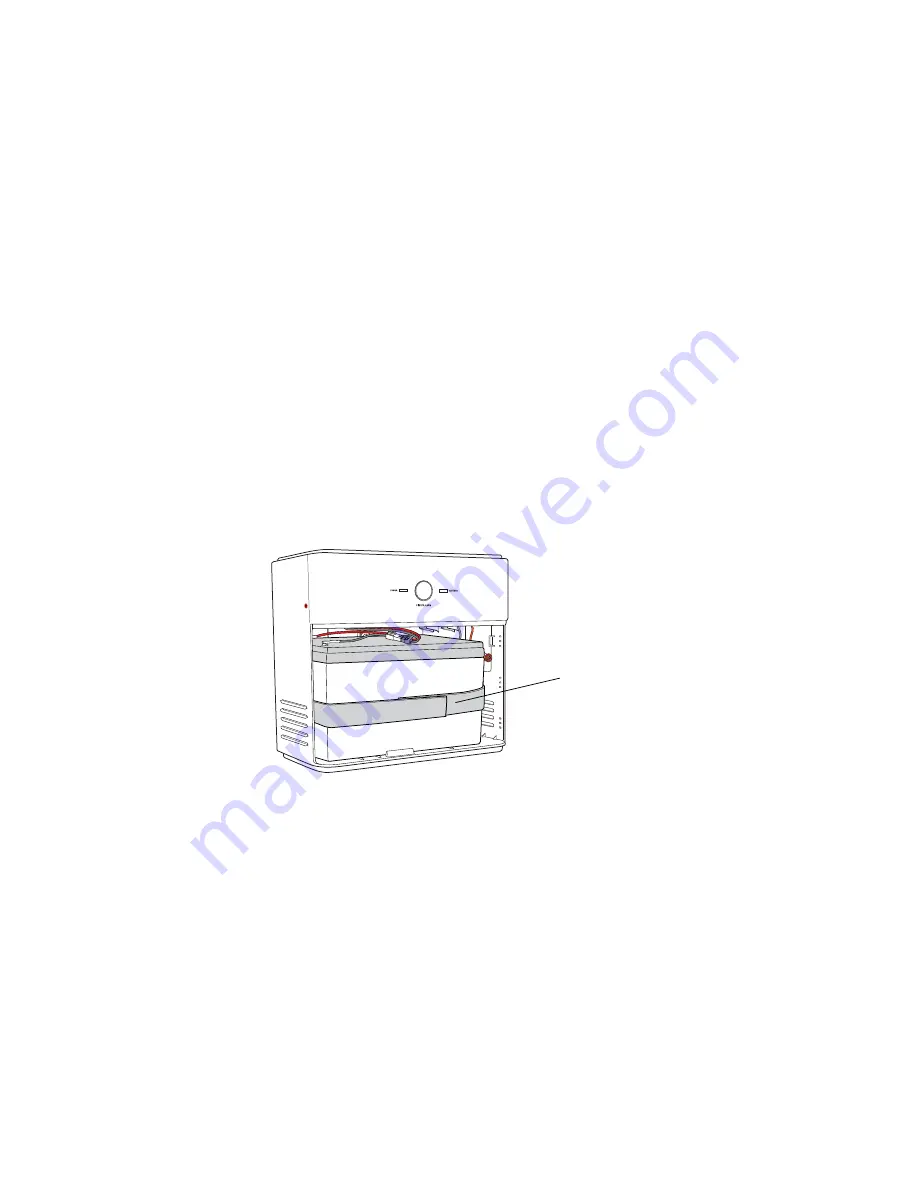
10. Secure the battery with the safety strap.
11. Place the housing cover over the unit and press gently on it until it snaps into
place.
12. Fasten the cover with the two screws you removed earlier.
Note:
If you have disabled the alert earlier, make sure to enable the alert.
Disabling the alert
By default, the audible alert is enabled to warn you when the battery is exhausted. It is
recommended that you do not disable the audible alert unless you intend to replace
the battery within a short time. A chirping tone sounds when the battery is exhausted
and needs replacing. The duration of the chirping sound is 0.2 seconds and it
happens once every five seconds. You can turn off the chirping sound to disable the
alert for 12 hours or permanently.
Attach safety strap