8
1. Remove the silent shredder and all components from the carton.
WARNING!
You may require assistance lifting the
shredder out of the carton.
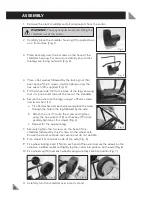
2. Carefully place the shredder housing (10) upside down
on a flat surface (Fig. 1).
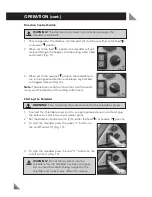
3. Place each leg over the 2 screws on the base of the
shredder housing. For maximum stability ensure that
the legs are facing outwards (Fig. 2).
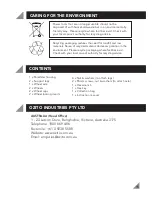
4. Place a flat washer followed by the locking nut (16)
over each of the 4 screws. Lightly tighten using the
hex wrench (18) supplied (Fig. 3).
5. Fit the wheel axle (12) to the base of the legs ensuring
that it is positioned towards the rear of the shredder.
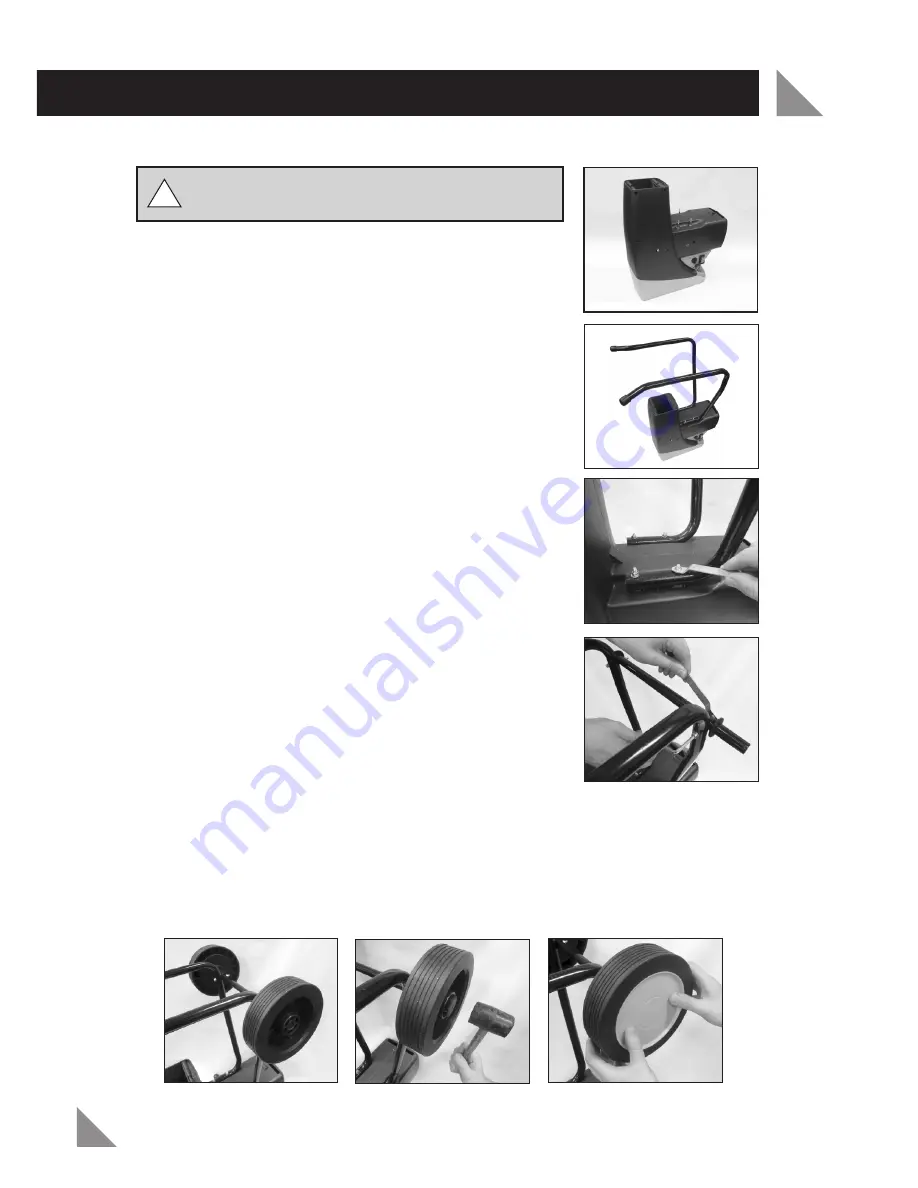
6. Secure the axle onto the legs using 2 x 55mm screws,
nuts & washers (17).
a. Fit a flat washer over each screw and place the screw
through the hole in the leg followed by the axle.
b. Attach the nut (17) onto the screw and tighten
using the hex wrench (18) and hex key (19) (only
partially tighten at this stage) (Fig. 4).
c. Repeat for the opposite leg.
7. Securely tighten the 4 screws on the base of the
shredder followed by the 2 screws on the wheel axle.
Ensure the stand and axle are secure and do not wobble.
8. Fit a wheel (13) onto each side of the axle (Fig. 5).
9. Fit a wheel locking insert (15) onto each end of the axle to secure the wheels on the
axle. Use a rubber mallet and lightly tap the inserts into position on the axle (Fig. 6).
10. Fit a wheel cap (14) over each wheel making sure they click into position (Fig. 7).
11. Carefully turn the shredder over onto its stand.
ASSEMBLY
Fig. 1
Fig. 2
Fig. 3
Fig. 4
Fig. 5
Fig. 6
Fig. 7
!

