SPECIFICATIONS - MODEL NO. MSH-115
10
6. Position the two pieces of metal you wish to join.
7. Hold the electrode approximately 2 cm away from the desired join area. Lower
or hold the welding mask over your face. Lower the electrode slowly and
proceed to strike the electrode tip against the desired join area on the work
piece as if you are striking a match. This is the correct strike up method.
Note:
Hitting the electrode on the work piece can damage the electrode flux
coating and make strike up difficult.
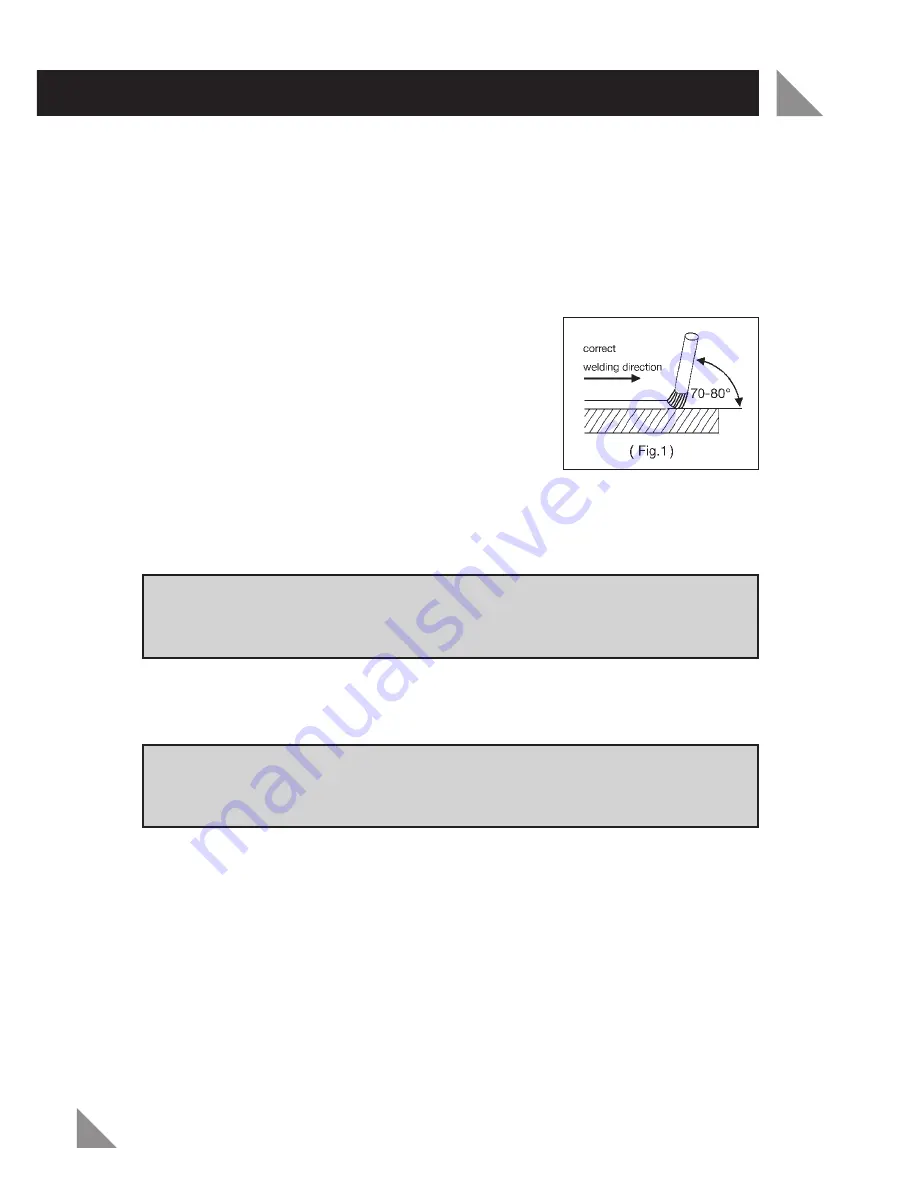
8. The end of the electrode should ignite. The
ignition of electrode end is called the “arc”. As
soon as you have the arc, try to maintain a distance
from the work piece equal to the diameter of the
electrode being used. Weld along your desired
join from left to right. Try to keep this distance
consistent for the duration of the weld. The angle
of the electrode as it is advanced should be
between 70 to 80˚ to the welding direction (Fig. 1). When you have reached
the end of the weld bead bring the end of the electrode backwards and quickly
lift the electrode from the weld. By removing the electrode from the metal you
have broken the electrical path and the arc will extinguish.
Warning!
Failure to use a welding mask can result in “eye flashing” where your
naked eye sees the arc. Eye flashing is harmful and can damage your eyes.
Always look through the tinted glass of the welding mask when observing the arc.
The welding mask protects your face from the welding sprays and ultra violet rays
produced by the arc. The tinted glass is essential for protecting your eyes while
observing the arc.
Warning!
During and immediately after welding the weld will be extremely
hot. Ensure it has cooled before touching with your hands. If it needs to be
moved while still hot use a clamping device.
9. Once the weld has been completed turn the welders on/off switch to the “Off”
position and disconnect the welder from the power supply.
10. Slag is refuse left around the weld after welding, this should only be removed
after the weld has cooled down and is no longer glowing. To remove this slag
use the combination wire brush and chipping hammer (9) provided in the kit.
Use the chipping hammer (9) side of the wire brush and strike or chip off the
slag from the weld just performed. The slag will chip or break away from your
weld producing a clean looking weld. Use the wire Brush (9) to finish cleaning
up the weld and workpiece ready for a protective coating or paint.


