4 • Oz Charge manual
www.ozcharge.com.au
LED / LCD STATUS INDICATOR TABLE:
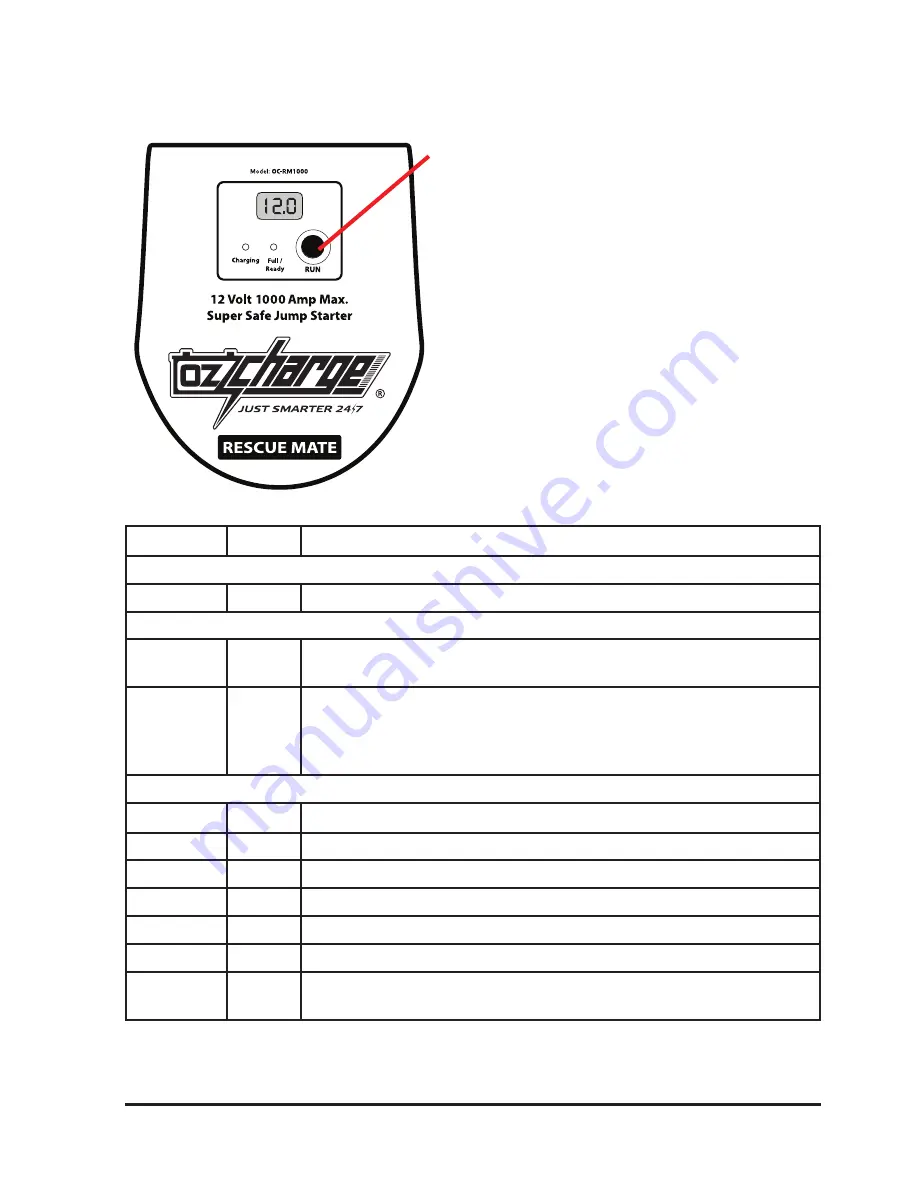
RUN Button:
The RUN button can be pressed once to activate
RUN mode once the device is fully charged and
Ready To Use. If RUN mode is activated, you can
press the RUN button to stop RUN mode.
Pressing and holding the RUN button when the
device is Ready To Use will extend the start delay
time up to 120 Seconds. The default start delay is 10
seconds.
If the device is not connected to any battery or
input, press and hold the RUN button for 1 second
to turn the LCD on. Note: The LCD will only turn on
and display the devices voltage if the voltage is over
10 Volts.
LED
Status
Description
Charging LED
Blue
ON
The Charging LED will illuminate blue while the device is being charged
Full / Ready LED
Green
Flash
The Full/Ready LED will flash green to indicates the device is charged and ready
to use. READY TO USE will also be scrolling across the LCD.
Green
ON
Indicates the unit is in RUN mode (outputting power). During RUN mode all
safety protection is DISABLED. Do not short circuit or make a reverse polarity
connection while in RUN mode. RUN mode will time out after 30 seconds or you
can press the RUN button to stop RUN mode.
Note: If both the Charging and Full/Ready LED are OFF, this indicates no charge input has been detected.
LCD
Status
Description
LCD
ERR
If the LCD displays ERR, this means the leads were connected reverse polarity.
LCD
RUN
If the LCD displays RUN and the devices voltage, the device is outputting power
LCD
CAR
If the LCD displays CAR then a voltage, this is the voltage of the vehicles battery
LCD
USB
If the LCD displays USB then a voltage, this is the voltage of the USB input source.
LCD
DC I
If the LCD displays DC I then a voltage, this is the voltage of the DC input source
LCD
READY
TO USE
If the LCD displays READY TO USE, the device is charged and ready to go.
Note: If the devices voltage is under 10V, the unit / LCD will not turn on until you charge the device.


