


41
6
1.How to pair the thermostat with Remote Zone Sensors ?
1. Click the
'+'
button at the top right of the interface in
'Menu' -> 'Sensors'
on the thermostat and tap
'Next'.
2. Remove the rear cover of the sensor.
3. Press and hold the button on the back of the sensor for 3 seconds until
the indicator on the front of the sensor flash red.
4. Wait for sensors to pair automatically. When the pairing is successful, the
sensor flashes green light for 3 times.
Now you can set the participation period of the sensor. During this period,
the thermostat will calculate the average temperature of all the sensors in
the occupied state as a reference. If there is no one in the room where the
sensor is located, that sensor will not participate in that calculation.
FAQ
• Sensors
513
29.8/Occupied
My Sensor
24.9/Occupied
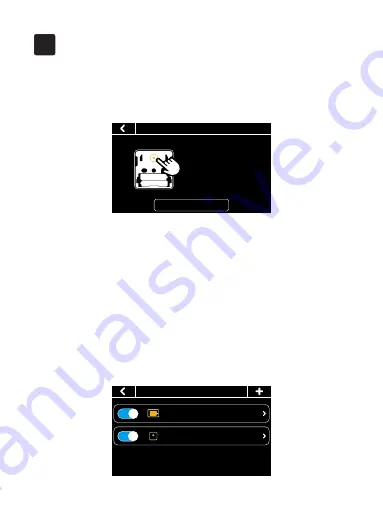
• Sensors Pair
Next
Please press and hold the
button on the back of the
sensor for 3 seconds, the
indicator will flash red,
then tap ‘Next’.


