VentSure
™
Solar Attic Exhaust Fan
Additional Solar Panel Kit
Installation Instructions
Installation and Mounting
Guide
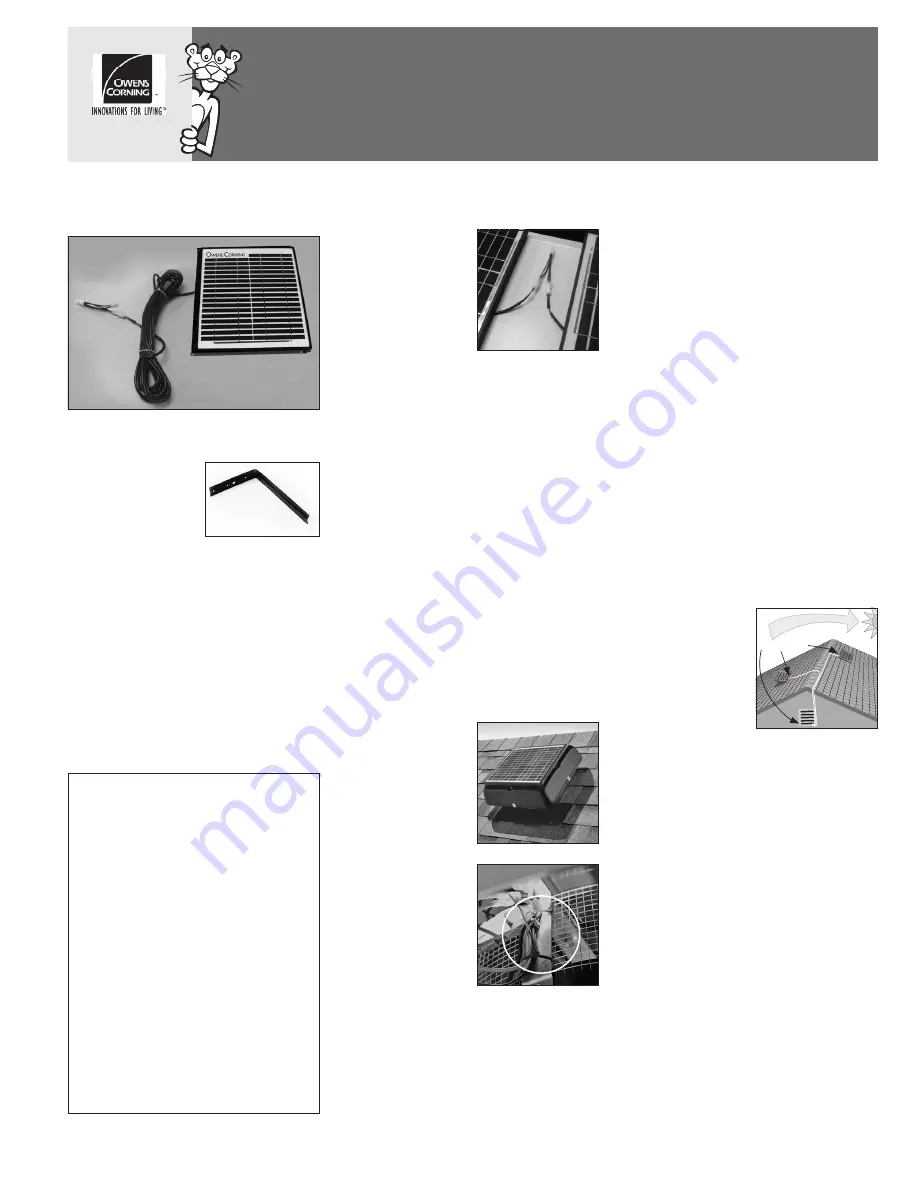
Kit Includes:
• Panel with 30
feet of wire and
Y-adapter
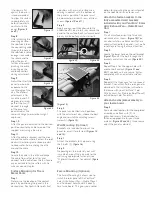
• One (1) set of wall
brackets
Thank you for purchasing the VentSure™
Solar Attic Exhaust Fan Additional Solar
Panel Kit from Owens Corning™ Roofing
& Asphalt LLC.
If there is a problem with your product
call us at 1-800-GET-PINK
®
.
Before beginning the installation of
the
VentSure
Solar Attic Exhaust Fan
Additional Solar Panel Kit, please read
through the entire installation instructions
and call us if you have any questions.
Connecting the motor
and two panels with the
Y-Adapter
The Y-adapter allows
2 solar panels to be
connected in parallel
to the motor. This
does not double
the voltage to the
motor—it simply
provides another
power source to
allow the unit to
operate for a longer period of time during
the day.
A. For the Gable Mount Unit:
Step A1.
Connect the lead of the first solar panel to
the Y-Adapter. If using the wire extension,
attach directly to the solar panel (as in
remote mounting instructions) and the
other end to the Y-adapter.
Step A2.
Connect the leads from the second panel
to the Y-adapter in the same fashion.
Step A3.
Connect the other end of the Y-adapter
to the quick connector leading from the
motor.
B. For the Roof
Mount Unit
Step B1.
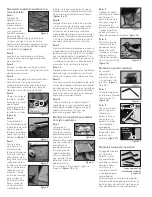
An access point is
located under the
shroud to allow for
connecting an extra
panel.
(Figure 2)
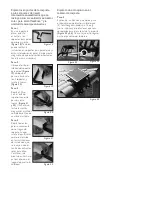
Cut
the zip ties that hold
the wires to the
frame.
(Figure 3)
Step B2.
Separate the
quick-connector
under the shroud,
separating the panel
and the motor
connection.
Step B3.
Now connect the Y-adapter as described in
steps A1–A3 to the motor and panel leads.
Step B4.
Bundle and re-attach the wires to the
rodent screen with zip ties.
Figure 2
Figure 3
Figure 4—gable or
roof mounted attic fan
max 60 feet
Add-a-Panel
Option
Add-a-Panel
Option
a.
a.
b.
Optional Hardware (not included)
For roof mounting:
• 3" galvanized deck screws (for mounting
to asphalt-shingle roof)
• Caulk gun with roof tile adhesive (for
mounting solar panel directly to Spanish
tile, flat tile or metal roofs)
For wall mounting
• 1.5–3" anchor screws (depending on your
specific type of stucco, cement or brick
wall. Must support up to 20 pounds)
• 1.5–3" galvanized screws (depending on
your specific type of wood or vinyl siding.
Must support up to 20 pounds)
• Caulk gun with roof tile adhesive (for
sealing screw heads when mounting to
wood or vinyl siding). We recommend
ASTM D 4586 Type 1 Asphalt Roofing
Cement.
Figure 1


