


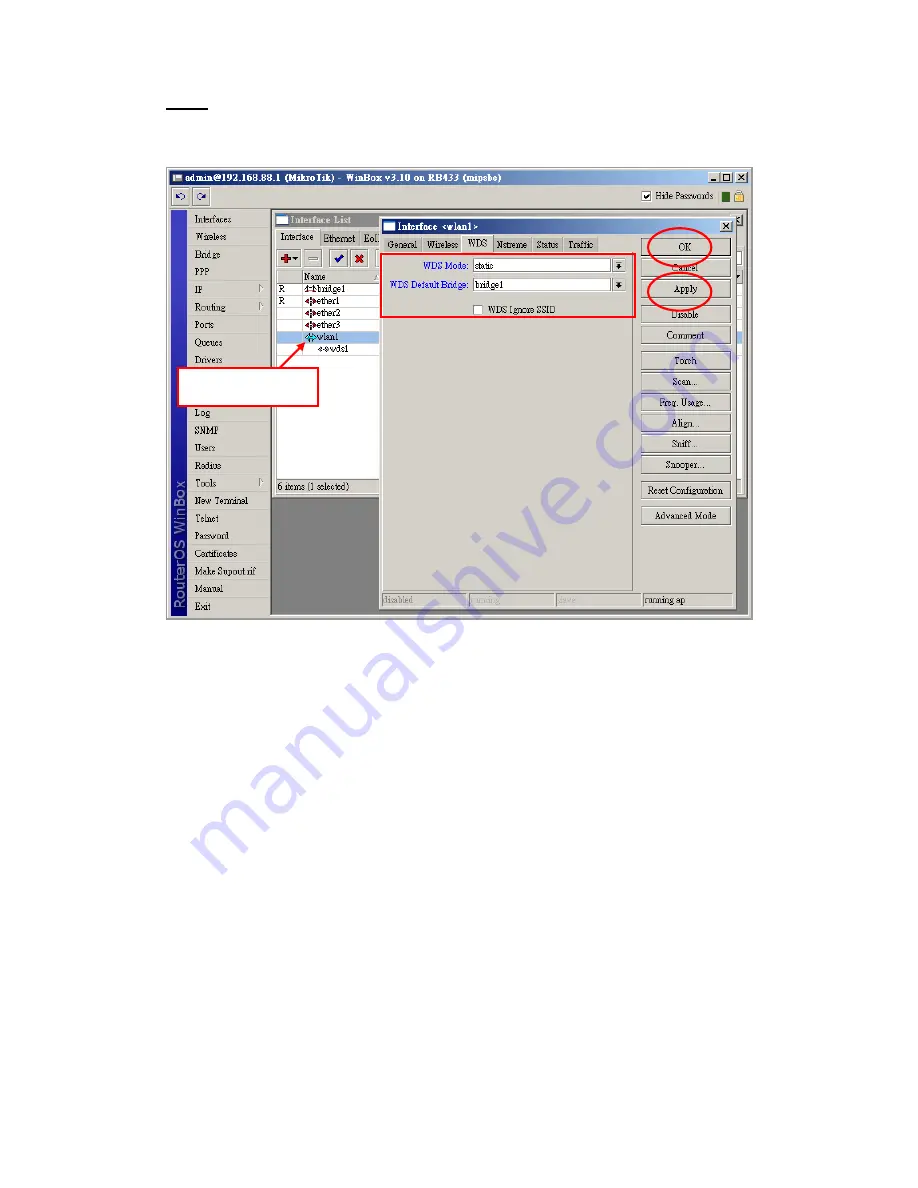
Step3.
Enable WDS in wlan1
Double click wlan1, and change parameters in
“Interface <wlan1>”
dialog. Click “Apply” and
“OK” button to save.
In our example, we select “WDS Mode” to “static” and “WDS Default Bridge” to “bridge1”.
Some Access Point can not send SSID in WDS mode. Please enable “WDS Ignore SSID” in
this situation.
In our example, we use the original SSID “MikroTik”.
2.2 WLA-5000AP WDS configuration
Login to WLA-5000AP. In “Advanced Settings”
“Operation Mode”, select “WDS Bridge” filled
parameters and click “ADD” button to add.
In our example, we use these parameters:
WDS Bridge Mode: Pure MAC Mode
Name: Mikrotik_Router
SSID: Mikrotik
MAC address: 00-0c-42-1f-98-5d
Security Policy: None
Double click wlan1
Содержание AirLive WLA-5000AP
Страница 12: ......
Страница 14: ...The interface then shows WDS for wlan1 as following Step3 Add WDS to Bridge Ports...
Страница 16: ...When configured successfully the added WDS shows in the list Laptop2 ping Laptop1...
Страница 17: ......


