


26
27
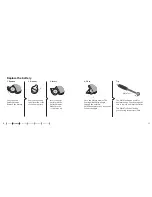
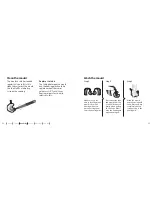
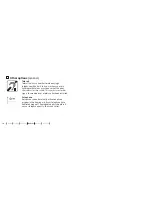
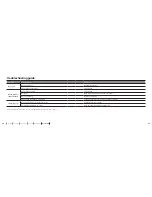
About Start up Handling
Options
Warnings More info
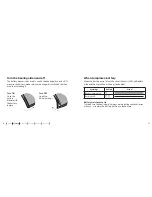
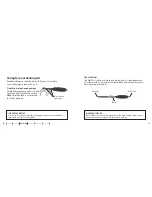
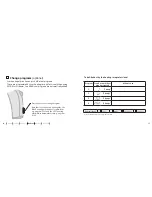
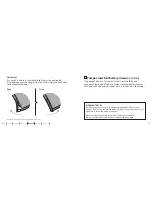
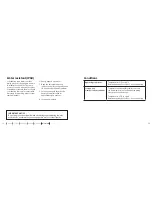
Change volume
The volume wheel may be activated. The volume wheel allows
you to adjust the volume in specific situations to the level you feel
comfortable with.
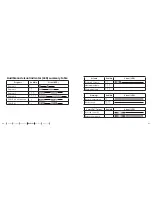
The volume wheel has markings 1, 2, 3 and 4 and a ‘click’ position:
Setting
4
Louder
3
Normal sound level - preferred
2
Softer
1
‘OFF’
Inactive (silent and saving power)
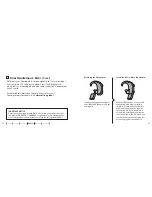
The normal volume wheel setting is 3. When adjusting the volume to
the normal level you will hear a double beep.
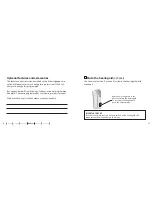
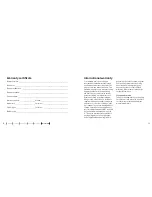
IMPORTANT NOTICE
Do not use the inactive ‘click’ position as an off switch as the hearing aid
still draws power from the battery in this mode.
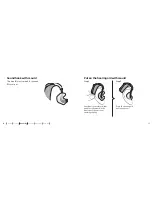
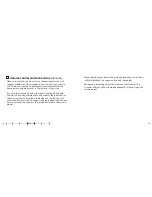
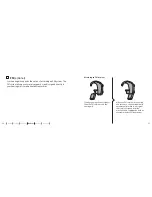
Use the volume wheel to mute
the hearing aid by turning below
setting 1 until it clicks. To reactivate
the hearing aid, turn up on the
volume wheel.
Содержание Chili BTE 13 SP
Страница 1: ...BTE13 SP Sensei Instructions for use...
Страница 31: ...0000158475000001 158475UK 2018 02 01...


