


S
ETTING
I
NTERNAL
F
UNCTIONS
W
ELDING
C
ONDITION
C
HAPTER
6
102
6.7.2.49 F78: Prevention of unintended torch switch operation
Sets whether or not to output the error code when welding is not performed for a certain time after the pre-flow to avoid
an unexpected torch switch operation.
•
[ON]: If welding is not performed for five seconds after the pre-flow, Error code “E-011” is displayed on the left and
right digital meters and the output of the welding power source stops.
•
[OFF]: disables the function. (
9.1 Action in Case of Error)
6.7.2.50 F79: Switching of CAN communication connection device
Set the connection device to be used for the CAN communication.
Set to “0” to use the Digital Remote Control Box.
Set to “1” to use the Digital panel (Attached to the wire feeder) and Intelli torch.
Set to “2” to use the Push-Pull torch.
Set to “3” to use the Inline assist feeder.
The Digital panel can also be used with “2” and “3”.
This function is effective when any one of “0” (Semi-auto mode), “1” (Automatic machine 1 mode), and “2” (Automatic
machine 2 mode) is selected for F4 (Auto/Semi-auto mode).
6.7.2.51 F80: Switching of CAN communication speed
Set the connection speed of the CAN connection.
Set to “0” to use the Digital panel, Intelli torch, Push-Pull torch and Inline assist feeder.
This function is effective when any one of “0” (Semi-auto mode), “1” (Automatic machine 1 mode), and “2” (Automatic
machine 2 mode) is selected for F4 (Auto/Semi-auto mode).
6.7.2.52 F81: TIG Mode torch switch setting
Even if DC TIG is selected as welding method, operating the torch switch of the torch connected to the wire feeder can
start or end welding. Normally, in DC TIG, torch detective voltage is always applied to the torch electrode, and then, arc
starts when the electrode touches the base metal. However, when this function is ON, torch control is enabled.
•
[ON]: Operating the torch switch can control the welding start and end. Setting of welding sequence including sealed
gas flowing (Pre-flow, Initial Condition, Crater condition, Post-flow) is also enabled. In addition, functions such as
“Gas valve”, “Start” of external input terminal can be also used. (
6.7.2.22 F29 to F32: External input terminal
setting)
•
[OFF]: disables the function.
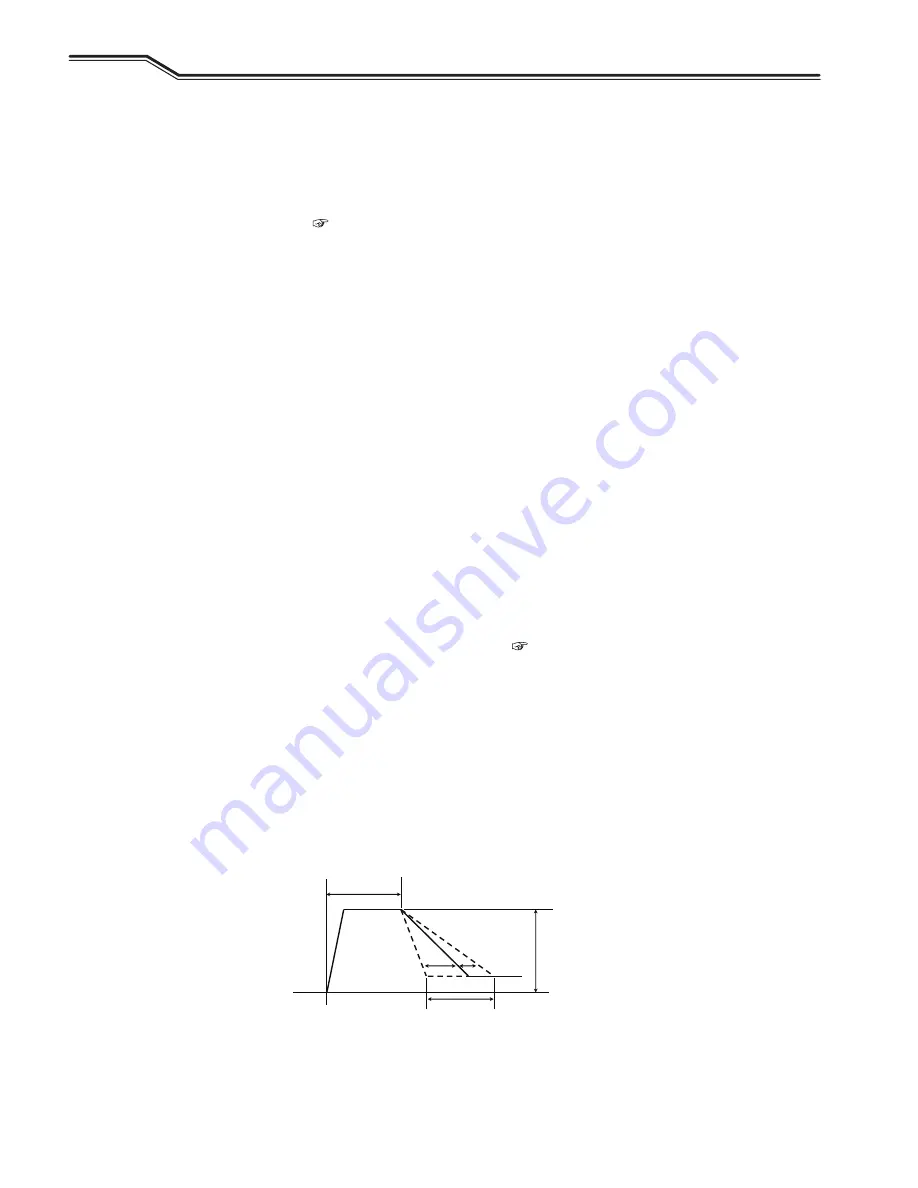
6.7.2.53 F83: Arc length adjustment right after starting
Adjusts the arc length right after starting the welding operation.
The arc length, right after starting the welding operation, will automatically be set to an adequate value according to the
set welding conditions. If wire burning is not adequate at the start of the welding operation, carry out the arc length
adjustment right after starting.
For more intense burning, increase the value of arc length adjustment right after starting.
For less intense burning, reduce the value of arc length adjustment right after starting.
•
Setting range of the value: -20 to 10.
Time
(F14)
Current
Starting
current
(F15)
Arc length adjustment (F83)
㸩
adjust
㸫
adjust