manualshive.com logo in svg
background image

LEA TODAS LAS INSTRUCCIONES ANTES DE USAR ESTE APARATO

Manual de Instrucciones

Instruction Manual

LEA TODAS LAS INSTRUCCIONES ANTES DE USAR ESTE UNIDAD

PLEASE READ ALL INSTRUCTIONS BEFORE USING THIS APPLIANCE

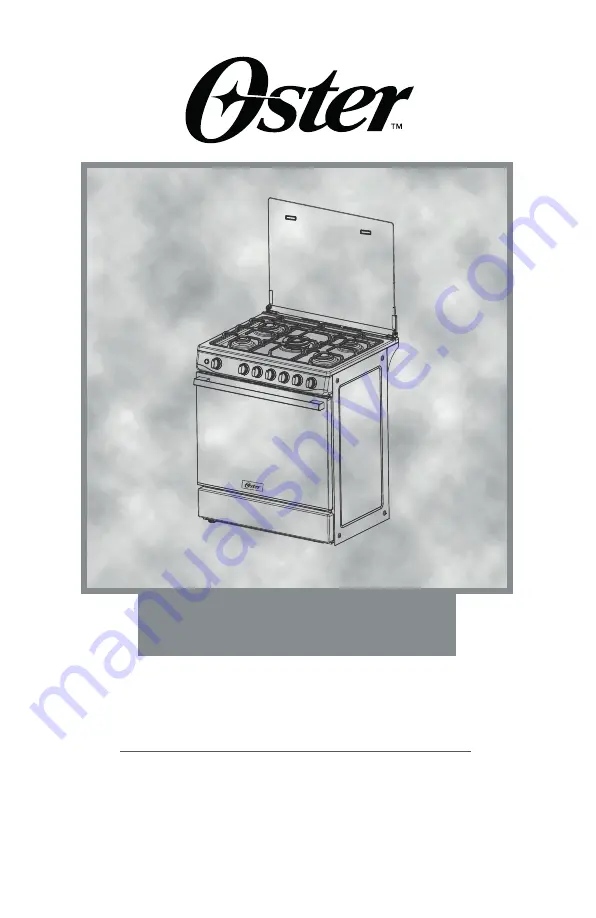
COCINA A GAS 

GAS COOKER

MODELO/

MODEL

OS-PGSGMICA305HSSGM


Содержание OS-PGSGMICA305HSSGM

Страница 1: ...DE USAR ESTE APARATO Manual de Instrucciones Instruction Manual LEA TODAS LAS INSTRUCCIONES ANTES DE USAR ESTE UNIDAD PLEASE READ ALL INSTRUCTIONS BEFORE USING THIS APPLIANCE COCINA A GAS GAS COOKER...

Страница 2: ......

Страница 3: ...CONSIDERACIONES IMPORTANTES ANTES DE INSTALAR INSTALACI N CONEXI N EL CTRICA CONEXI N DE GAS INSTRUCCIONES DE USO LIMPIEZA Y CUIDADO AVER AS Y SERVICIO POSTVENTA 1 2 3 3 4 8 16 20 NDICE...

Страница 4: ...nar n las instrucciones necesarias sobre la modificaci n del aparato a las condiciones de uso del pa s Antes de la instalaci n aseg rese de que las condiciones de distribuci n local naturaleza del gas...

Страница 5: ...espetuosa con el medio ambiente Dimensiones del aparato Tenga en cuenta las dimensiones especificadas Unidades adyacentes Las unidades adyacentes deben estar hechas de material incombustible Los frent...

Страница 6: ...portaobje tos Aseg rese de que la fuente de alimentaci n est debidamente conectada a tierra y de que el fusible y el sistema de cableado y tuber as del edificio puedan soportar la carga del aparato S...

Страница 7: ...x 1 00 mm2 3 x 1 5 mm2 Deje el cable de alimentaci n un poco m s largo para que pueda sacar el aparato para limpiarlo Proceder de la siguiente Retire el tablero trasero Afloje el tornillo del bloque d...

Страница 8: ...in Proceder de la siguiente Atornille el racor de tubo ondulado C y la junta B a la conexi n de gas A Sujete la uni n del tubo corrugado C en su lugar con una llave y atornille la pieza de conexi n a...

Страница 9: ...n correspondiente y la encimera Asegure el acceso sin obst culos a esta v lvula Comprobaci n de fugas Despu s de conectar la l nea de gas verifique las conexiones en busca de fugas con agua jabonosa U...

Страница 10: ...e las patas ajustables est n completamente atornilladas Nivelaci n del aparato Nivele el aparato una vez que se hayan completado todos los dem s trabajos Para hacer esto gire los pies ajustables Boqui...

Страница 11: ...arant a No asumimos ninguna responsabilidad por da os y fallas causados por errores de conexi n y configuraci n Precauciones de seguridad Este aparato est dise ado para uso dom stico nicamente Este ap...

Страница 12: ...con quemadores de gas libera calor y humedad adicionales Durante tiempos prolongados de cocci n y horneado encienda la campana extractora o aseg rese de que el rea est bien ventilada Riesgo de fuego...

Страница 13: ...io No coloque el horno ni los utensilios de cocina sobre el piso del horno Esto provocar una acumulaci n de calor Los tiempos de horneado y tostado ya no ser n los correctos y el esmalte se da ar Nunc...

Страница 14: ...n Quemadores de gas Quemador Semi rapido Quemador rapido Quemador triple 12 20 cm 20 23 cm 23 26 cm Quemadores Perillas de control para gas Quemadores de gas Semi Rapido QuemadorR pido Semi Rapido Tri...

Страница 15: ...da entre los ajustes 250 y 0 No gire la perilla m s all de este punto Configuracion Significado Off 140 250 Quemador de gas del horno encendido rango de temperatura en C Quemador del horno Quemador de...

Страница 16: ...uenta atr s que emite una se al audible cuando ha transcurrido el tiempo de cocci n Utilice esta perilla de control para configurar el tiempo de cocci n El minutero funciona independientemente del hor...

Страница 17: ...ese de que los alimentos no se desborden y de que no haya corrientes de aire al cocinar Si el quemador de gas no se enciende En caso de corte de energ a o enchufes de encendido h medos encienda el que...

Страница 18: ...control de la parrilla y g rela en el sentido de las agujas del reloj hasta la posici n GRILL El quemador de gas se enciende Mantenga la perilla de control presionada durante unos segundos hasta que...

Страница 19: ...l aparato mientras est caliente Encender el horno Para facilitar la limpieza del horno puede encender la iluminaci n del horno Para encender la iluminaci n presione el bot n de funci n para encender e...

Страница 20: ...taza del quemador sobre el quemador Coloque la tapa del quemador exactamente sobre la taza del quemador Las tapas de los quemadores est n revestidas con esmalte negro Sobre vez que cambien de color Es...

Страница 21: ...bisagras A hacia afuera 3 Cierre la puerta del horno lentamente hasta que alcance los ganchos A asegur ndose de que las bisagras est n bloquea das en las ranuras B de la puerta del horno 4 Con la puer...

Страница 22: ...Levante las palancas de bloqueo de ambos lados 3 Cierre la puerta del aparato hasta que sienta resistencia en un ngulo de unos 15 en relaci n con la puerta del aparato cerrada 4 Agarre la puerta por...

Страница 23: ...por ingenieros de servicio postventa completamente capacita dos Si su electrodom stico no se repara de manera profesional es posible que se exponga a riesgos sustanciales Reemplazo de la bombilla del...

Страница 24: ...ervicio posventa enumerados tambi n estar n encantados de brindarle los detalles de un punto de servicio posventa cercano a usted N mero E y n mero FD Indique el n mero SN del aparato cuando se ponga...

Страница 25: ...IMPORTANT SAFEGUARDS BEFORE INSTALLING INSTALLING ELECTRICAL CONNECTION GAS CONNECTION INSTRUCTIONS FOR USE CLENING AND CARE FAULTS AND THE AFTERSALES SERVICE 1 2 3 3 4 8 16 20 INDEX...

Страница 26: ...echnical instructions which will provide the necessary instructions concerning modification of the appliance to the conditions of use of the country Prior to installation ensure that the local distrib...

Страница 27: ...damaged in transport Dispose of packaging in an environmentally friendly manner Appliance dimensions Note the specified dimensions Adjacent units Adjacent units must be made of non combustible materia...

Страница 28: ...that the power supply is properly earthed and that the fuse and the wiring and piping system in the building can withstand the load from the appliance It is recommended that you configure the circuit...

Страница 29: ...3 x 1 5 mm2 Leave the mains cable slightly overlong SO that you can pull out the appliance for cleaning purposes Proceed as follows Remove the rear backboard Undo the screw on the terminal block that...

Страница 30: ...which are approved for this purpose Proceed as follows Screw the corrugated tube union C and the seal B to the gas connection A Hold the corrugated tube union C in place with a spanner and screw the c...

Страница 31: ...connecting line to the appropriate room and the hob Ensure unhindered access to this valve Checking for leaks After connecting the gas line check the connections for leaks using soapy water Initial u...

Страница 32: ...in order to position it make sure that the adjustable feet are screwed in fully Levelling the appliance Level the appliance once all other work has been completed To do this turn the adjustable feet N...

Страница 33: ...the appliance being incorrectly connected is not covered under the guarantee We assume no liability for damage and faults caused by connection and setting errors Safety precautions This appliance is...

Страница 34: ...on the extractor hood or make sure that the area is well ventilated Risk of fire Never switch on the extractor hood if the burners are not covered by cookware Grease residue in the filter of the extra...

Страница 35: ...accumulation The baking and roasting times will no longer be correct and the enamel will be damaged Never pour water directly into a hot oven This will damage the enamel When making very moist fruit...

Страница 36: ...or pan diameter Gas burners Semi Rapid burner Rapid burner Triple burner 12 20 cm 20 23 cm 23 26 cm Control knobs for gas burners Gas burners Semi Rapid burner Rapid burner Semi Rapid burner Triple b...

Страница 37: ...urner There is a limit stop between settings 250 and 0 Do not turn the knob beyond this point Setting Meaning Off 140 250 Oven gas burner on temperature range in C Oven burner Grill burner 24 Function...

Страница 38: ...eals The minute minder The minute minder is a countdown timer which emits an audible signal when the cooking time has elapsed The minute minder runs independently of the oven Control knob for minute m...

Страница 39: ...re that food does not boil over and that there are no draughts when cooking If the gas burner does not ignite In the event of a power failure or damp ignition plugs light the gas burner with a gas lig...

Страница 40: ...2 Press the control knob for the grill and turn it clockwise to position GRILL The gas burner ignites Keep the control knob pressed for a few seconds until the flame stabilises Do not turn the knob be...

Страница 41: ...f the appliance while they are hot Switching on the oven To make it easier to clean the oven you can lighting switch on the oven lighting To switch on the lighting press the function button for oven l...

Страница 42: ...y well When refitting Place the burner cup onto the burner Position the burner lid exactly on the burner cup The burner lids are coated with black enamel Over time they will change colour This does no...

Страница 43: ...en the oven door completely 2 Flip the hinge hooks A outwards 3 Shut the oven door slowly until it reacheshooks A making sure that hinges arelocked into slots B of the oven door 4 With the door in a s...

Страница 44: ...Lift up the locking levers on both sides 3 Close the appliance door until you feel resistanceat an angle of around 15 in relation to the closedappliance door 4 Grip the door on either side with both...

Страница 45: ...y be carried out by fully trained after sales service engineers If your appliance is not repaired professionally you may be exposing yourself to substantial risks Replacing the oven light bulb If the...

Страница 46: ...s service centres listed will also be happy to give you the details of an after sales service point near you E number and FD number Please quote the SN number of the appliance when contacting the afte...

Страница 47: ......

Страница 48: ...r Household Solutions S A licenciatario oficial de este producto Garant a limitada de un a o HECHO EN CHINA 202 Sunbeam Products Inc All rights reserved The Oster logo is a trademark of Sunbeam Produc...

Отзывы: