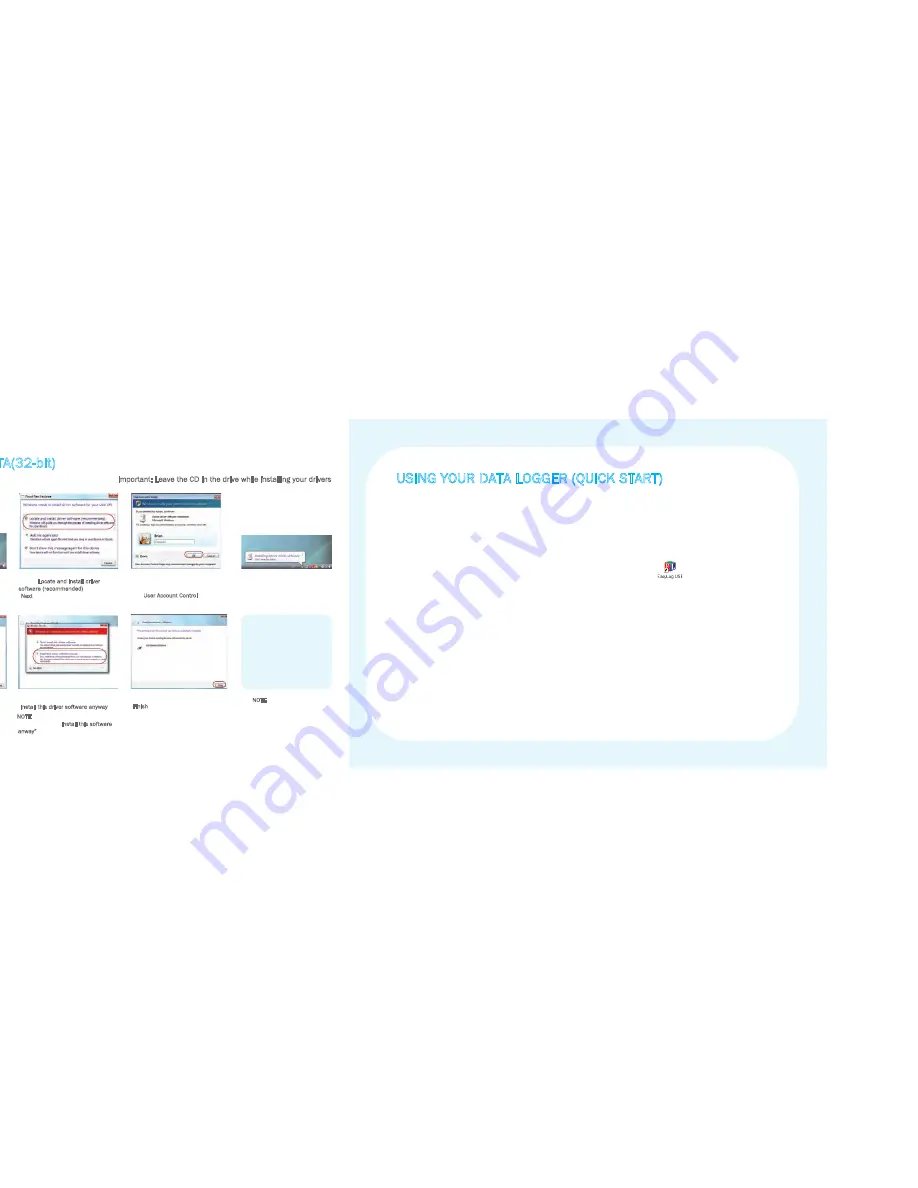
background image

7

8

WINDOWS ™VISTA(32-bit)

USB Driver Installation

1. Insert the USB data logger into a USB    

port on the computer. The following  

screens should automatically appear 

2. Select “Locate and install driver 

software (recommended)” then click 

“Next”

3. Installing the driver requires 

administrative privileges. Accept 

the “User Account Control” request,  

enter password if necessary

4.  The following screen should 

automatically appear

5. The above window will appear after a 

few seconds. Click “Next”

6. When this window appears, click 

“Install this driver software anyway”

NOTE - This is a feature of Windows™ 

Vista. Selecting “Install this software 

anway” will not cause any adverse 

changes/effects on your computer

7.  Installation is now complete, Click 

“Finish”

Important: Leave the CD in the drive while installing your drivers

You have successfully 

installed the necessary 

software and driver for 

your Termologger USB-THR. 

Please refer to page 8 

within this manual for a 

guide on how to use the 

data logger

NOTE
At various times Vista may ask

security questions; allow access

when prompted 

USING YOUR DATA LOGGER (QUICK START)

The Termologer USB-THR you have purchased is a stand-alone device. All communication with the data 
logger is via a USB port of a PC which has Osaka's configuration software and driver installed. To begin
take the following steps:

1. Ensure the battery is correctly installed
2. Insert the data logger into an available USB port on your PC
3. Double click on the EasyLog USB icon on your Windows

desktop

This will load the configuration software. Here you can setup the data logger for a new log, stop and
download a data logger that has been recording, view previously saved data in graph format, and check
the current status of the attached data logger (including the serial number). Follow screen instructions 
or consult the help file for further information on running the software.

When setup is complete the data logger should be removed from the USB port to begin recording. If 
you would like advice on how best to use the data logger for a particular application please contact 
your nearest Osaka representative.

Содержание TERMOLOGGER USB-THR

Страница 1: ...INSTALLATIONAND OPERATIONGUIDE GUIDE D OPERATION GU A DE OPERACI N GUIDA DI FUNZIONAMENTO BEDIENUNGSANLEITUNG...

Страница 2: ...s Windows Vista 32 7 Using your Termologger quick start 8 Status indication EN 9 Button operation EN 11 Indication d etat FR 13 Fonctionnement du bouton FR 15 Indicaci n de estado ES 17 Funcionamiento...

Страница 3: ...nufactured to be RoHS compliant 2 Einsetzen der Batterie Vor der Benutzung des datenloggers muss eine 3 6V 1 2AA Batterie entsprechend der un tenstehenden anweisungen eingesetzt werden Ersatzbatterien...

Страница 4: ...WIN USB Configuration Software successfully You now have to install the USB hardware driver Please refer to the relevant section depending on the Windows platform you are using Important Leave the CD...

Страница 5: ...Windows XP refers to the data logger as USB API and F32x Express USB Device throughout this installation 2 Ensure the CD is in the CD drive Select Install the software automatically Recommended then c...

Страница 6: ...rompted USING YOUR DATA LOGGER QUICK START The Termologer USB THR you have purchased is a stand alone device All communication with the data logger is via a USB port of a PC which has Osaka s configur...

Страница 7: ...m and supplementary details on the logger status see table opposite Temperature scale LCD Indicators Reading If the logger is set to LCD off or LCD on for 30 seconds mode then this will only be shown...

Страница 8: ...conds the LCD disables and the logger returns to the beginning of the display cycle Log is displayed to show that the logger is working No data is displayed in this mode Last logged temperature readin...

Страница 9: ...es est r gl pour d marrer une date et une heure sp cifiques Ceci est indiqu quand l enregistreur de donn es est r gl sur Appuyer pour d marrer l enregistrement Ceci est indiqu quand l enregistreur de...

Страница 10: ...nregistreur retourne au d but du cycle d affichage Le journal s affiche pour indiquer que l enregistreur fonctionne Aucune donn e n est affich e dans ce mode erni re lecture enregistr e de la temp rat...

Страница 11: ...nido Estas letras aparecen cuando el registrador de datos est configurado para iniciarse en una fecha y a una hora determinadas Estas letras aparecen cuando el registrador de datos est configurado par...

Страница 12: ...durante 30 segundos la pantalla LCD se desactiva y el registrador vuelve al principio del ciclo de la pantalla Aparece el mensaje Log que indica que el registrador est en funcionamiento En este modo...

Страница 13: ...quando il data logger impostato per l avvio ad una data ora specifica Viene visualizzato quando il data logger impostato per l avvio della registrazione tramite pressione del pulsante Viene visualizza...

Страница 14: ...er ritorna all inizio del ciclo di visualizzazione Viene attivata la modalit Registrazione a indicare che il logger in funzione In questa modalit non vengono visualizzati dati Lettura dell umidit mass...

Страница 15: ...h to Start Zum Starten dr cken Logging Speichervorgang Stopped Angehalten Wird angezeigt wenn das Datenerfassungsger t zu einen bestimmten Termin gestartet werden soll Wird angezeigt wenn das Datenerf...

Страница 16: ...och einmal gedr ckt schaltet sich das Display ab und das Datenerfassungsger t kehrt zum Anfang des Anzeigezyklus zur ck Log zeigt an dass das Datenerfassungsger t funktioniert In diesem Modus werden k...

Страница 17: ......

Отзывы: