Orion StarShoot 52099 Скачать руководство пользователя страница 9

16

17

2.  Setup 

SSHD and viewing device 

as explained in viewing on TV or 
Computer section.

3.  Remove the eyepiece and insert 

the 

SSHD (with 1.25" nosepiece) 

into the 1.25" eyepiece holder on 
your telescope.

4.  If the image is white on the screen, 

it’s overexposed. Adjust luminance 
submenu settings (ALC, Shutter 
speeds, Gain) as needed to reduce 
the brightness and blurring.

5.  Focus telescope until you get a 

sharp image on your computer screen.

6.  Experiment with the different camera settings. First use the presets to 

become familiar with each, then tune and resave each to get the best views 
for your particular telescope.

recording Video

The SD video can be recorded onto computer via the included Video Capture 
Device.
The HD video can be recorded onto computer via the Orion HD Capture Device 
(Sold Separately)
In order to capture video and use post processing software the video signal must 
be recorded onto your computer in a standard movie format.
Included with the 

SSHD is an SD video capture device. This device will record 

video from the SD output of the camera up to 720x480 (SD resolution) in uncom-
pressed AVI format (See Video Capture Device instructions for details).
In order to capture the full resolution HDMI output signal a HD capture device 
must be used.
We recommend the Orion HD Video Capture Device (Sold Separately).

Planetary imaging

Planetary imaging is also referred to as Solar System imaging, and includes the 
Moon, the Sun (with a proper full aperture solar filter!), the planets, and miscella-
neous objects in Earth’s orbit such as the International Space Station (ISS). The 
SSHD is capable of capturing all these objects in real time.
Just about any telescope is suitable for the 

SSHD when imaging the planets. 

The longer the focal length of the telescope, the larger and more detailed the 
images will appear. Unlike deep space astro-imaging, you actually want to have 
a long focal length and focal ratio for planetary imaging. Adding a 2x, 3x or higher 

Barlow to the telescope to increase magnification is not uncommon for planetary 
imaging (

Figure 17). The planets and other solar system objects are relatively 

bright and can be imaged with a darker or “slower” focal ratio.
High power planetary imaging often leaves the best focus up to your eyes when 
monitoring the live image. Use the digital zoom tool to aid in focus.
Use the fastest shutter speeds for your telescope and increase gain and other 
luminance settings as desired. Experiment with your telescope and camera to 
find the optimum settings for your particular setup.
The best planetary images will be obtained by aligning and stacking (combin-
ing) many individual images in order to improve image contrast, brightness, and 
detail.
A great way to obtain images for stacking is to take several seconds of video of 
the planet, then import the video into post processing software. Since the 

SSHD 

has a maximum frame rate of 50/60 frames per second, you can literally obtain 
hundreds of images for stacking in seconds! You save time by taking one video 
instead of dozens of individual pictures!
It is recommended to capture hundreds (or even thousands) of frames when 
planetary imaging. The large amount of frames can then be processed using 
stacking and aligning software such as RegiStax to give the best results.
Since you will be taking multiple images over a period of time, it is important you 
have a decent polar alignment in order to keep the planet within the field of view 
of the camera. To this end, having a motor drive (at least single-axis) will also be 
helpful. Otherwise, you will periodically need to rotate the R.A. slow-motion knob 
to keep the planet within the camera’s field.
We recommend a telescope mounted on a motorized altitude-azimuth or German 
Equatorial mount. You can potentially capture the Moon or a planetary image with 
a telescope that does not track, however you may not get optimum results. The 
sky moves 15 arcseconds per second! If you are imaging through a long focal 
length telescope, you essentially need to track the object or unwanted blurring 
could occur.
Fainter objects will require longer shutter speeds whereas bright objects like 
Jupiter or the Moon will require very shorter shutter speeds.  Adjust as needed 
for the object you are imaging.
Once you have achieved focus and good luminance and color, you are ready to 
capture and save images to your computer.

View and Stack

After you have captured your images, you can review them in RegiStax, a free-
ware program downloadable from the provided web link in the CD Launcher. Mac 
users can use the Lynkeos tool to align and stack their images.
We recommend stacking a minimum of 50 images or more.  The individual 
images have low bit depth (255 brightness level counts), and background noise.  
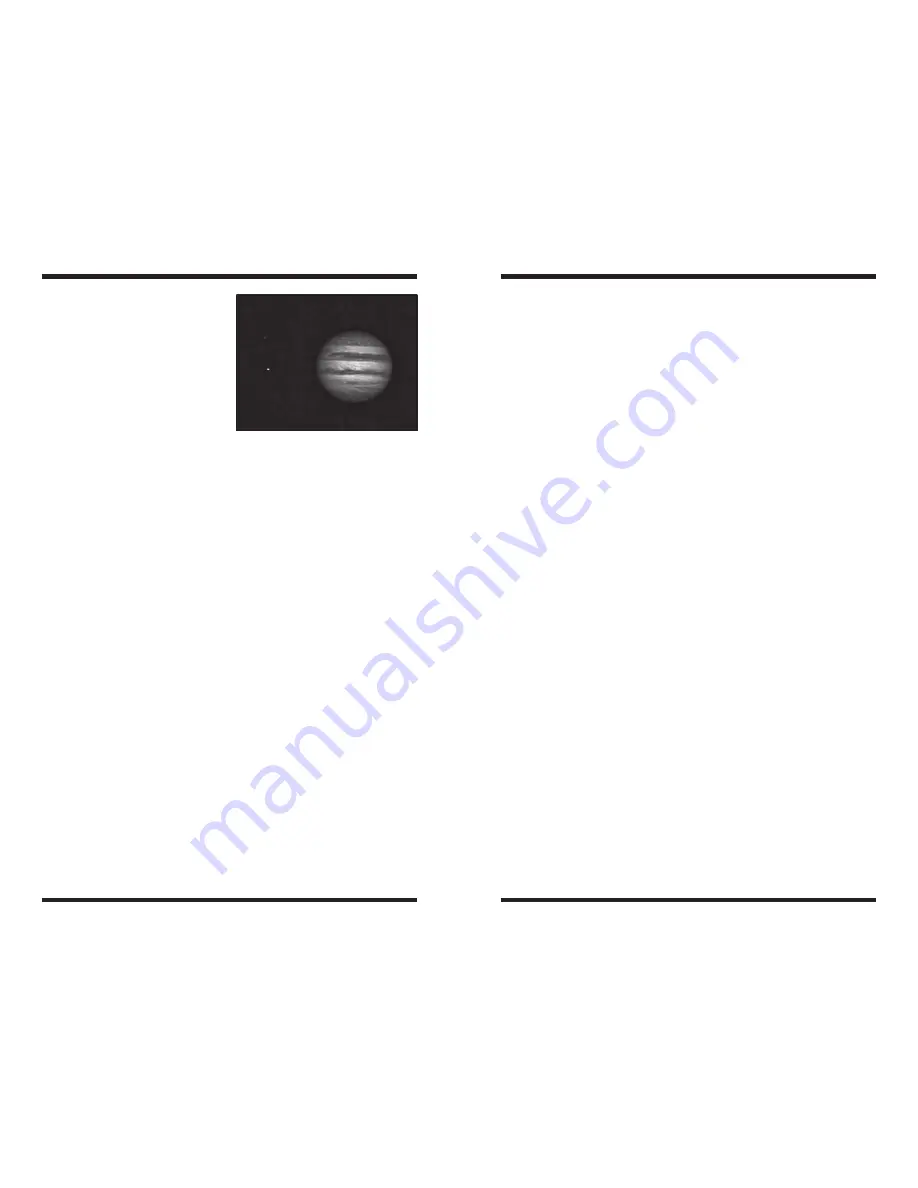
Figure 17. 

Planetary imaging. Jupiter 

and moons Io and Callisto.

Содержание StarShoot 52099

Страница 1: ... 04 14 Customer Support www OrionTelescopes com contactus Corporate Offices 89 Hangar Way Watsonville CA 95076 USA Copyright 2014 Orion Telescopes Binoculars All Rights Reserved No part of this product instruction or any of its contents may be reproduced copied modified or adapted without the prior written consent of Orion Telescopes Binoculars ...

Страница 2: ...eo in SD format on their computers Together with the video capture device the SSHD can be setup to broadcast live video over the internet using services such as nightskiesnetwork com Parts List Orion StarShoot HD Video Camera SSHD 1 25 Nosepiece HDMI Convertor box and control cable AUX 24V Power Adapter 50ft serial extension cable 50ft BNC cable 50ft RCA cable 20ft HDMI cable BNC to RCA adapter US...

Страница 3: ... cable to HD SDI output on back of SSHD Connect other end of BNC cable to the HD SDI IN on the HDMI Convertor box Connect 24V power adapter to HDMI Convertor box The red LED on camera will light up to show that the camera is receiving power Connect RCA cable to SSHD by connecting RCA cable to CVBS output using RCA to BNC adapter Plug opposite end of RCA cable into TV RCA input Select RCA input cha...

Страница 4: ...can be operated via computer software or alternatively manually by using the buttons on the back of the camera This option is beneficial for those who do not wish to use a computer Using camera buttons Press and hold center button to activate menu options Press left Right Up and Down to select and adjust Press exit to leave See section SSHD Manual Menu for available menu options Selecting Video Fo...

Страница 5: ...rol Software Select the tabs at the top of the submenus to navigate between submenus Figure 10 Setup Menu Display Control Figure 11 SDV Display Mode Select SDV Display mode to suit your TV from the following drop down menu choices 4 3 Full Wide Aspect button Toggles aspect ratio HDV Display Mode Select from the 6 available HDV Display modes to best match users viewing or recording devices For best...

Страница 6: ... the following shutter speeds are available NTSC 1 30s 1 1000s 1 30 1 50 1 60 1 100 1 120 1 180 1 350 1 500 1 750 1 1000 1 2000 1 4000 1 10000 PAL 1 30s 1 1000s 1 25 1 50 1 60 1 100 1 120 1 180 1 350 1 500 1 750 1 1000 1 2000 1 4000 1 10000 Shutter speed should be selected to best suit the object being observed and the telescope being used For low light objects Fixed Shutter should be turned OFF A...

Страница 7: ...conditions DNR Digital noise reduction Off Low Middle High Sharpness Used to enhance image Color Menu Figure 15 Color Color Mode Auto Default Automatically switches between Mono and Color based upon the lighting conditions Mono black and white image On color mode activated Off same as mono White Balance AWB Auto White Balance AWB is a preset type function whereby white color in the scene is detect...

Страница 8: ...tton active displays white cross hairs on screen to aid in centering target or to point to desired position on screen Select On button to activate Use X and Y sliders to position cross hair Press Center button to re center cross hairs Misc H Flip When button active flips image in the Horizontal plane V Flip When button active flips image in the Vertical plane Negative When button active inverts im...

Страница 9: ...ital zoom tool to aid in focus Use the fastest shutter speeds for your telescope and increase gain and other luminance settings as desired Experiment with your telescope and camera to find the optimum settings for your particular setup The best planetary images will be obtained by aligning and stacking combin ing many individual images in order to improve image contrast brightness and detail A gre...

Страница 10: ... Much like planetary and lunar imaging solar imaging requires fast frame rates and shutter speeds Terrestrial Imaging Nature and scenic imaging is possible with the SSHD when used with a tele scope or wide field lens Use the X and Y flip when image is reversed or upside down When using with a telescope the aper ture may need to be stopped down reduced in size in order to reduce the brightness duri...

Страница 11: ...al ratio For example Schmidt Cassegrain telescopes usually have a focal ratio of f 10 A 2x Barlow lens doubles the effective focal length of the telescope which makes the focal ratio f 20 Similarly a 3x Barlow lens will yield of focal ratio of f 30 You can also try using multiple Barlows to obtain even greater effective focal ratios There is a limit to how large a focal ratio your telescope and se...

Страница 12: ...age enhance ENHANCE HDV SDV Both HD high definition Video and SD standard definition video can be adjusted by Horizontal and Vertical Color Menu3 4 COLOR MODE MONO OFF ON AUTO Be changeable from color to B W automatically or fixed in color WHITE BALANCE ATW AWB Auto tracing white balance and auto while balance one push UV MATRIX U MATRIX V MATRIX U or V axis R G B color adjustable COLOR GAIN GAIN ...

Страница 13: ...hts It is not intended to remove or restrict your other legal rights under applicable local consumer law your state or national statutory consumer rights governing the sale of consumer goods remain fully applicable For further warranty information please visit www OrionTelescopes com warranty Orion Telescopes Binoculars Corporate Offices 89 Hangar Way Watsonville CA 95076 USA Customer Support www ...

Отзывы: