5
3. There are onscreen
directions to help navigate
through the next few steps.
Adjust the exposure and gain
settings until Polaris and a
few of the nearby stars are
clearly visible on the screen.
Click finish when this is done.
4. Double-click on Polaris in the
camera window. If the mount
is roughly Polar Aligned,
Polaris is likely the brightest
star in the field, as there
are no other brighter stars
nearby. You can compare
the star pattern in the camera
window with Planetarium
software, or save a .bmp file
under the File menu, and
plate solving the image using
online free plate solvers,
such as nova.astrometry.
net, to verify if you are in fact
looking at Polaris. With a
little practice, it will become
obvious when Polaris is in
the field of view.
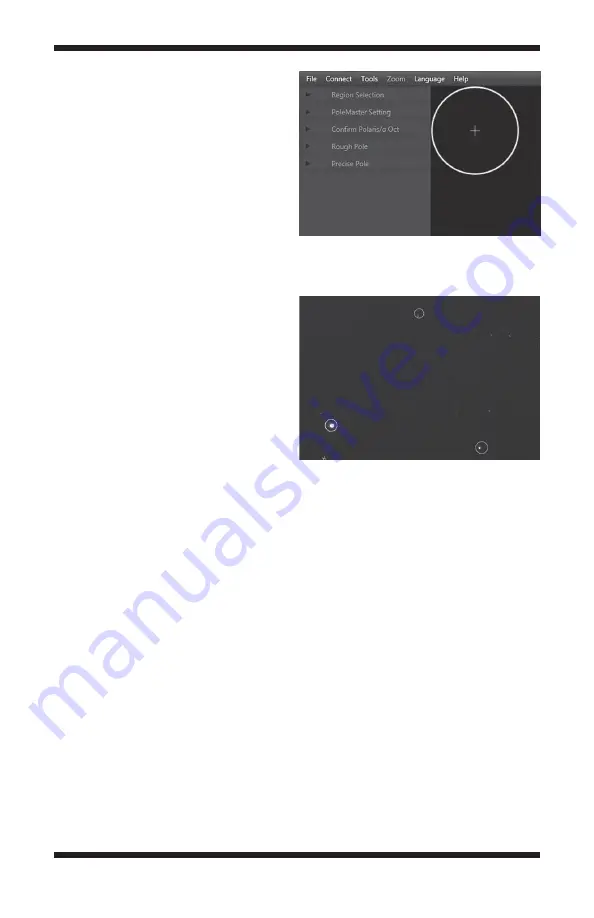
5. Once you have double-clicked on Polaris, a rotatable overlay is shown –
use the slider to rotate the overlay until the circles shown match up with
stars in the image
(Figure 7)
. You can also use the arrow keys or the
mouse scroll wheel to rotate the template. Click success when finished.
6. Next the program will ask you to choose a star in the field other than
Polaris and double-click on it. Choose a star not too close to Polaris so the
process is more accurate. Remember which star this is as you will click on
it again in subsequent steps. Double-click on the chosen star.
7. Next the program will request the mount be moved in RA. Move the mount
slightly using the motor controller to make sure the stars are rotating in
the requested direction. Once the direction is determined (it will either be
the left or right arrow on the controller), move the star approximately 30
degrees. You can use the setting circle on the mount to determine how
far 30 degrees is, or just estimate.
Note:
use the motor to move the
mount, do not unlock the RA clutch and move the mount by hand.
Using the motor while the mount axis is locked down provides far
more accuracy.
Figure 6.
The screen when the program is
loaded up. Click the menu item “Connect” to
start up the camera.
Figure 7.
Use the rotation slider to rotate
the template until the circles overlap with the
stars in the image.


