Point your telescope at a bright star and have approximately a 25mm eyepiece in the draw tube. Focus
the star, if OK, use a much higher power eyepiece, minimum 10mm. If it focuses to a symmetrical point,
enjoy your evenings viewing and read no further. If you are seeing a flare to one side of the focused
star image some collimation is needed.
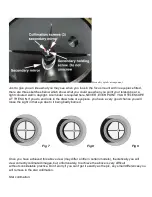
Assuming you have a flare to one side carry out the following: Put your low power eyepiece in and
defocus inside the telescopes focal point until you see a `Polo mint' image occupying about 10% of
your field of view. If your collimation is a way out the `hole' will be off center. Here is where your
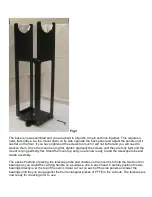
apprentice comes in again. You need to adjust the three screws around the edge of the central part of
your spider, the section which holds your secondary mirror and it's holder. Very carefully ask your
assistant to unscrew any of the screws about 1/8th of a turn whilst you are looking at the out of
focus image. The object of the exercise here is to move the image in your field of view in the direction
of the thickest part of the `mint' If the adjustment of the chosen screw is moving your image
in the wrong direction, move it back to its original position and then select the correct screw(s) to
achieve this motion of the out of focus image in the required direction. I say screws because you only
have options of 120 degree movement by adjusting any one screw, two screws may need adjusting by
various amounts to achieve the correct direction. Careful here, very small amounts are needed.
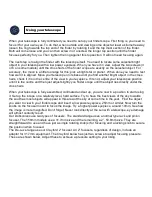
When you have moved the out of focus image in the required direction, try refocusing the telescope
and you will see an immediate improvement in the reduction of flaring. Continue with the 25mm
eyepiece until all looks symmetrical. Then, repeat the procedure with a higher power eyepiece.
Eventually you will be able to collimate your telescope with this method in a couple of minutes. When
the hole in the mint is central, a focused image should show you pin sharp images. Do not expect to
see small pin sharp images of very bright stars, there is so much light from them condensed into a very
small disc that your eye cannot cope, the sparkly effect is caused by this. To test your telescope for
final collimation, try about a third magnitude star.
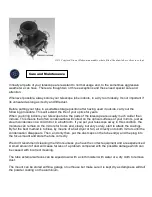
In daylight following this procedure you can look into your focus mount draw tube and make a mental
note of what it looks like, the relationships of eye reflection etc., etc. You will probably see that
perfect symmetry is not present. The reason for this is that there is an added tolerance on the
secondary's dimensions, which will allow correct optical collimation within a `band' of some positions of
your secondary. It is possible to achieve both visual symmetry and optical symmetry (collimation) but it
will take considerable practice and achieve virtually no difference in the telescope's performance.
I appreciate purists will frown on the last sentence above and several others, but, this is about getting
you outside looking at sharp, symmetrical star images and fine planetary detail, it is not intended as a
lesson in optical physics and engineering. Experience in collimating will allow you to check in seconds
as to whether your telescope, or anyone else's, is correctly collimated. In a short period of time you will
appreciate the difference a well collimated telescope makes to the quality of star images, and, you will
strive to get just that bit better collimation, and hence, performance out of your telescope.
If anyone needs any elaboration on any of the above points, feel free.
Good viewing!


