background image

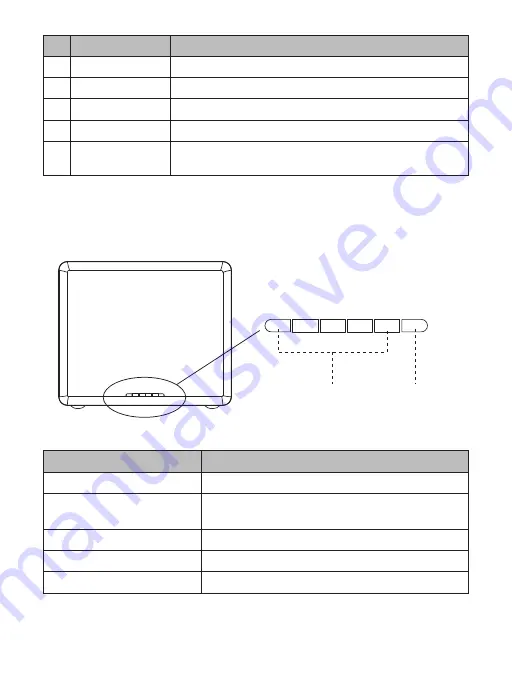
2.2 Hard drive indicator

Hard drive light

Power light

NO.


Name

Power button
Type-C Interface
Power Interface      
Front  lid

Hard drive Indicator

Instruction


Power switch
Data transfer interface, the insertion 
12V power input interface (always use the original power adapter)
Magnetic opening type
The right one is power light, other lights are hard drive light
(Note: The NS100C3 has only one LED light)

The status of LED indicator

Power

Insert hard drive

Read
Malfunction
Hibernation

Details

Power light always is blue
Hard drive light always is blue; no hard disk, 
the hard drive light does not shine
The hard drive light blinks blue
The hard drive light always is red
The hard drive light does not shine

- 4 -

Содержание NS-Type-C Series

Страница 1: ...NS Type C Series NS User Manual...

Страница 2: ...Take you to explore the newest storage fun...

Страница 3: ...manual 3 Usage manual 3 2 1 Appearance 3 2 2 LED indicator 4 2 3 Product parameter 5 2 4 Instructions 5 2 4 1 Installation 6 2 4 2 Connect with computer 6 2 4 3 Uninstall the hard drive 6 The format...

Страница 4: ...hard drive that does not have a saved le so that you can safely familiarize yourself with the use of this product 1 3 Features 1 3 1 Product Functions 1 Type C interface supports forward and reverse...

Страница 5: ...for your support If you have any questions please contact your dealer 1 5 About the manual This manual is compatible for the NS products with Type C interface The corresponding products are as follow...

Страница 6: ...inal power adapter Magnetic opening type The right one is power light other lights are hard drive light Note The NS100C3 has only one LED light The status of LED indicator Power Insert hard drive Read...

Страница 7: ...supported Indicator Installation Texture System supported Parameter Products with Type C interface USB3 1 Type C 5Gbps NS100C3 Support 10Gbps Theoretical value 3 5 Inch SATA HDD Yes Magnetic opening...

Страница 8: ...e hard drive insert the original power adapter into the power port use the data cable to connect the product data port and the other end is connected to the computer s USB port 2 4 3 Remove Devices 1...

Страница 9: ...mounted drive to ORICO dock properly and attach the orico dock to computer 2 Right click on computer Select Manage Open Disk Management in Storage of opened windows a popup will come up here suggest...

Страница 10: ...pplicable and the rest will be unable to initialize C If you closed this windows by mistake or the windows have never come up right click on the Disk Number and select Initialize Disk will get the win...

Страница 11: ...5 Assign new drive letter for the new volume drive letter such as C D E F G will shown in computer and explorer for application 9...

Страница 12: ...ume You can set the le system NTFS or FAT32 allocation unit size and volume label here Perform a quick format is recommended Please click Next when everything is con gured 7 Click Finish will Start to...

Страница 13: ...Please ensure the drive have been formated properly Right click on computer select Manage Open Disk Management in Storage of opened windows will shows any drive mounted to your computer and if they ar...

Страница 14: ...refer to this manual when using orico product or experienced issues Additionally please kindly contact ORICO customer care team if any concern ORICO is registered trademark of ORICO Technologies Co L...

Страница 15: ...ot cause harmful interference and 2 this device must accept any interference received including interference that may cause undesired operation 3 Files data drive and device lost or damage Note Compen...

Страница 16: ......

Страница 17: ...E mail supports orico com cn Company Add 19 F Block 14A Zhonghaixin Science Technology Park Longgang District Shenzhen China Factory Add Room 201 Building 11 No 24 Tangjiao Road Changping Town Donggua...

Отзывы: