4
Assembly:
Remove all of the pieces from the box and lay them
out so you can clearly see them. Check that you
have all parts. Keep the box for storage, or if you
ever need to return the telescope for service.
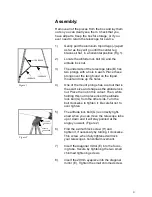
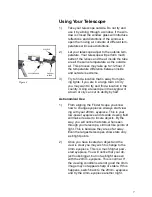
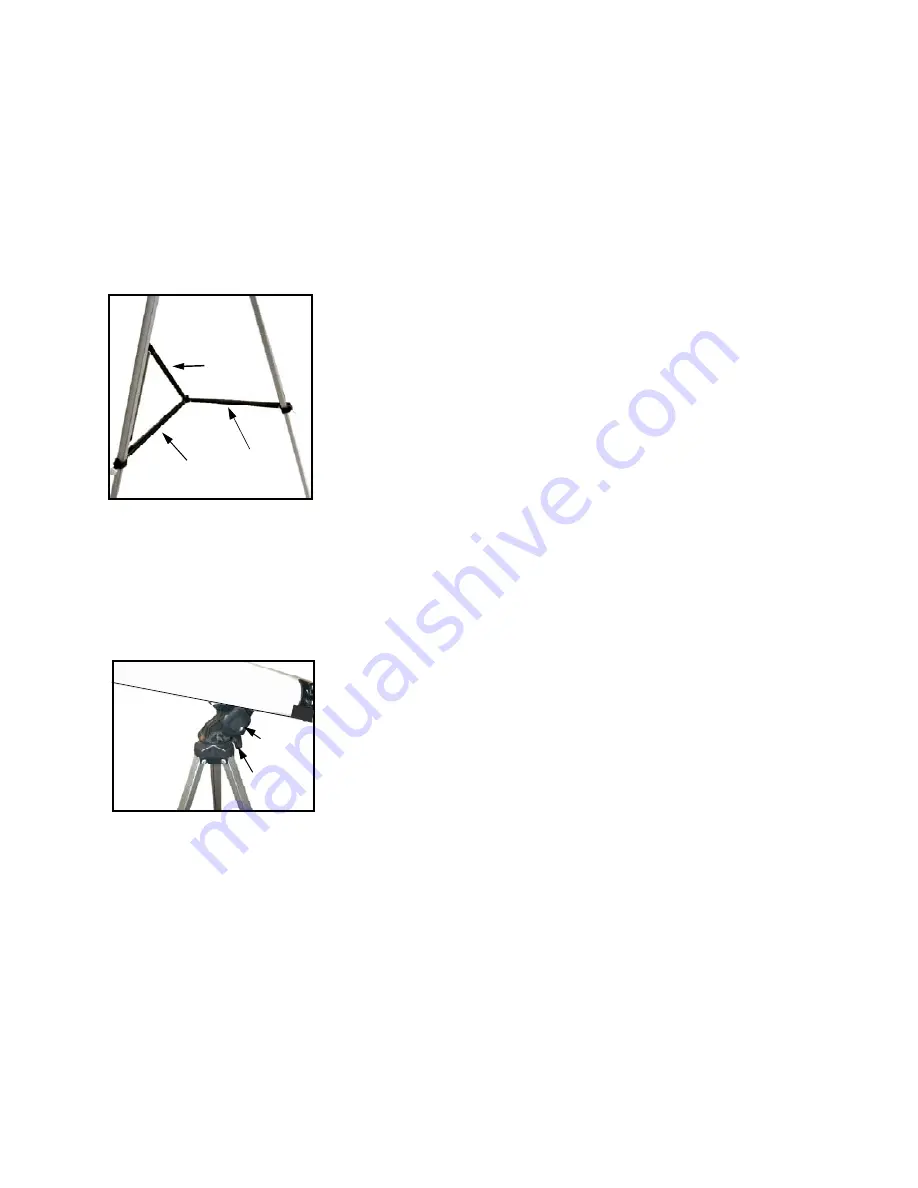
1) Gently pull the aluminum tripod legs (J) apart
as far as they will go until the center leg
braces sit flat, in a horizontal position (Fig.1).
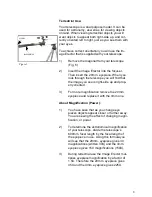
2) Locate the altitude lock bolt (G) and the
altitude lock nut.
3) The underside of the telescope tube (B) has
two prongs with a hole in each. Place these
prongs over the tang found on the tripod
mount and line up the holes.
4) One of the mount prongs has a cutout that is
the exact size and shape as the altitude lock
nut. Place the nut in this cutout. Then, while
holding this nut in place insert the altitude
lock bolt (G) from the other side. Turn the
bolt clockwise to tighten it. Be careful not to
over tighten.
5) The altitude lock bolt (G) is correctly tight-
ened when you can move the telescope tube
up or down and it will stay pointed at the
angle you want. (Figure 2)
6) Find the azimuth lock screw (H) and
tighten it, if necessary by turning it clockwise.
This screw, when fully tightened will lock
your telescope’s horizontal movement.
7) Insert the diagonal mirror (E) into the focus-
ing tube. Secure by tightening the two small
chromed tightening screws.
8) Insert the 20mm eyepiece into the diagonal
mirror (E). Tighten the small chromed screw.
LEG BRACE
LEG BRACE
LEG BRACE
ALTITUDE
LOCK BOLT
G
Figure 1
Figure 2
AZIMUTH
LOCK SCREW
H
Содержание OR 1208SS
Страница 1: ...orbitor OR 1208SS Astronomical and Terrestrial Telescope Instruction Manual ...
Страница 14: ...14 ...


