


Orbit fitness
©2013
11
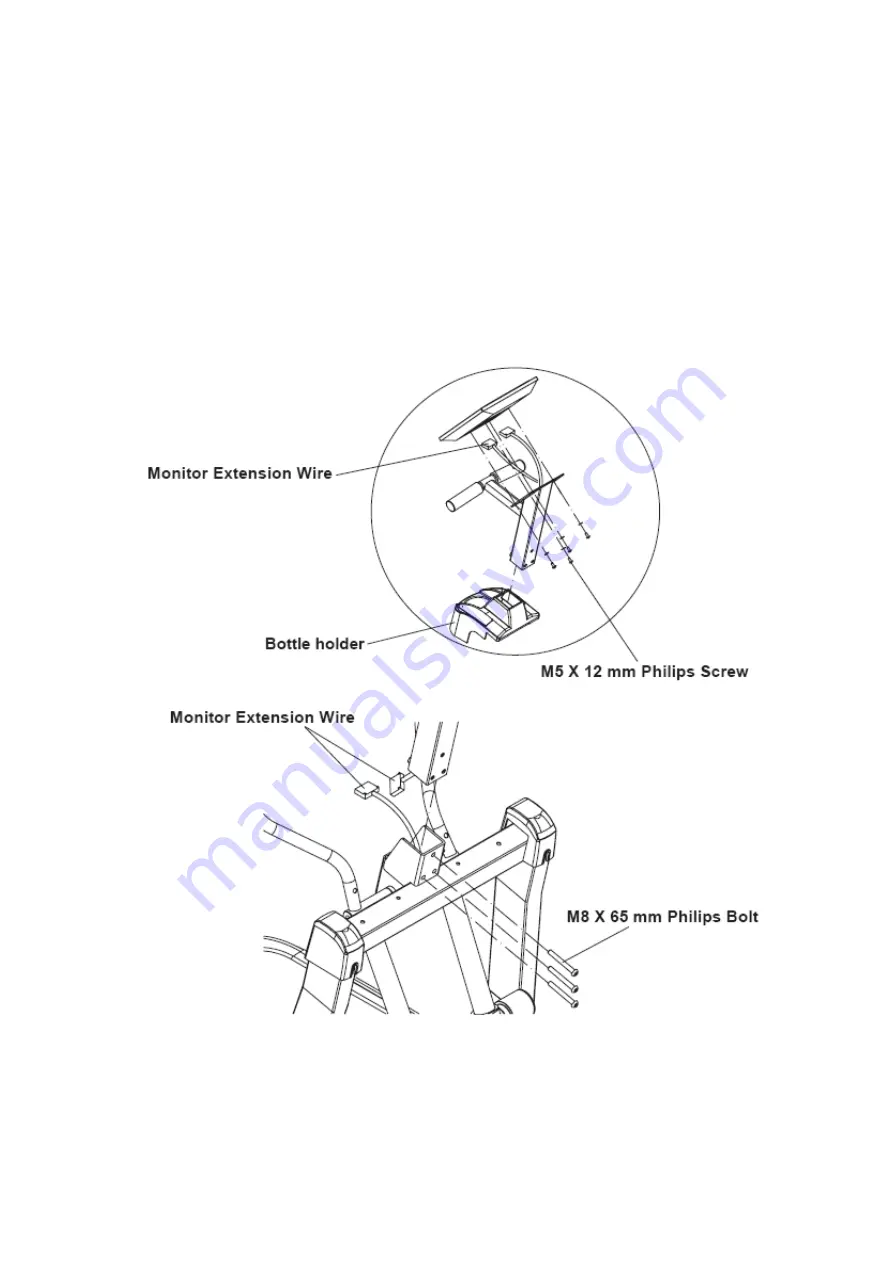
Step 8
A. Insert bottle holder into the tube of the monitor frame.
B. Connect the harness from the monitor frame to the main frame and secure using
Three M8*65 Allen Bolt.
C. Connect the harnesses from the monitor to the monitor frame then secure using
Four M5*12 phillips screws.
Содержание Phoenix CDXP
Страница 1: ...Phoenix CDXP Elliptical User Manual...
Страница 18: ...Orbit fitness 2013 17 Exploded Diagram...
Страница 26: ...Orbit fitness 2013 26 NOTES...
Страница 27: ...Orbit fitness 2013 26 NOTES...
Страница 28: ...Phoenix CDXP Elliptical...


