background image

English 19

USING THE PROJECTOR

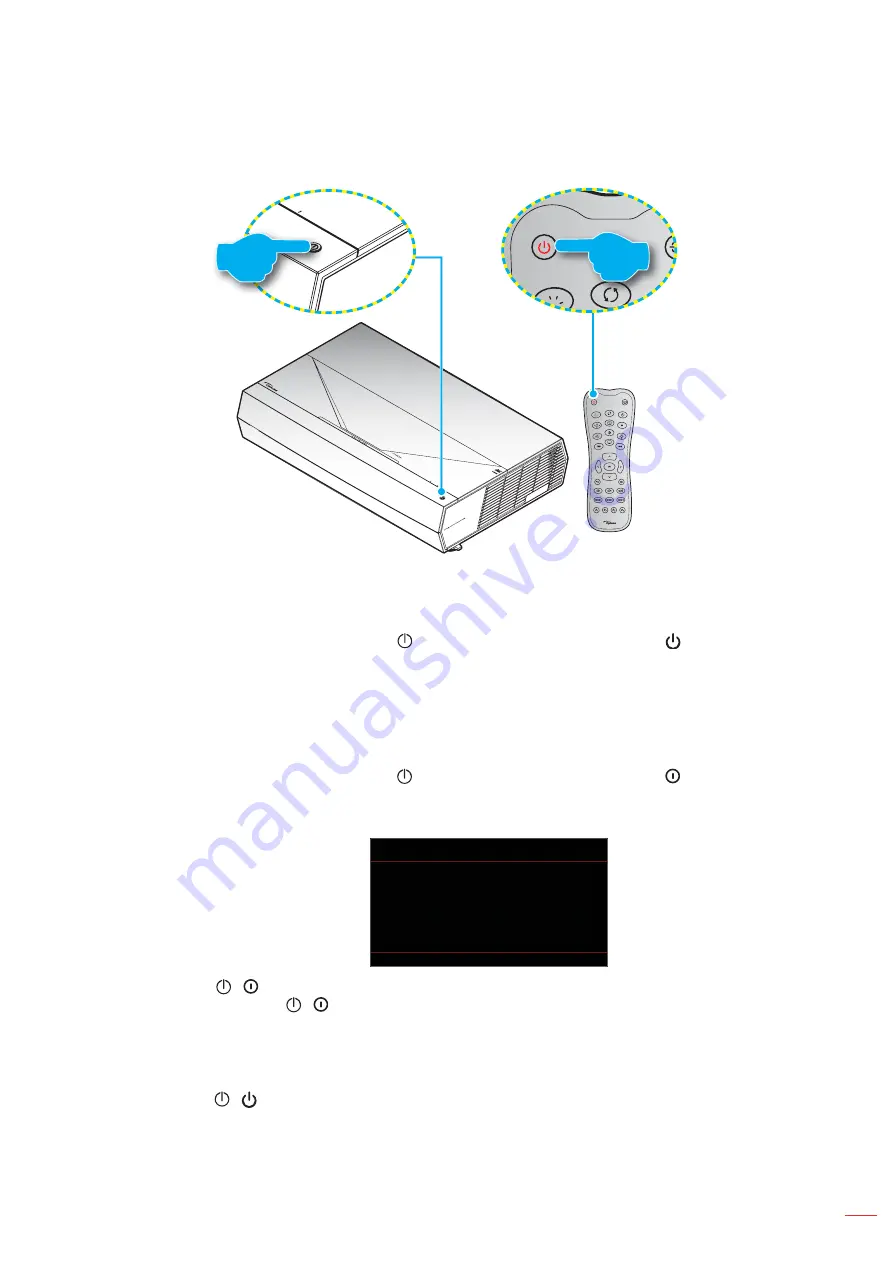
  Powering on / off  the projector

or

Powering on

1. 

Securely connect the power lead and signal/source cable. When connected, the Power LED will turn 

red.

2. 

Turn on the projector by pressing the   button on the projector keypad or the   button on the remote 

control.

3. 

A start up screen will display in approximately 20 seconds and the Power LED will be fl ashing white.

Note: 

The fi rst time the projector is turned on, you will be prompted to select the preferred language, projection 

orientation, and other settings.

Powering off 

1. 

Turn off  the projector by pressing the   button on the projector keypad or the   button on the remote 

control.

2. 

The following message will be displayed:

Power Off 

Power Off ?

Press power key again.

3. 

Press the   /   button again to confi rm, otherwise the message will disappear after 10 seconds. 

When you press the   /   button for the second time, the projector will shut down.

4. 

The cooling fans will continue to operate for about 10 seconds for the cooling cycle and the Power 

LED will fl ash white. When the Power LED turns solid red, this indicates the projector has entered 

standby mode. If you wish to turn the projector back on, you must wait until the cooling cycle has 

fi nished and the projector has entered standby mode. When the projector is in standby mode, simply 

press the   /   button again to turn on the projector.

5. 

Disconnect the power lead from the electrical outlet and the projector.

Note: 

It is not recommended that the projector is turned on immediately, right after a power off  procedure.

During startup the power LED is fl ashing white and during normal operation, the power LED is solid 

white.

Содержание DLP D2+

Страница 1: ...User manual DLP Projector...

Страница 2: ...EE 9 INTRODUCTION 10 Package Overview 10 Standard accessories 10 Product Overview 11 Connections 12 Keypad and LED indicators 12 Remote control 13 SETUP AND INSTALLATION 14 Connecting sources to the p...

Страница 3: ...ish 3 ADDITIONAL INFORMATION 37 Compatible resolutions 37 Image size and projection distance 42 Remote control codes 43 Troubleshooting 45 Warning indicators 46 Specifications 49 Optoma global offices...

Страница 4: ...recommended to install the projector in a location that does not block ventilation As an example do not place the projector on a crowded coffee table sofa bed etc Do not put the projector in an enclo...

Страница 5: ...oduct is not being used for a long period of time Do not setup the projector in places where it might be subjected to vibration or shock Do not touch the lens with bare hands Remove battery batteries...

Страница 6: ...e of laser radiation Do not stare into beam when the projector is on The bright light may result in permanent eye damage When turning on the projector make sure no one within projection range is looki...

Страница 7: ...ore likely than adults to experience these symptoms Parents should monitor their children and ask whether they are experiencing these symptoms Watching 3D projection may also cause motion sickness per...

Страница 8: ...he DLP logo are registered trademarks of Texas Instruments and BrilliantColorTM is a trademark of Texas Instruments Amazon Alexa and all related logos are trademarks of Amazon com Inc or its affiliate...

Страница 9: ...rmful interference and 2 This device must accept any interference received including interference that may cause undesired operation Notice Canadian users This Class B digital apparatus complies with...

Страница 10: ...e Some accessories may vary from region to region The warranty card is only supplied in some specific regions Please consult your dealer for detailed information Standard accessories Projector Remote...

Страница 11: ...or intake and exhaust vents When operating the projector in an enclosed space allow at least 50cm 19 clearance around the intake and exhaust vents No Item No Item 1 Ventilation outlet 6 Ventilation in...

Страница 12: ...IF Port PCM 2 channel Digital 5 1 7 HDMI 2 Port HDMI v2 0 3 HDMI 3 Port HDMI v2 0 8 Power Socket 4 RS 232 Port 9 KensingtonTM Lock Port 5 HDMI 1 Port HDMI v2 0 eARC Note Not recommended for charging a...

Страница 13: ...io 4 Keystone 18 Sleep Timer 5 Contrast 19 3D Menu On Off 6 Brightness 20 Lamp 7 CMS 21 HDR 8 Enter 22 Mode 9 Four Directional Select Keys 23 Menu 10 Return 24 Vol 11 Vol 25 HDMI3 12 Mute 26 HDMI2 13...

Страница 14: ...2 How to determine screen size for a given distance please refer to distance table on page 42 Note The further away the projector is placed from the screen the projected image size increases and verti...

Страница 15: ...6 HDMI Dongle 3 RS232 Cable 7 HDMI Cable 4 USB Cable Service only DDP FW upgrade 8 Power Cord Note You can connect a USB mouse or keyboard to the USB port To ensure the best image quality and avoid co...

Страница 16: ...stable foot you wish to adjust on the underside of the projector 2 Rotate the adjustable foot clockwise or counterclockwise to raise or lower the projector Tilt Adjustment Feet Tilt Adjustment Ring No...

Страница 17: ...ries of different types Different types of batteries have different characteristics Do not mix old and new batteries Mixing old and new batteries can shorten the life of new batteries or cause chemica...

Страница 18: ...ween the remote control and the IR sensor on the projector that might obstruct the infra red beam Make sure the IR transmitter of the remote control is not being shined by sunlight or fluorescent lamp...

Страница 19: ...f Press power key again 3 Press the button again to confirm otherwise the message will disappear after 10 seconds When you press the button for the second time the projector will shut down 4 The cooli...

Страница 20: ...n the connected source that you want to display on the screen such as computer notebook video player etc The projector will automatically detect the source If multiple sources are connected press the...

Страница 21: ...button on the remote control to enter sub menu 3 Use keys to select the desired item in the sub menu and then press the button to view further settings Adjust the settings by using keys 4 Select the...

Страница 22: ...Menu 4 Values Display Image Settings Display Mode Video Mode Cinema Film HDR HLG HDR SIM Game Reference Bright User 3D ISF Day ISF Night ISF 3D Wall Color Off Default Blackboard Light Yellow Light Gr...

Страница 23: ...Cool Cold Color Matching Color Red Default Green Blue Cyan Yellow Magenta White Hue R 50 50 Default 0 Saturation G 50 50 Default 0 Gain B 50 50 Default 0 Reset Cancel Default Yes Exit RGB Gain Bias Re...

Страница 24: ...ault Aspect Ratio 4 3 16 9 21 9 32 9 V Stretch Full screen Auto Zoom 5 25 Default 0 Image Shift H 100 100 Default 0 V 100 100 Default 0 Geometric Correction Four Corner H Keystone 10 10 Default 0 V Ke...

Страница 25: ...Timer Month Day Hour Change Password Default 1234 HDMI Link Settings HDMI Link Off Default On Inclusive of TV No Default Yes Power On Link Mutual Default PJ Device Device PJ Power Off Link Off Default...

Страница 26: ...Default Default Custom HDMI3 Default Default Custom High Altitude Off Default On Display Mode Lock Off Default On Information Hide Off Default On Logo Default Default Neutral Background Color None De...

Страница 27: ...saturation for non HDR content 720p and 1080p Broadcast Cable TV 1080p Blu ray non HDR Games etc Note This mode can ONLY be used with non HDR content Game Optimises your projector for maximum contras...

Страница 28: ...uto Auto detect HDR signal HDR Picture Mode Bright Choose this mode for brighter more saturated colors Standard Choose this mode for natural looking colors with a balance of warm and cool tones Film C...

Страница 29: ...olor balance of red and green Saturation Adjust a video image from black and white to fully saturated color Gain Adjust the image brightness Reset Return the factory default settings for color matchin...

Страница 30: ...of the displayed image between the following options 4 3 This format is for 4 3 input sources 16 9 21 9 32 9 These formats are for 16 9 21 9 32 9 input sources like HDTV and DVD enhanced for Wide scr...

Страница 31: ...1620 image and then scale to 3840 x 2160 for display Full screen Scale to 5068 x 2852 132 Enlarge then get the central 3840 x 2160 image to display Note Use this format to see the non subtitle of 2 35...

Страница 32: ...rizontally and make a squarer image Horizontal keystone is used to correct a keystoned image shape in which the left and right borders of the image are unequal in length This is intended for use with...

Страница 33: ...ector keypad or on the remote control Signal Power On Choose On to activate Signal Power mode The projector will automatically power on when a signal is detected without pressing the Power key on the...

Страница 34: ...ices to the projector with HDMI cables you can control them on the same power on or power off status using the HDMI Link control feature in the projector s OSD This lets one device or multiple devices...

Страница 35: ...find an available input source Input Source Select the input source between HDMI1 HDMI2 and HDMI3 Input Name Use to rename the input function for easier identification The available options include H...

Страница 36: ...English 36 USING THE PROJECTOR Info menu View the projector information as listed below Regulatory Serial Number Source Resolution Refresh Rate Display Mode Projector ID Brightness Mode FW Version...

Страница 37: ...1080 24 50 60 HDTV 1080p 1920 x 1080 240 WQHD 1440p 2560 x 1440 120 UHD 2160p 3840 x 2160 24 50 60 For 4K UHD Computer compatibility VESA standards Computer Signal Analog RGB compatibility Signal Reso...

Страница 38: ...0 x 768 75 N A N A WXGA 1280 x 768 85 N A N A WXGA 800 1280 x 800 60 N A N A SXGA 1280 x 1024 64 60 N A N A SXGA 1280 x 1024 80 75 N A N A SXGA 1280 x 1024 91 1 85 N A N A SXGA 1400 x 1050 60 N A N A...

Страница 39: ...60 60 N A N A N A N A Note 1920 x 1200 60Hz only supports RB reduced blanking means the resolution is supportred N A means the resolution is not supported Input signal for HDMI Signal Resolution Refre...

Страница 40: ...efault 1920 x 1080p 120Hz 16 9 2560 x 1440 120Hz 800 x 600 72Hz 1280 x 800 60Hz 720 x 480p 60Hz 4 3 1920 x 1080 240Hz 800 x 600 75Hz 1280 x 1024 60Hz 1920 x 1080i 60Hz 16 9 832 x 624 75Hz 1920 x 1200...

Страница 41: ...20p Frame Packing 1280 x 720 60Hz HDMI1 HDMI2 HDMI3 1080p Frame Packing 1920 x 1080 23 98 24Hz HDMI1 HDMI2 HDMI3 PC 3D Timing Signal Timing Supported Port Frame Sequential 800 x 600 120Hz HDMI1 HDMI2...

Страница 42: ...9 507 12 327 90 0 558 21 983 0 175 6 881 0 194 7 625 0 189 0 284 7 447 11 198 0 271 0 344 10 658 13 547 100 0 615 24 197 0 231 9 095 0 250 9 839 0 216 0 322 8 501 12 668 0 33 0 407 13 003 16 04 110 0...

Страница 43: ...lly synchronizes the projector to the input source Sleep Timer 32 CD 63 9C Set the sleep timer interval Keystone 32 CD 7 F8 Adjust image distortion caused by tilting the projector Aspect Ratio 32 CD 6...

Страница 44: ...or make adjustments to your selection 32 CD 14 EB 32 CD 10 EF 32 CD 12 ED Enter 32 CD 0F F0 Confirm your item selection Return 32 CD 0D F2 Move to the previous menu Menu 32 CD 0E F1 Display or exit th...

Страница 45: ...VD title When you play anamorphic DVD or 16 9 DVD the projector will show the best image in 16 9 format on projector side If you play 4 3 format DVD title please change the format as 4 3 in projector...

Страница 46: ...rojector Make sure batteries are inserted correctly Replace batteries if they are exhausted Warning indicators When the warning indicators see below light up or flash the projector will automatically...

Страница 47: ...d steady light when cooling fan turns off Quick Resume 100 secs Flashing 0 25 sec off 0 25 sec on Error Light source failure Flashing Steady light Error Fan failure Flashing Flashing Error Over temp F...

Страница 48: ...ON Fan failed Warning FAN LOCKED The projector will switch off automatically Please contact a service center for repair Out of display range HDMI Out Of Range Power down warning Power Down Power Down...

Страница 49: ...ower 5V 1 5A RS232C male 9 pin D SUB Line out 3 5mm SPDIF Out 2 channels PCM Digital 5 1 Colour 1073 4 Million color Scan rate Horizontal scan rate 31 0 to 135 0 KHz Vertical scan rate 24 to 120 Hz Sp...

Страница 50: ...c europe com Benelux BV Randstad 22 123 31 0 36 820 0252 1316 BW Almere 31 0 36 548 9052 The Netherlands www optoma nl France B timent E 33 1 41 46 12 20 81 83 avenue Edouard Vaillant 33 1 41 46 94 35...

Страница 51: ...www optoma com...

Отзывы: