6
•
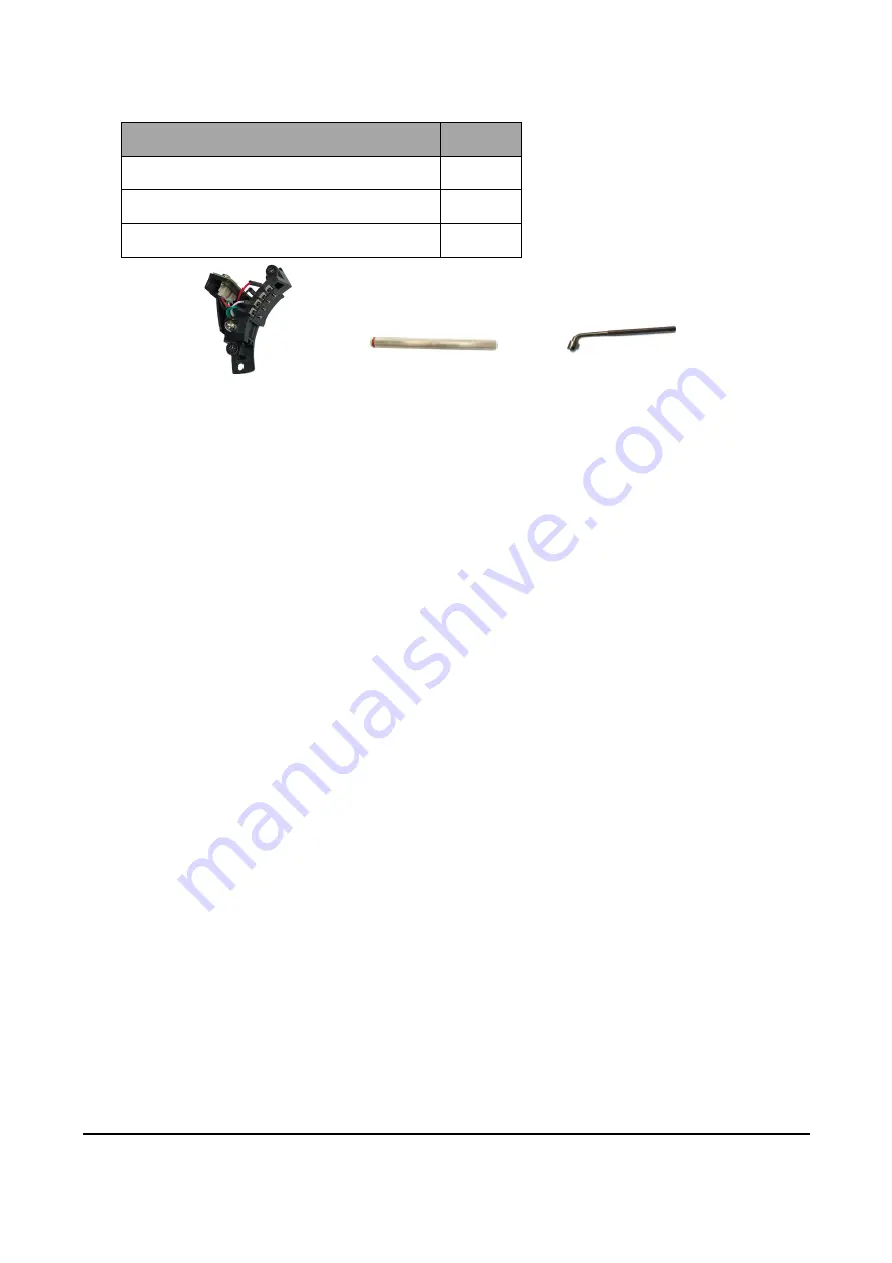
LSM 2 components
Supporting system components
Quantity
UST lens pogo pin adapter
1
Boresight extender (with red rubber ring)
3
L shape socket tool (black)
1
UST Lens
pogo pin adapter
Boresight extender
(with red rubber ring)
L shape socket tool(black)
Required tools
The following tools are required for installing the UST lens.
•
#2 Philips screwdriver with magnetic tip (long neck)
•
L shape socket tool (provided in the lens package)
•
2.5 mm Allen key
•
5 mm Allen key
Setting the projector start mode (excluding ZU860)
Set the start mode of the projector to get it ready for
UST lens installation. During the setup process, the
projector reduces the image brightness and performs a lens calibration to center the lens position.
1. Remove the lens cap.
2. Install a non ultra-short throw (non-UST) lens on to the projector.
3. Turn on the projector.
4. Enable the UST Install mode though the on-screen display (OSD) menu.
a. Select Menu > Service
b. Enter the service password (which is 1590 or LEFT, DOWN, RIGHT, UP) and click
OK
.
c. Select
UST Install > Start
.
Содержание BX-CTA16 UST
Страница 1: ...User manual Installation Guide BX CTA16 Ultra Short Throw Lens ...
Страница 26: ...26 ...


