32
It is recommended to change ID and PW for your safety.
LOG IN
Login to menu for setup
Default: ID
–
admin
PASSWORD -
1
Chapter III
Screen Split
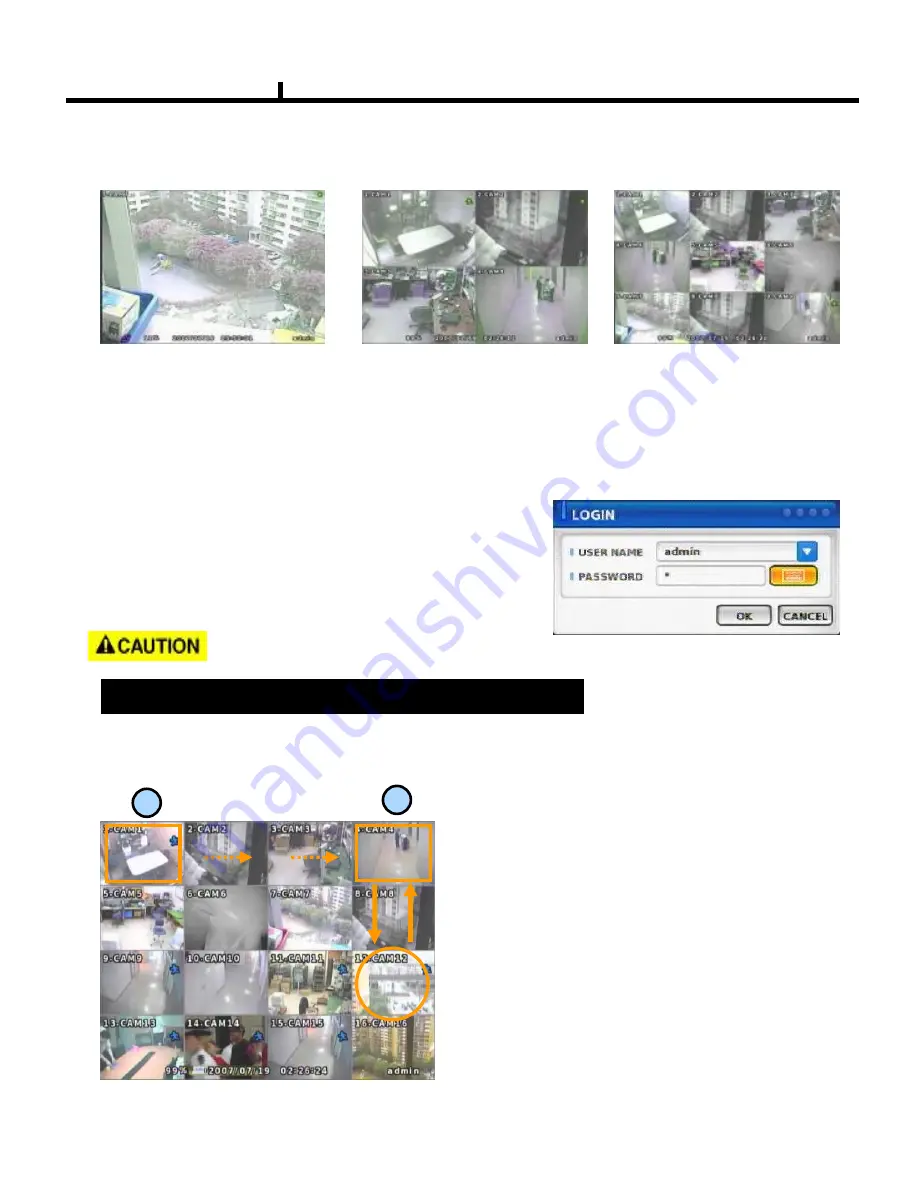
Press DISPLAY button or mouse menu: changed on 1 -> 4 -> 9 -> 16 by turn
Direct Channel
1) Press channel No. on the remote control or front panel.
2) Click the screen to watch specific channel using mouse.
** Pressing No.1 button responds a bit delayed to wait a possible signal input of
No.10~16 (approx 2.5 seconds)
CAMERA ALLOCATION function (changing camera display position)
Ex) Switching camera No 4 and 12.
1
2
1) Press Enter in the monitoring screen, then
box is selected at No.1 camera.
2) Locate the box to the camera No. you want to
move using direction buttons.
3) Enter the camera number to switch
4) Then, selected camera is switched with the
Camera number you pressed.
5) To exit, press ESC or Enter
Содержание DVRTT PRO Series
Страница 1: ... 9577 352 6HULHV 0DQXDO OPERATION MANUAL REV 2 2 ...
Страница 6: ...6 Chapter I System Overview ...
Страница 11: ...11 Chapter II H W Description ...
Страница 12: ...12 1 Front View 2 Side View 3 Top View Chapter II System appearance DVRTT PRO SERIES ...
Страница 13: ...13 1 Front View 2 Side View 3 Top View Chapter II System appearance DVRTT SERIES ...
Страница 30: ...30 Chapter III Monitoring Screen ...
Страница 38: ...38 MUTE Sound off LOGOUT Press SETUP SYSTEM USER Chapter III ...
Страница 39: ...39 Chapter IV SETUP ...
Страница 46: ...46 NETWORK Set up various NETWORK items LAN DDNS E MAIL CALLBACK NETWORK Chapter IV ...
Страница 56: ...56 RECORD These are control lists of recording related functions RECORD POLICY RECORD RECORD Chapter IV ...
Страница 64: ...64 Chapter V SEARCH ...
Страница 71: ...71 Chapter VI Client program ...
Страница 111: ...111 Chapter VII APPENDIX ...


