27
Step 3
Click
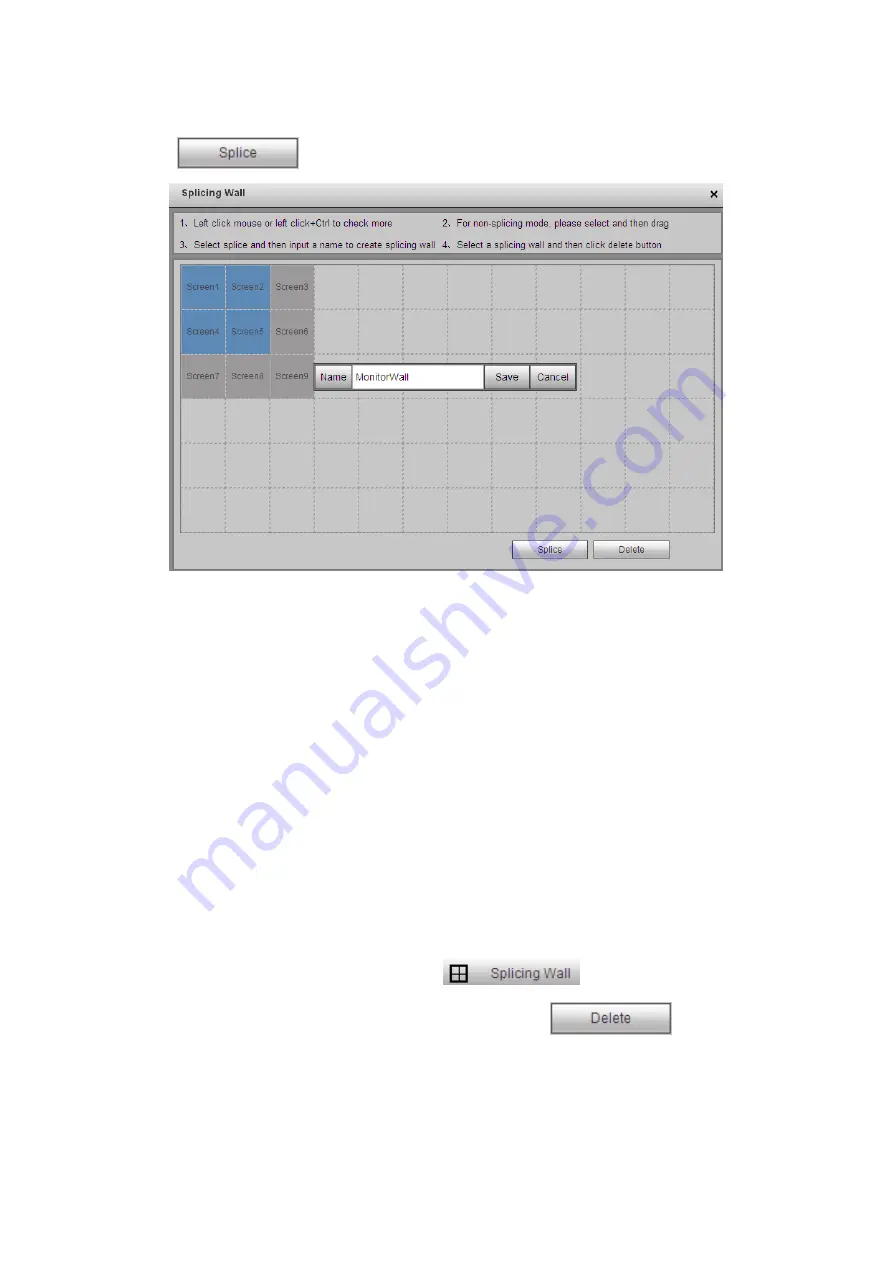
button, you can see an interface shown as in Figure 3-16.
Figure 3-16
Step 4
In Figure 3-16, you can input customized splicing wall name. Click Save button to save
current setup.
Step 5
Now you can close splicing wall interface and then go back to the main interface. The
splicing wall can be used as a physical screen. It supports 1/4/9/16 split, add/delete
device, open/close all-channel monitor.
Note
The general operation is the same as the physical screen. But for the splicing wall, there is
no playback function and you can not control the corresponding physical screens of the
splicing wall.
Cancel splicing wall
In the main interface, click the Splice button
on the left pane; you can
go to Figure 3-14. Select a splicing wall first and then click
button, you
can remove the selected splicing wall.
Note
The corresponding physical screens are off after you created a splicing wall. After you


