


CM4116, CM4132 & CM4148 Quick Start (520004-Rev 3.5)
Page 2
Note:
The LAN connected computer must have an IP address in the same
network range (192.168.0.xxx) as the console server. If this is not
convenient, you can use the
ARP Ping command to set the IP address
(refer
User Manual or online FAQ for details). The console server also
has its DHCP client enabled by default, so it will automatically accept any
network IP address assigned by any DHCP server on your network – and
will then respond at both 192.168.0.1 and its DHCP address.
Log in using the default system user name
root
and the default password
default, a
Welcome
screen listing the basic configuration steps is displayed
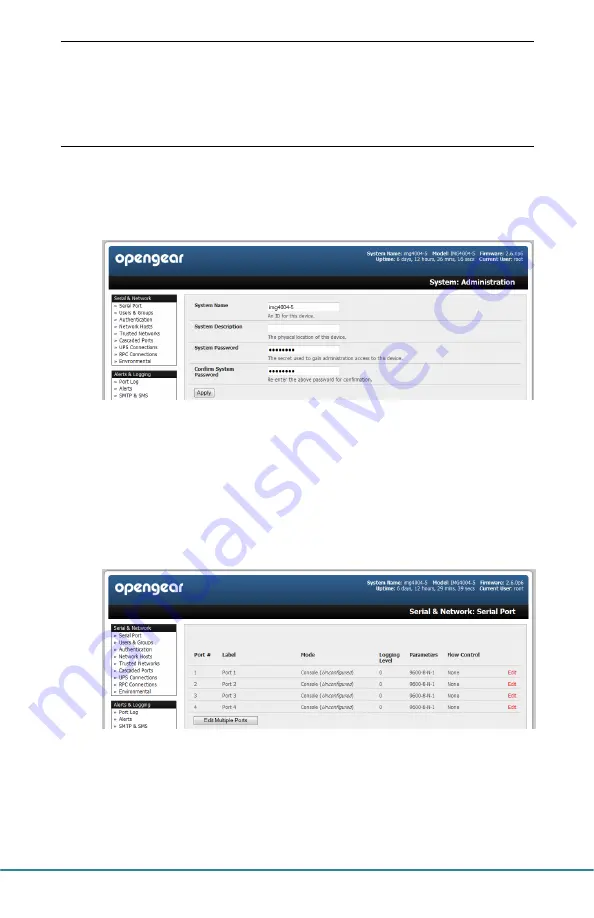
Select
System: Administration
, enter and confirm a new
System Password
and click
Apply
To assign your console server a static IP address or to permanently enable
DHCP, select
System: IP
then
Network Interface
and check
DHCP
or
Static
for
Configuration Method
Step 4
Configure serial & network devices
Select
Serial & Network: Serial Port
to display the label, mode and protocol
options currently set for each serial port – by default, each serial port is set to
Console Server mode (refer the
User Manual if other modes are required)
To configure the serial port, click
Edit
Configure the
Common Settings
(Baud Rate, Parity, Data Bits, Stop Bits and
Flow Control) to match those of the device being controlled
Select the
Console Server
protocols (Telnet, SSH, TCP and RFC2217) that are
to be used for the data connection to the serial port


