38
Assigning Dual Streams
Dual stream support enables you to take advantage of two different streams from an IP camera. One
stream can be high definition forensic video, while the other stream can be a lower resolution for live
display. This allows OpenEye RADIUS or Remote Viewer software to display more cameras while
utilizing lower bandwidth and less CPU usage.
The second stream is used for motion detection in the server, which lightens the processing load for
centrally-managed motion detection configurations
Dual streaming functions are limited to cameras that support this feature.
1.
On the Display screen, click
Setup
.
2.
Click
Camera Setup,
and then click
IP Cameras.
3.
Click the
Camera Setup
tab.
4.
Choose which camera you want to configure, and double-click the
Record Stream
column.
5.
Select which
Stream
you want to assign to be recorded.
6.
Double-click the
Transmit Stream
column and choose the appropriate stream for remote viewing.
7.
Click
Apply
to save your selections.
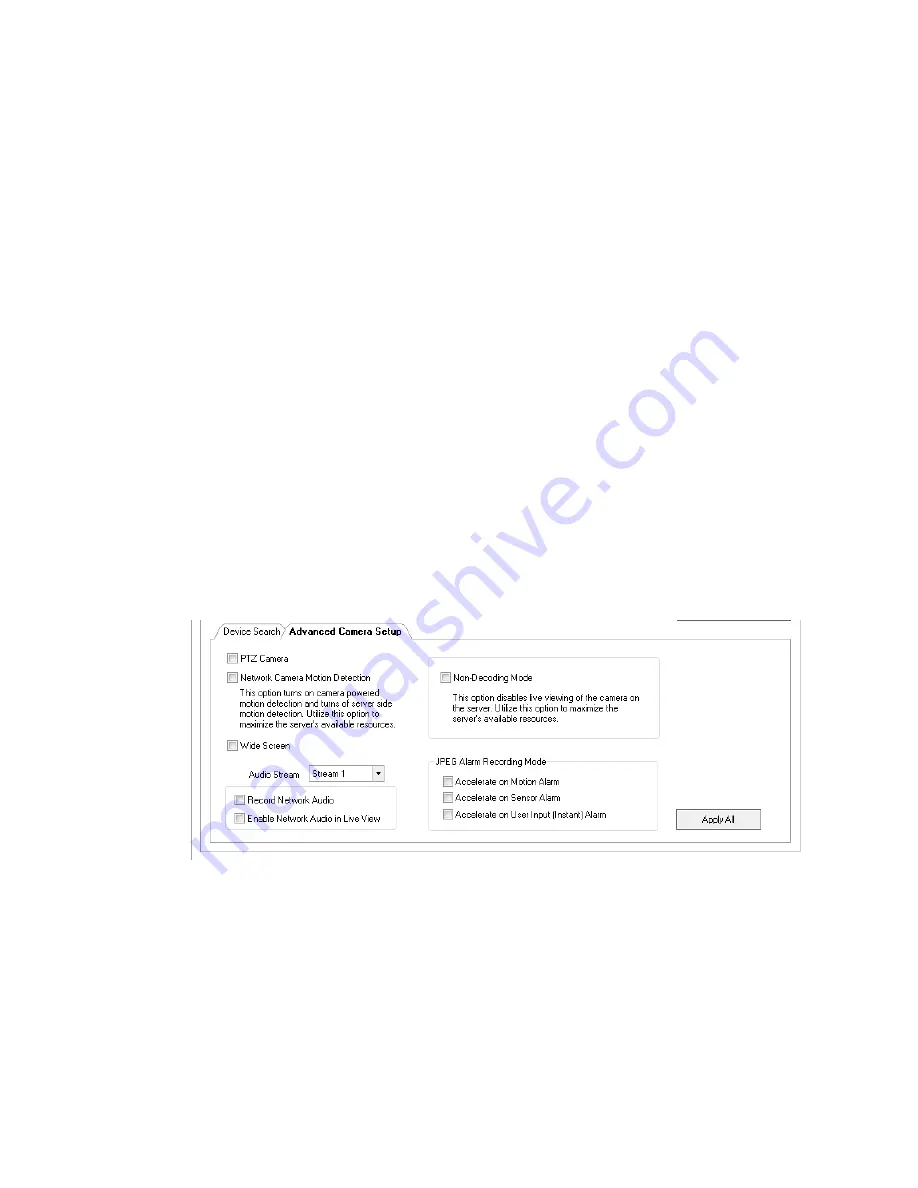
Assigning Audio Channels to a Network Device
1.
In the Display screen, click
Setup
.
2.
Click
IP Cameras.
3.
Click the
Camera Setup
tab.
4.
Click the
Advanced Camera Setup
tab.
5.
Select the camera you want to record audio from in the
Network Cameras Currently in Use
field.
6.
Select
Record Network Audio
.
7.
To be able to hear live audio from the recorder, select
Enable Network Audio in Live View
.
8.
Click
Apply
to save your settings.