Mod
e
Link/Act
LAN
PoE
Re
set
LED Mode
PoE
Max
Fa
ult
Power
1
5
6
7
8
2
3
4
Mode
Mode
Mode
Link/Act
LAN
PoE
Reset
LED Mode
PoE
Max
Fault
Power
1
5
6
7
8
2
3
4
Mode
Mode
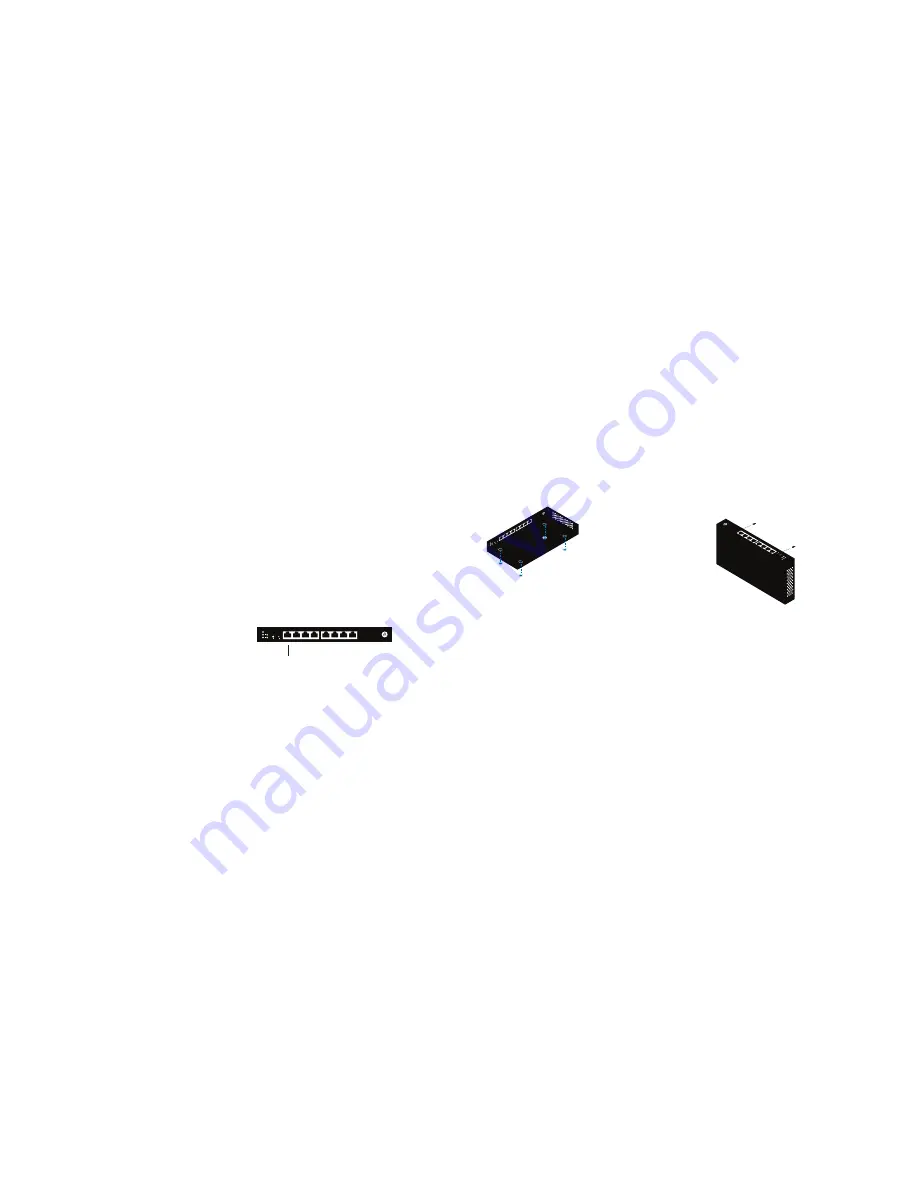
Switch overview
Desk or shelf mount
Apply the included rubber feet to the bottom corners of the
switch and place on a flat, level surface.
Support and resources
Visit help.cloudtrax.com for additional resources, video guides
and to contact technical support.
Physical Installation
This switch can be mounted on a desk, shelf, or wall.
Regardless of how you mount the switch, keep the following
in mind:
● Do not place heavy objects on the switch.
● The switch prefers a cool, dry environment. Don’t place
the switch in direct sunlight and ensure there are at least
two inches of space around the vents.
● Install the switch in an area free from strong
electromagnetic sources.
● Check the power cord to ensure it is fully secured to
both the switch and wall outlet.
Wall mount
Mount directly to the wall by screwing two pan head Phillips
wood screws 4.72” (12 cm) apart. Leave 3/16” (0.5 cm) of each
screw exposed. Slide the switch over the screws to secure it to
the wall. Can be mounted vertically or horizontally.
8 Gigabit PoE+ ports
Up to 30W per port
55W total PoE budget
Mode Link/Act
LAN
PoE
Reset
LED Mode
PoE
Max
Fault
Power
1
5
6
7
8
2
3
4
Mode
Mode
Cloud Management
1. Sign up at cloudtrax.com. (It’s free and always will be.)
2. Follow the prompts to verify your account and create your
first network. If you already have a network, create a new
one by navigating to
Network → Create new network.
3. Add your switch to the network by navigating to
Manage →
Switches → Add New and entering the MAC address.
4. Set your configuration. Once your switch has power and
Internet, CloudTrax will configure the switch and start
reporting status within a few minutes.


