


31
> Install
> Playback
Supplementary Information | Advanced Setup | Others
E
N
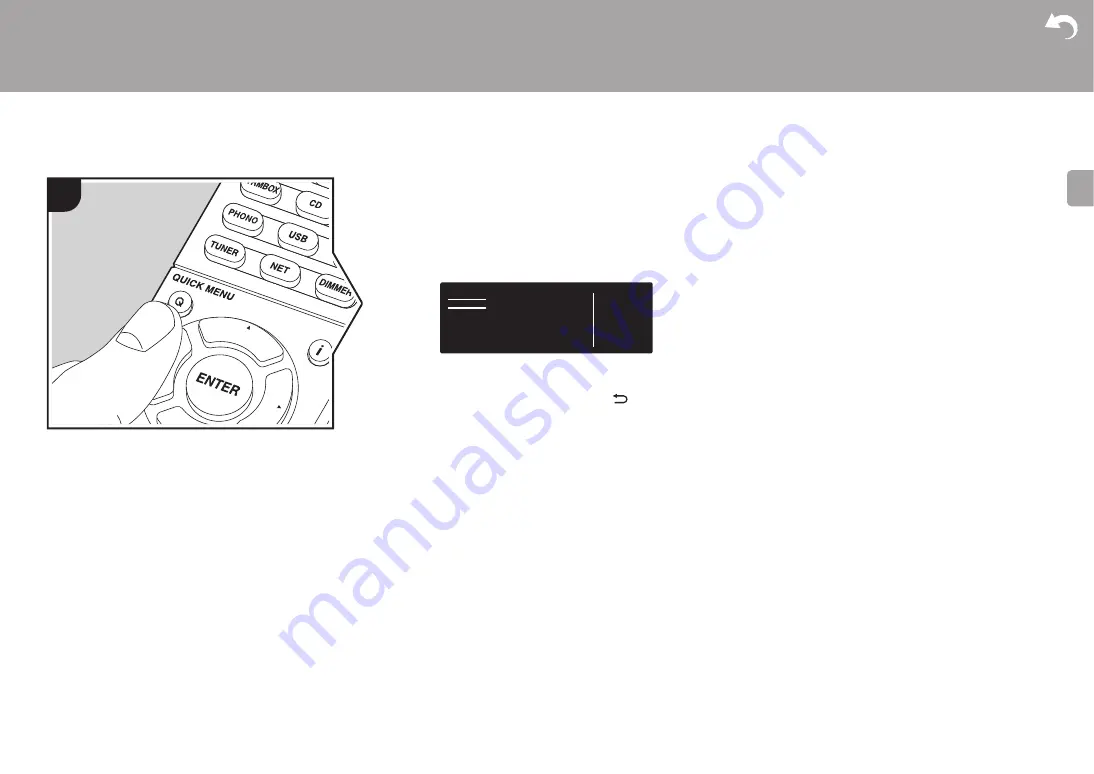
Quick Menu
By pressing the Q button on the remote controller during
play, you can adjust frequently used settings, such as the
sound quality, using on-screen menus.
1. Press Q on the remote controller.
2. After the Quick Menu is displayed, select the content with
S
/
T
on the remote controller and press ENTER to
confirm your selection.
0
Change the initial values for each of the settings with the
cursors
W
/
X
.
0
To return to the previous screen, press
.
3. To exit the settings, press Q.
■
Tone
Bass:
Enhance or moderate the bass range of the front
speakers.
Treble:
Enhance or moderate the treble range of the front
speakers.
0
It cannot be set if the listening mode is Direct.
■
Level
Subwoofer:
Adjust the speaker level of the subwoofer
while listening to some sound.
0
The adjustment you made will be reset to the previous
status when you turn the unit to standby mode.
■
Other
A/V Sync:
If the video is behind the audio, you can delay
the audio to offset the gap. Different settings can be set for
each input selector.
0
It cannot be set if the listening mode is Direct.
Music Optimizer:
Improve the quality of the compressed
audio. Playback sound of lossy compressed files such as
MP3 will be improved. The setting can be separately set to
each input selector. The setting is effective in the signals of
48 kHz or less. The setting is not effective in the bitstream
signals.
0
It cannot be set if the listening mode is Direct.
Late Night:
Make small sounds easily heard. It is useful
when you need to reduce the volume while watching a
movie late night. You can enjoy the effect only when playing
Dolby series and DTS series input signals.
0
The setting cannot be used in the following cases.
– If "3. Audio Adjust" - "Dolby" - "Loudness
Management" (
P37) in the Setup menu is set to
"Off" when playing Dolby Digital Plus or Dolby TrueHD
1
BD/DVD
Quick Menu
Tone
Level
Other
Bass
Treble


