background image


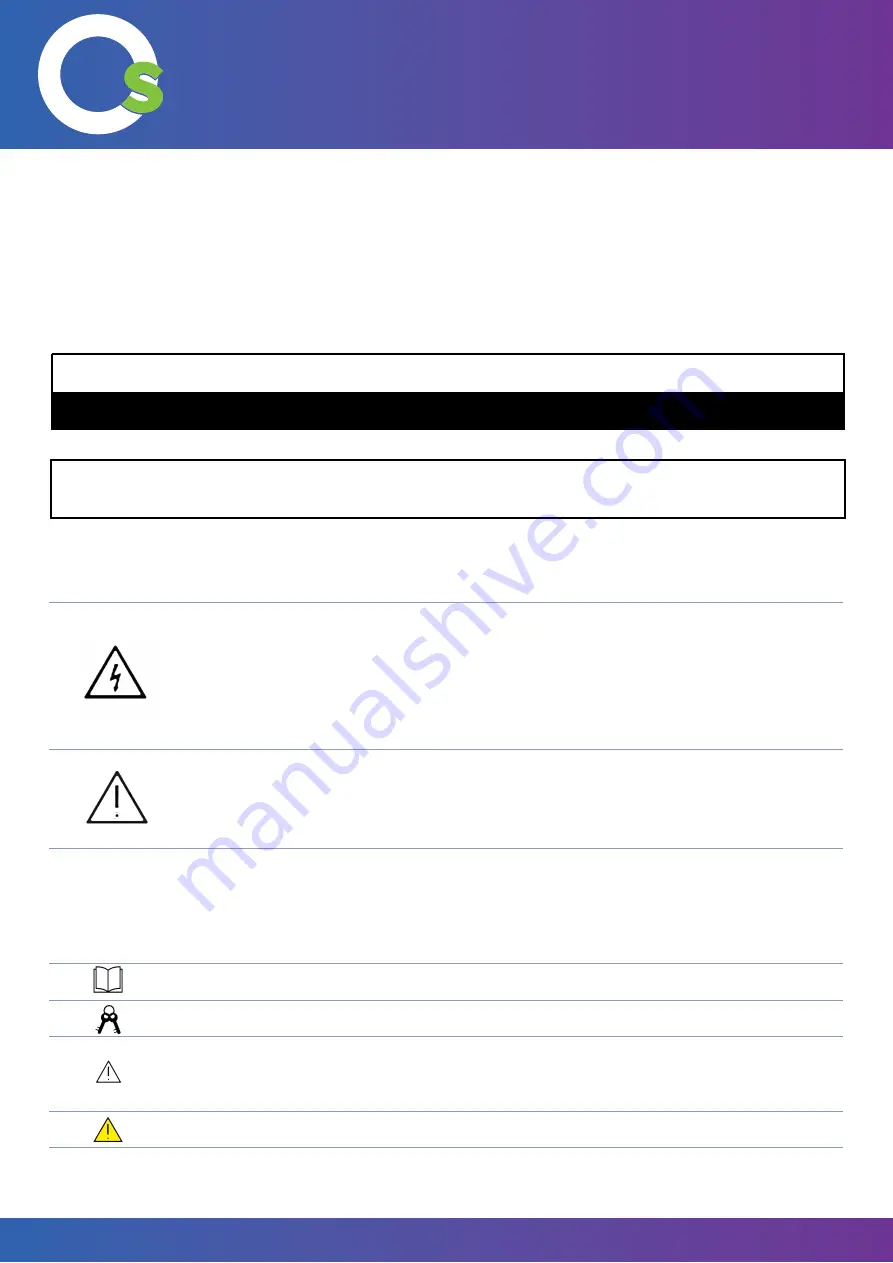
NOTE

Provides additional information to supplement operation in the main text.

TIPS

Provides tips for operation.

CAUTION

Indicates a potentially hazardous situation that, if not avoided, could result in 
equipment damage, data loss, performance deterioration, or unanticipated 
results.

WARNING

Indicates a hazard with risk that, if not avoided, could result in death or injury.

6

3. Safety First!


3.1 General Safety Instructions 

Read and understand all safety information, operating instructions, and product labels before operating the 

equipment. Keep this guide in a safe place for future reference.

3.2 Safety Information - OneScreen

OneScreen 

TL6

All your collaboration tools are right here 

CAUTION

RISK OF ELECTRIC SHOCK. DO NOT OPEN

CAUTION

CAUTION

: : 

To reduce the risk of fire or electric shock, do not expose this product to smoke, rain, dust or moisture. Do 

To reduce the risk of fire or electric shock, do not expose this product to smoke, rain, dust or moisture. Do 

not remove the back cover. Refer servicing to qualified service personnel.

not remove the back cover. Refer servicing to qualified service personnel.

The lightning flash with arrow-head sym

-

bol, within a triangle, is intended to alert the 
user to the presence of “dangerous voltage” 
within the product’s enclosure that may be 

sufficient to constitute a risk of electric shock 

to persons.

This product is designed and manufactured to 

operate within defined design limits, and misuse 
may result in electric shock or fire.

The exclamation mark within a triangle is 
intended to alert the user to the presence 
of important operating and maintenance 
(ser66vicing) instructions.

The installation of this product should be 
completed by an OneScreen Trained Installer.

Содержание TL6

Страница 1: ...OneScreen TL6 All your collaboration tools are right here 800 992 5279 sales onescreensolutions com Interactive Display Hardware Manual 65 75 86...

Страница 2: ......

Страница 3: ......

Страница 4: ...1 What s included 1 1 OneScreen Touchscreen 1 2 Accessories 4 OneScreen TL6 All your collaboration tools are right here...

Страница 5: ...ust a button away from providing you with live technical support and free online training 2 2 About the Hardware Overview Manual This guide will lead you through a brief but comprehensive overview of...

Страница 6: ...he risk of fire or electric shock do not expose this product to smoke rain dust or moisture Do To reduce the risk of fire or electric shock do not expose this product to smoke rain dust or moisture Do...

Страница 7: ...justment or maintenance is required contact our support team for help Use the specified power supply To prevent the product from being damaged do not use any cables other than the one provided with th...

Страница 8: ...the product in high temperature environments Do not install the product near a heat source such as a radiator a heat reservoir a stove or other heating products Do not expose the product to direct su...

Страница 9: ...ach step Follow the steps given below 1 Drill holes inside the wall and hammer in the screw plugs labelled B 2 Level the wall plate labelled H on the wall and tighten using the screws labelled A 3 Att...

Страница 10: ...10 OneScreen TL6 All your collaboration tools are right here 65 inches 500 x 400 75 inches 600 x 400 86 inches 800 x 400 Screen Size VESA Mounting Standard...

Страница 11: ...11 5 Hardware Details OneScreen TL6 All your collaboration tools are right here...

Страница 12: ...12 OneScreen TL6 All your collaboration tools are right here 5 1 Front Ports 1 USB Port 3 0 2 USB Port 3 0 3 Power Button...

Страница 13: ...13 OneScreen TL6 All your collaboration tools are right here 1 Earphone port 6 VGA port 2 AV out port 7 LAN in port 3 AV in port 8 LAN out port 4 YPBPR port 9 Power rocker switch 5 VGA Audio port 10 P...

Страница 14: ...14 OneScreen TL6 All your collaboration tools are right here 5 3 Left side Ports 1 HDMI 2 Port 4 RS 232 port 2 HDMI 1 Port 5 USB 2 0 port 3 Touch USB B input for HDMI VGA 6 USB 2 0 port...

Страница 15: ...PC to the Touch Screen please follow the steps mentioned below 6 2 Connecting an External PC To connect an external PC please use the HDMI or VGA cable and the USB touch cable as shown in What s Inclu...

Страница 16: ...here 7 Usage Guide 7 1 Home Screen Pressing the OneScreen home button will take you to the Android Home Screen as shown below Here you will see the time date connectivity status and other essential b...

Страница 17: ...shown on page no 18 5 MY FILES Pressing the My Files icon will take you to the file Explorer Here you can access the internal storage and external storage devices The Explorer window is shown on page...

Страница 18: ...Clicking on the source button opens up the source menu on the left side Simply select the source and then click on the central black screen to switch to the source selected 7 1 3 My Apps My apps lets...

Страница 19: ...oaded saved content or external folder content can be accessed from My Files Simply select the folder and tap on the file that needs to be opened 7 1 4 Settings Settings allow you to change Personal N...

Страница 20: ...cessed by clicking on the EShare button Further information about the multi screen interaction platform can be found on page 29 7 1 7 Write OneScreen Write is an interactive whiteboard application giv...

Страница 21: ...t image option 2 Add a new page 8 Insert tool option 3 Scroll tool 9 Undo and redo keys 4 Pen Tool 10 Flip location of options key 5 Eraser tool 11 More options 6 Select tool 7 1 8 Hype Pressing the V...

Страница 22: ...the Google Play Store used to download applications onto the OneScreen unit Note you have to sign in with your google account in order to access Google Play 7 1 10 YouTube The YouTube application can...

Страница 23: ...ideo sharing and accessing social media content 7 2 Toolbars 7 2 1 Bottom toolbar Swiping up from the bottom of the screen brings the bottom toolbar Sr Icon Function 1 This button will show the runnin...

Страница 24: ...ll take you to the previous window Sr Icon Function 1 This button will take you to the previous window 2 This button takes you to the home screen 3 This button takes the user to the settings panel 4 T...

Страница 25: ...eft right of the unit bring the swipe menu bar 1 Network Settings Shortcut 7 Camera 2 Polling Tool 8 Touch Sensing 3 Timer 9 Eye Protection On Off 4 Screen Capture Screenshot 10 Brightness Slider 5 Sc...

Страница 26: ...n various tools and applications Drag the toolbar from the side of the screen and tap on it once to open the options Tap on the circular toolbar once to open the options You can also edit the options...

Страница 27: ...yboard boot channel OPS Power On Settings Power Detect Settings Smart power key Screen lock code USB camera Setting Floating Toolbar Sidebar Menu Pull Up Menu Centralized Control Shared front USB Inte...

Страница 28: ...evoke app permissions 7 Overview and manage your internal storage through this option 8 Change the date and or time Change the language and input methods 9 Manage user accounts for the OneScreen 10 Re...

Страница 29: ...tworks and schedules device maintenance management tasks power management monitor web activity firmware software upgrades usage reports etc The Anti theft module of Central helps you protect your data...

Страница 30: ...please visit the following link or contact our support team https www onescreensolutions com en product annotate 8 4 OneScreen EShare EShare is a multi screen interaction application for smart phones...

Страница 31: ...ert the USB cable of the camera into either the USB port of the OneScreen to use it on the android OS or the USB port of the OPC to use it on the Windows OS Tilt the camera up or down or Pan left or r...

Страница 32: ...trol equipment Bit rate 38400 Parity check No Data byte 8 Stop byte 1 Function Required Command Power On 52 50 08 01 00 00 00 E7 Power Off 52 50 08 01 00 00 01 E7 Source 52 50 08 01 00 00 03 E7 Input...

Страница 33: ...r 2 52 50 08 01 00 00 10 E7 Number 3 52 50 08 01 00 00 11 E7 Number 4 52 50 08 01 00 00 12 E7 Number 5 52 50 08 01 00 00 13 E7 Number 6 52 50 08 01 00 00 14 E7 Number 7 52 50 08 01 00 00 15 E7 Number...

Страница 34: ...Capability 20 Points Finger or Pen Surface Protection Anti glare Glass Brightness 350 cd m Display colors 10 bit Audio Video Input Ports 2x HDMI 1x VGA 1x Audio in Audio Video Output Ports 1x Earphone...

Страница 35: ...slot 6 Switch the settings on Settings Personal Settings OPS Power on settings 1 Do not press the ON OFF button of the OPS PC repeatedly 2 Do not push the OPS in the screen too hard as it can damage...

Страница 36: ...screen App Not Compatible 1 Search for the application name over Google followed by apk to download the installation file e g Spotify APK 2 Run the installation file and wait for the installation to c...

Страница 37: ...for the first connection Can t Access Pull Up menu Sidebar Menu Floating toolbar 3 Restart the Unit 4 Go to Settings Personal Settings and make sure Pull Up Menu Sidebar Menu Floating Toolbar are tur...

Страница 38: ...13 Remote Control 38 OneScreen TL6 All your collaboration tools are right here...

Страница 39: ...schedule free training with the OneScreen Guru team for the TL6 and or any OneScreen software scan the QR code below or email support at support onescreensolutions com 39 OneScreen TL6 All your collab...

Страница 40: ...Foundation Building Rohtas Rd G 9 4 Islamabad 44000 Phone 92 51 2370270 Canada Suite 731 3 304 Stone Road West Guelph ON N1G 4W4 Phone 800 992 5279 Colombia Transversal 93 No 53 32 Bodega 13 Bogota C...

Отзывы: