


©2017 TLS Corp., All Rights Reserved.
1490-00176-001
—
QUICK START GUIDE: OMNIA VOLT (FM VERSION) C17/15049
Quick-Start inStallation Guide
We have made this Omnia processor easy to set up and configure. This quick-start guide will take you through the
basic steps to configure your new Omnia VOLT to start delivering cleaner, clearer, louder, and more consistent FM
sound. Before we get started, let’s make sure you have what you need.
tHank You For purcHaSinG tHe oMnia Volt.
audio conFiGuration
(cont.)
audio conFiGuration
(cont.)
Items you need to supply:
• Rack with an EIA rack space for mounting
• Philips screwdriver or screw gun
• Standard XLR connectors if setting up a line-level
analog audio source
• Ethernet cable if setting up a Remote and/or Livewire
connection
REQUIRED EQUIPMENT, CABLES, AND ACCESSORIES:
There are a few additional items required for a successful installation. Check the list below and make sure
you have what you need.
Included items:
• Omnia VOLT Audio Processor
• AC Power Cable
• RJ45 Studio Hub standard pinout AES Adaptors
• 4 rack screws
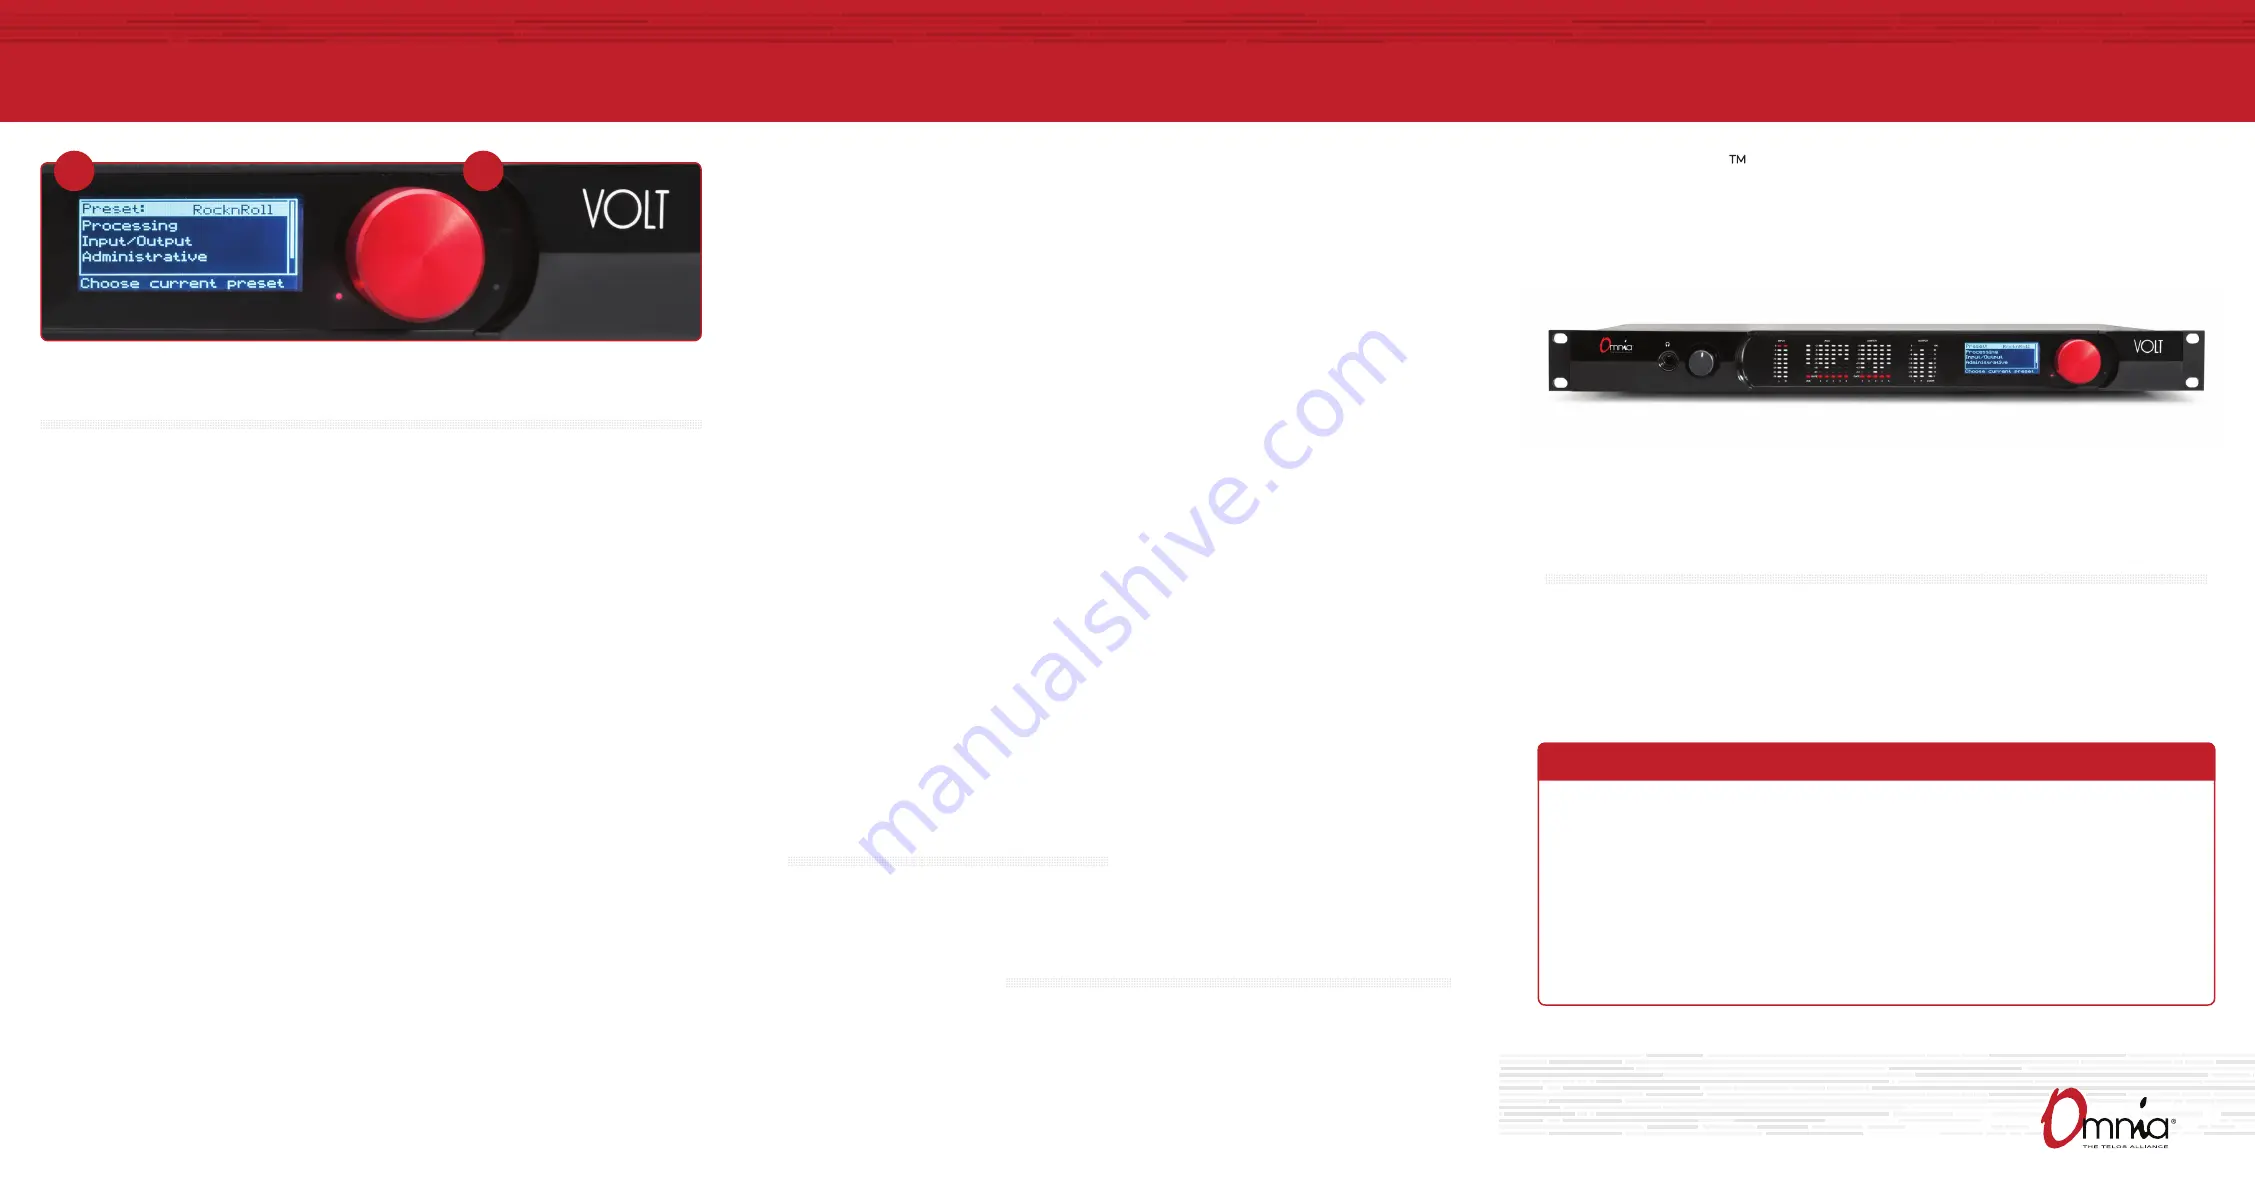
J
K
1. Navigating output configuration on the front panel is simple and intuitive. Rotate the red jog wheel (K)
to scroll through options displayed on the LCD screen (J), increase/decrease numeric options and more.
Press the jog wheel (K) to make a navigation selection or to enter settings.
2. If you’re using L/R audio to feed a monitor, transmitter, or STL, once you are on the Input/Output menu
screen, rotate the jog wheel until Output is highlighted. Press to select.
3. Rotate the jog wheel to highlight the appropriate Level control for the output being used. Press to select.
4. Rotate the jog wheel adjust the output level as appropriate for the next device. Press to accept the setting.
5. Exit and return to the Output menu screen.
6. Rotate the jog wheel to highlight FM Options. Press to select.
7. Rotate
the jog wheel to highlight FM Pre-emph.
Rotate the jog wheel to highlight the pre-emphasis
setting for your country or region. Only If BS-412 power limiting is required, turn it on from the Options
menu. If you’ve selected a L/R audio input device in previous steps, select the appropriate De-emph for
the following device.
Note: If you’re feeding an uncompressed digital STL, or want to use an audio output to feed the exciter,
turn De-emph off for that output. This means VOLT’s FM Pre-emph, selected at the start of this step,
stays as part of the signal to the STL. VOLT should be the only device providing pre-emphasis or limiting.
This means you should disable any additional pre-emphasis or limiting in the exciter.
8. Repeat Steps 2 to 4 above to set other outputs.
9. Exit and return to the Input/Output menu screen.
output conFiGuration
10.
If you’re using a composite MPX output,
rotate the jog wheel until Stereo Generator is highlighted.
Press to select.
11. Rotate the jog wheel to highlight Comp #1 or Comp #2, press to select. Rotate the jog wheel to adjust
for 100% modulation as shown on your modulation monitor, STL transmitter or exciter. Press to accept
the setting. Similarly, adjust
Pilot Lvl for between 8% -10%.
Press to accept the setting and then exit and
return to the Main Menu.
12. From the main menu, rotate
the jog wheel to highlight Processing,
press to select.
13. Rotate
the jog wheel to highlight Preset.
Press to select. Feed normal program material and Rotate to
choose a preset for your initial setup. Press to select and return to the Processing menu. You’ll be able
to change the preset and/or fine-tune its settings later.
14.
If you want to adjust a factory preset from the front panel, from Processing,
rotate the jog wheel to
highlight QuickTweak. Press to select.
15. Rotate the jog wheel to highlight Clip Drive then press to select. Rotate to set the drive for the best
compromise between loudness and distortion. You’ll be able to refine this adjustment and others at
any time using either the front panel interface or the browser based interface. Press the jog wheel to
accept then exit and return
to the Processing menu.
16.
If you have made changes to a preset, from the Processing menu,
rotate the jog wheel to highlight Save
Preset.
Press to select. With Name highlighted, press and provide a preset name for the settings you just
created. When finished, rotate to Save and press
to return to the Processing menu. This can serve as a
baseline while you do the next step.
17. Read the complete user manual! There are many layers to Omnia VOLT, and our easy to read manual will
help teach you how to shape your sound with the best in Omnia processing for your station and market.
Take the time to experiment, learn, and enjoy the results!
inStallation Help
For more details about the Omnia VOLT, or to download the full manual
please visit http://www.TelosAlliance.com/Volt.
If you have more questions, call the Telos Alliance 24/7 Support Team
at +1 (216) 622-0247, or email us at [email protected].
We’re always happy to hear from you and offer help if you need it.
Your Setup iS coMplete!
That’s it! You are now ready to experience Omnia VOLT,
for sound like never before.
oMnia Volt
tM
(FM VerSion)


