132
EN
4
Menu
Setting the USB connection [USB Settings]
USB Class
Before connecting the recorder to a computer, choose a USB class according to the task
to be performed.
1
Press the
MENU/SCENE
button while the voice recorder
is in stop mode.
2
Press the
+
or
−
button to
select the [Device Menu] tab.
3
Press the
`
OK
button to
move the cursor into the list of
setting items.
4
Press the
+
or
−
button to
select [USB Settings].
5
Press the
`
OK
button.
6
Press the
+
or
−
button to
select [USB Class].
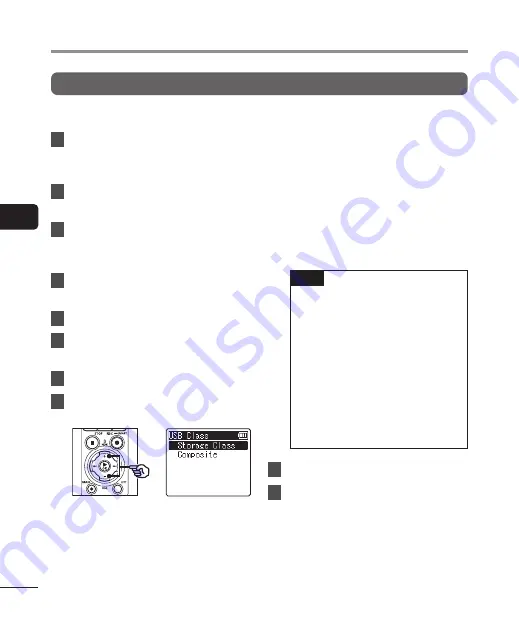
7
Press the
`
OK
button.
8
Press the
+
or
−
button to
select a setting.
[
Storage Class
]:
Select to have the voice recorder
recognized as an external memory
device by a connected computer.
[
Composite
]:
Select to have the voice recorder
recognized as an external memory
device by a connected computer,
and to use the voice recorder as a
USB speaker/microphone.
TIP
•
If the computer fails to identify
the recorder as an external
drive, select [
Storage Class
] for
[
USB Class
].
•
To charge the batteries from a
computer when [
Composite
] is
selected, first choose [
Optional
]
for [
USB Connection
], and then
select [
AC adapter
] in response
to the prompt displayed when
the USB cable is connected
(
☞
P.131).
9
Press the
`
OK
button.
10
Press the
STOP
(
4
) button to
exit the menu screen.


