background image

EN 18

EN

5. Taking Pictures Under Water

How to select the shooting modes

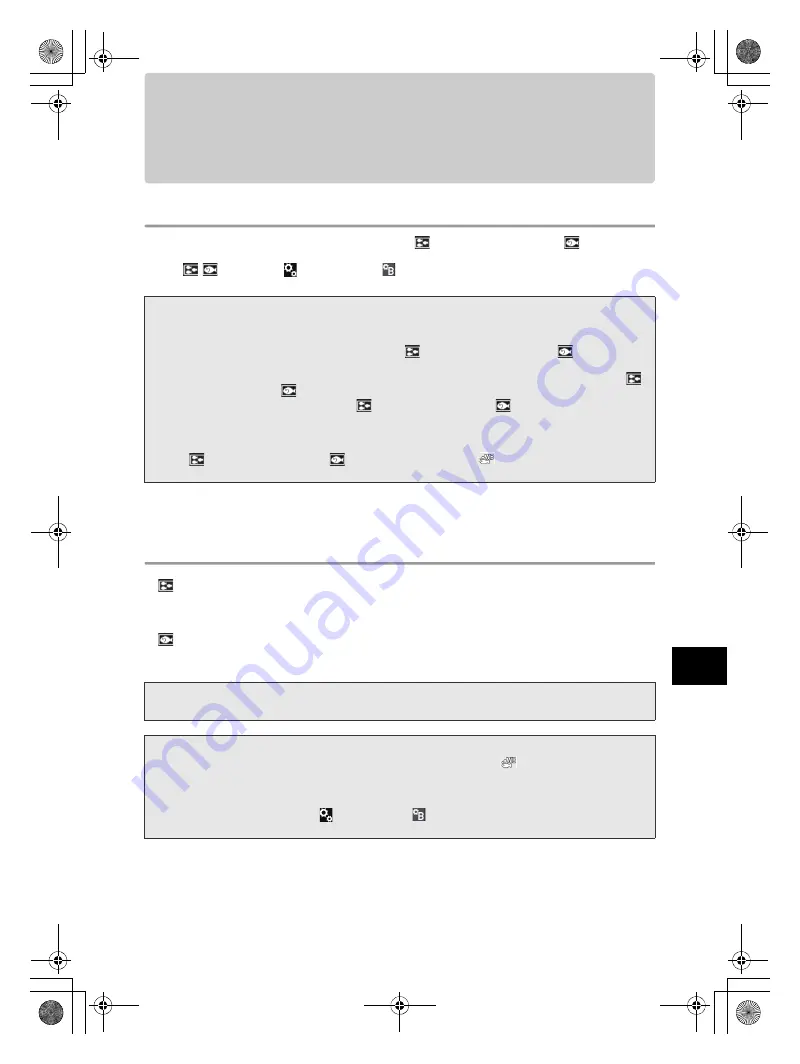
You can easily set the underwater mode by assigning 

 (Underwater Wide-Angle)/

 (Underwater 

Macro) to Fn button of the digital camera.
Select [

/

] in [MENU]-[

 Custom Menu]-[

 Button/Dial/lever]-[Button Function]-[Fn1 Button 

Function] or [Fn2 Button Function], then press OK button.

For details, see the instruction manual of the digital camera.

Underwater shooting modes

„

 Underwater Wide-Angle

Suitable for shooting a scene that extends across a wide range such as a school of fish swimming 
through the water. Background blues are vividly reproduced.

„


Underwater Macro

Suitable for close-up shooting of small fish and other underwater creatures. Natural colors of the 
underwater are accurately reproduced. 

Note:

• Press the Fn button to switch between Underwater Wide-Angle and Underwater Macro modes.
• When using the ED12-50mm f3.5-6.3 EZ lens, the wide-angle end and the telephoto end of the zoom is 

automatically set in conjunction with the switching to 


(Underwater Wide-Angle) or 


(Underwater 

Macro).

• Turn the mode dial knob to temporarily exit the underwater mode. Press again the button you set for 


(Underwater Wide-Angle)/

 (Underwater Macro) to return to the underwater mode.

• Press and hold down the button you set for 

 (Underwater Wide-Angle)/

 (Underwater Macro) to return 

to the original shooting mode.

• However, in SCN, iAUTO, PHOTO STORY and movie modes, pressing the Fn button will not set the 

camera in underwater mode.

• In the 

 (Underwater Wide-Angle)/

 (Underwater Macro) mode, 

 (Underwater White Balance)is 

automatically set.

Note:

Operation sound of camera may be recorded when recording the movies.

Memo:

• When using the camera in the 

P

A

S

M

 and "PHOTO STORY" mode, the 

 (underwater white balance) 

can be selected in each mode.

• To zoom with ED12-50mm f3.5-6.3 EZ lens, assign electric zoom operation to 

X

 or 

T

 buttons to operate 

zoom function by pressing 

S

T

W

 and 

X

 buttons.

Select [Electric Zoom] in [MENU]-[

 Custom Menu]-[

 Button/Dial]-[Button Function]-[

X

 Button 

Function] or [

T

 button], the press the OK button.

PT-EP13_EN.Book  Page 18  Wednesday, November 5, 2014  10:52 AM

Содержание PT-EP13

Страница 1: ...C821601 2014 Printed in China date of issue 2014 12 PT EP13 JP Instruction Manual EN Mode d emploi FR Bedienungsanleitung DE Manual de instrucciones ES CHS KR Instruction Manual PT EP13 PT EP13_COVER...

Страница 2: ...ible damages by insuring your camera at your own discretion before use z OLYMPUS IMAGING CORP shall not pay any compensation for accidents injuries or material damage at the time of use For safe use T...

Страница 3: ...in excess of 45 m Locations subject to vibrations Locations with high temperature and humidity or with extreme temperature changes Locations with volatile substances 3 Opening and closing at location...

Страница 4: ...on or dealer 8 Be careful not to apply excessive force to the projection parts such as the zoom dial or tripod seat 9 Please remove the O ring when traveling by air Otherwise air pressure may make it...

Страница 5: ...and dirt etc 11 How to Apply Grease to the O ring 12 Install the O ring 12 3 Installing the digital camera 13 Open the Case 13 Attach the flash to the camera 13 Load the digital camera 14 Make sure th...

Страница 6: ...any sand dirt etc 20 How to Apply Grease to the O ring 20 Install the O ring 20 Replace consumable products 20 8 Appendix 21 Specifications 21 Supplied accessories for PT EP13 21 Optional accessories...

Страница 7: ...new condition Neglecting the maintenance may become the cause of water leakage For how to maintenance the case refer to P 20 Silica gel 1g Silicone grease O ring remover Case body Check that the O ri...

Страница 8: ...button 5 Movie button 6 Shutter lever 7 EVF button 8 HDR button 9 Accessory mount 0 Zoom dial a Front dial b Optical fiber cable insertion slots c ON OFF lever d Mode dial lock e Mode dial f Finder wi...

Страница 9: ...at the bottom of the monitor window Removal Remove the monitor hood from the rail at the bottom of the monitor window by extending it outward Remove the monitor hood from the left and right pins at th...

Страница 10: ...r to the port adapter 2 Install the strap of the port adapter to the Case body 3 Install the diffuser on the Case Removing diffuser with port adapter from the Case body To remove the diffuser pull the...

Страница 11: ...p from the camera If the digital camera is loaded without removing these the Case cannot be sealed properly and may leak 4 After attaching the zoom gear to the lens attach the lens to the camera 5 Att...

Страница 12: ...any sand dirt etc After visually checking that dirt has been removed from the O ring check for attached sand and other foreign matter as well as for damage and cracks by squeezing the entire circumfe...

Страница 13: ...icant onto the entire circumference of the O ring Spread the grease onto the entire circumference of the O ring using 3 fingers Be careful not to use excessive force as this may stretch the O ring 3 C...

Страница 14: ...Case gently Attach the flash to the camera 1 Attach the flash supplied with the camera Make sure to set the light emitting part facing to front 2 Raise the ON OFF lever to turn the power ON CAUTION D...

Страница 15: ...ts before sealing the Case Is the digital camera loaded properly Is silica gel inserted all the way at the specified location Is the grease applied to O ring Is the O ring attached properly to the ope...

Страница 16: ...Case check that the camera operations normally Operate the ON OFF lever on the Case and confirm that the camera turns ON OFF Turn the mode dial on the Case and confirm that the camera mode switches pr...

Страница 17: ...he Case Next immerse the Case for 30 seconds and check that no water enters the Case Then immerse the Case for 3 minutes operate all buttons and levers and check the following check that no water drop...

Страница 18: ...erwater flash to RC mode For details refer to the instruction manuals of the camera and the flash In case of UFL 1 plug the optical fiber cable in the same way Set the RC mode of the camera to OFF Con...

Страница 19: ...is automatically set in conjunction with the switching to Underwater Wide Angle or Underwater Macro Turn the mode dial knob to temporarily exit the underwater mode Press again the button you set for U...

Страница 20: ...may be impaired when the Case is dried with the salt still adhered to it Make sure to wash away the salt after use CAUTION Water left between the front and rear lids can get inside the case once it i...

Страница 21: ...2 Install the O ring Refer to P 12 Replace consumable products The O ring is a consumable product Independent of the number of times the Case is used it is recommended that the O ring should be replac...

Страница 22: ...bber Dimensions Width 177 mm x Height 172 mm x Depth 176 mm Weight Approx 1 250 g not including camera and accessories Weight under water Approx 15 g in the freshwater including camera with flash ED12...

Страница 23: ...D 14 42mm f3 5 5 6 PPZR EP01 POSR EP01 M ZUIKO DIGITAL 14 42mm f3 5 5 6 II PPZR EP02 POSR EP03 POSR EP05 M ZUIKO DIGITAL 14 42mm f3 5 5 6 IIR M ZUIKO DIGITAL 45mm f1 8 POSR EP03 POSR EP05 M ZUIKO DIGI...

Страница 24: ...PT EP13_EN Book Page 23 Wednesday November 5 2014 10 52 AM...

Страница 25: ...C821601 2014 Printed in China date of issue 2014 12 PT EP13 JP Instruction Manual EN Mode d emploi FR Bedienungsanleitung DE Manual de instrucciones ES CHS KR Instruction Manual PT EP13 PT EP13_COVER...

Отзывы: