background image

Printing pictures

32 

EN

5

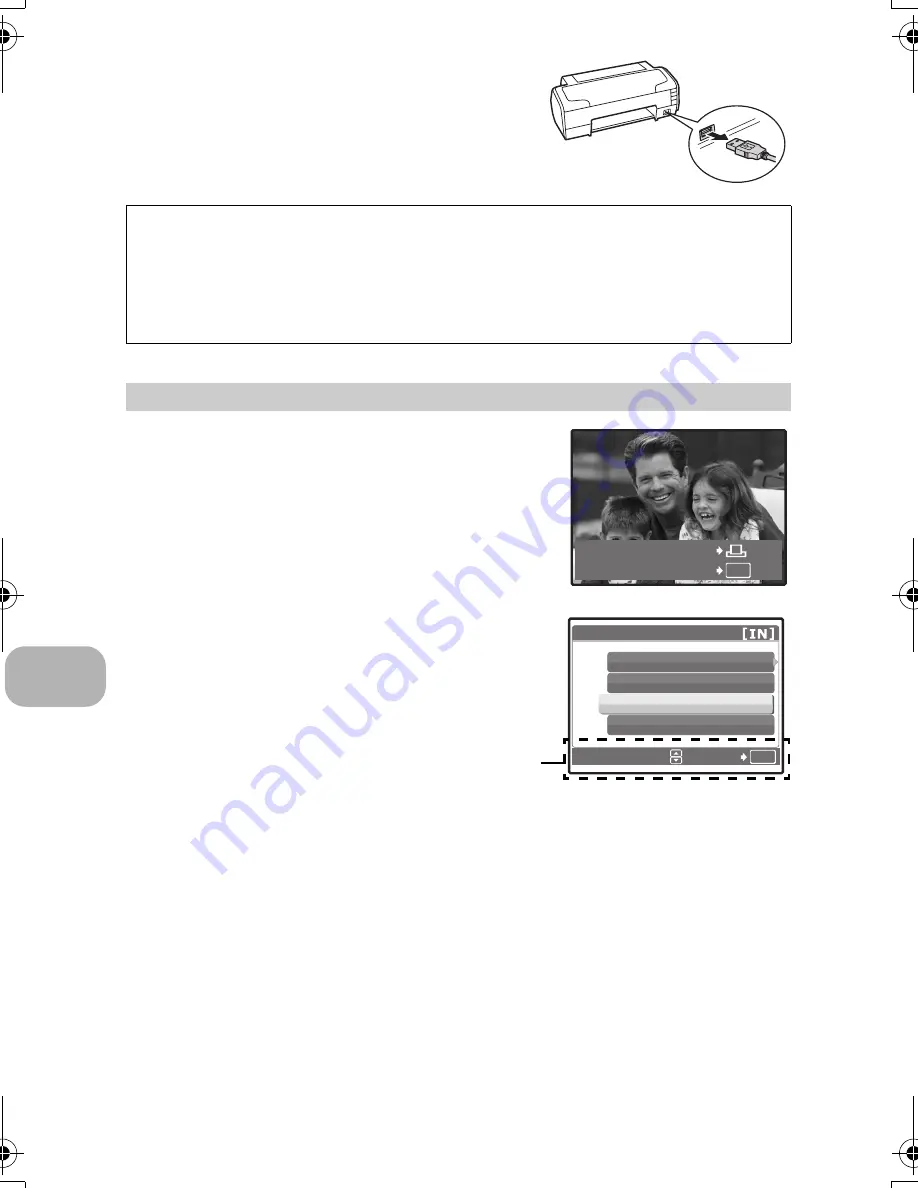
Remove the USB cable from the 

printer.

1

Display the screen being indicated on 

the right according to Steps 1 and 2 on 

P. 30-31, and press 

.

2

Select [CUSTOM PRINT], and press 

.

3

Make the print settings according to the operation guide.

You can use [EASY PRINT] even when the camera is turned off or in shooting 
mode. With the camera turned off or in shooting mode, connect the USB cable. 
The selection screen for the USB connection is displayed. Select [EASY 
PRINT].

g

“EASY PRINT” Step 3 (P. 31), “Other print modes and print settings” 
Step 2 (P. 32)

Other print modes and print settings (CUSTOM PRINT)

OK

PC / CUSTOM PRINT

EASY PRINT START

OK

USB

PC

EASY PRINT

CUSTOM PRINT

EXIT

SET

Operation guide

d4339_e_0000_7.book  Page 32  Friday, December 15, 2006  6:05 PM

Содержание FE-250/X-800

Страница 1: ...Before you start to use your new camera please read these instructions carefully to enjoy optimum performance and a longer service life Keep this manual in a safe place for future reference We recomme...

Страница 2: ...ore about camera operations and how to take better pictures Read about convenient functions and safety precautions on how to use your camera more effectively Learn about the menus that control the fun...

Страница 3: ...does not come loose Digital Camera Strap Lithium Ion Battery LI 42B Battery Charger LI 40C USB Cable AV Cable OLYMPUS Master CD ROM Items not shown Instruction Manual this manual and the Warranty Car...

Страница 4: ...to as the card For details on inserting the card please refer to Inserting and removing the card P 58 1 Red light on Charging Light off Charging complete Charging time Approx 300 minutes AC Wall Outle...

Страница 5: ...le for taking pictures of people E Suitable for taking pictures of a landscape M Suitable for taking pictures of people at night f Select from 10 available scene modes according to the shooting condit...

Страница 6: ...ss the Y button c Press the OF and NY buttons to select M About the date and time setting screen MENU TIME TIME D M Y CANCEL Y M Y M D Y M D Cancels the setting Hour Date formats Y M D M D Y D M Y Min...

Страница 7: ...button i Press the OF and NY buttons to select Y M D j After all settings have been set press For a more accurate setting press when the time signal hits 00 seconds MENU 2007 2007 02 02 10 10 TIME TI...

Страница 8: ...y 1 1000 1 1000 F2 8 F2 8 HQ HQ 3264 3264 2448 2448 IN IN 4 4 When the focus and exposure are locked the green lamp lights up and the shutter speed and aperture value are displayed Place this mark ove...

Страница 9: ...Press the OF button select YES and press 12 30 12 30 07 02 10 07 02 10 100 0004 100 0004 4 HQ HQ IN IN 3264 3264 2448 2448 0 0 0 0 1 1000 1 1000 F2 8 F2 8 ISO 1600 ISO 1600 Arrow pad Displays the next...

Страница 10: ...d then completely press the shutter button to shoot a picture When the green lamp blinks the focus is not adjusted properly Try locking the focus again Recording movies Set the mode dial to n and ligh...

Страница 11: ...a with the K or q button P 27 g Movie playback MOVIE PLAY Playing back movies P 22 Set the mode dial to the desired shooting mode The camera determines the optimum settings for shooting pictures This...

Страница 12: ...de will change to the default setting by pressing m or changing the mode using the mode dial Audio is recorded with the movie During audio recording only the digital zoom can be used To record the mov...

Страница 13: ...with XY and press Adjustable from 2 0 EV to 2 0 EV Playback mode Printing pictures Display a picture to print out in playback mode connect the camera to the printer and then press OF to print the pict...

Страница 14: ...you want to keep g 0 Protecting pictures P 23 X button Shooting pictures close to the subject OFF Macro off Cancels macro mode Macro on This mode lets you shoot from as close as 30 cm 11 8 in when th...

Страница 15: ...es and the image is further enlarged Zoom bar 1 2 4 3 IN IN 3264 3264 2448 2448 0 0 0 0 12 30 12 30 07 02 10 07 02 10 100 0004 100 0004 4 HQ HQ IN IN 1 1000 1 1000 F2 8 F2 8 ISO 1600 ISO 1600 1 2 3 4...

Страница 16: ...low these guides to navigate the menus About the menus Operation guide m button Arrow pad ONXY K button Shooting mode q button Playback mode OK MENU RESET SILENT MODE SET EXIT RESET SILENT MODE CAMERA...

Страница 17: ...GH and press The menu item is set and the previous menu is displayed Press m repeatedly to exit the menu To cancel any changes and continue operating the menus press m without pressing Using the menus...

Страница 18: ...contrast adjustment and red eye correction HQ 3264 2448 Standard compression SQ1 2048 1536 Standard compression This is useful for A4 11 7 8 5 in postcard size prints This is useful for computer edit...

Страница 19: ...0 RESET Changing the shooting functions back to default settings NO YES Function Factory default setting Ref Page AUTO P 14 OFF P 14 F 0 0 P 13 Y OFF P 14 IMAGE QUALITY HQ P 18 f jSPORT P 12 ISO AUTO...

Страница 20: ...fy at which edge you want to connect the pictures and then compose your shots so that the edges of the pictures overlap The part of the previous picture where it will be joined to the next picture doe...

Страница 21: ...To cancel the slideshow press SILENT MODE Muting operational sounds OFF ON Playback mode menu q SLIDESHOW Playing back pictures automatically 5 OK MENU ERASE ERASE SETUP SETUP MOVIE MOVIE PLAY PLAY P...

Страница 22: ...during pause press m MOVIE PLAY Playing back movies 2 OK 12 30 12 30 07 02 10 07 02 10 100 0004 100 0004 4 IN IN MOVIE PLAY 12 30 12 30 07 02 10 07 02 10 100 0004 100 0004 00 00 00 36 00 00 00 36 HQ H...

Страница 23: ...when the power is turned off Select a picture with XY and select 90 0 90 with ON to rotate pictures You can rotate several frames in succession Sound is recorded for about 4 seconds Use the arrow pad...

Страница 24: ...n MY FAVORITE Use the arrow pad to select the picture to be erased and press S Select YES and press Even if pictures registered in MY FAVORITE are erased original pictures in the internal memory or th...

Страница 25: ...he arrow pad to select the picture and press to mark R on your selection To cancel the selection press again When the selection is completed press S Select YES and press Select YES and press This func...

Страница 26: ...p data Check if the battery is not empty before starting the copy You can select a language for on screen display Available languages vary depending on the area where you purchased this camera You can...

Страница 27: ...tion is used to turn on the camera when K or q is pressed Press ON to adjust the volume You can adjust the volume to one of five levels or mute the volume PIXEL MAPPING Adjusting the image processing...

Страница 28: ...kes 00 seconds The factory default settings differ according to the region where the camera is sold To play back camera images on a TV set the video output according to your TV s video signal type TV...

Страница 29: ...tings on the TV Turn the TV on and set it to video input mode For details of switching to video input refer to your TV s instruction manual Images and the information displayed on the screen may be cr...

Страница 30: ...is printed using the standard settings of your printer The date and file name are not printed STANDARD All printers that support PictBridge have standard print settings If STANDARD is selected on the...

Страница 31: ...e position of the USB port refer to the printer s instruction manual 3 Press OF Printing starts When printing is finished the picture selection screen is displayed To print another picture press XY to...

Страница 32: ...guide You can use EASY PRINT even when the camera is turned off or in shooting mode With the camera turned off or in shooting mode connect the USB cable The selection screen for the USB connection is...

Страница 33: ...vation data on the card If no print reservations have been made this option is not available g Print settings DPOF P 35 OK MENU IN P R I N T PA P E R S I Z E S I Z E BORDERLESS BORDERLESS S I Z E BORD...

Страница 34: ...mber of prints and data to be printed OK MENU P R I N T I N F O 1 WITHOUT WITHOUT FILE NAME SET BACK DATE Sets the number of prints You can select up to 10 prints DATE If you select WITH pictures are...

Страница 35: ...or more details refer to the printer s instruction manual A PC card adapter may also be necessary Note DPOF reservations set by another device cannot be changed by this camera Make changes using the o...

Страница 36: ...e print reservations for other pictures 4 When you finish making print reservations press 5 Select the date and time setting and press NO The pictures are printed without the date and time DATE The se...

Страница 37: ...R and press To reset the print reservation data for all the pictures 2 Select or U and press 3 Select RESET and press To reset the print reservation data for a selected picture 2 Select and press 3 Se...

Страница 38: ...omputer gP 43 Using OLYMPUS Master What is OLYMPUS Master Prepare the following items before starting Computer equipped with a USB port OLYMPUSMaster2 CD ROM USB cable Download images from the camera...

Страница 39: ...re not guaranteed when using an added USB port or IEEE 1394 port To install the software you must log on as a user with administrators privileges Macintosh OS Mac OS X v10 3 or later CPU Power PC G3 5...

Страница 40: ...nstructions When the OLYMPUS Master licensing agreement is displayed read the agreement and click Yes to proceed with the installation 4 When the user information screen is displayed enter your Name s...

Страница 41: ...stallation The screen confirming that installation is completed is displayed You must restart your computer before using OLYMPUS Master 1 Make sure the camera is turned off The monitor is off The lens...

Страница 42: ...directly to the computer Images cannot be transferred to your computer with OLYMPUS Master if PC is selected in Step 3 Y is pressed and MTP is selected Windows 1 Double click the OLYMPUS Master 2 ico...

Страница 43: ...lug or Eject Hardware icon in the system tray 2 Click the message that is displayed 3 When a message is displayed saying that the hardware can be ejected safely click OK Macintosh 1 The trash icon cha...

Страница 44: ...s required to use the USB cable to connect the camera to your computer Windows Windows 98SE Me 2000 Professional XP Home Edition XP Professional Vista Macintosh Mac OS 9 0 to 9 2 X Note If your comput...

Страница 45: ...n Update Camera Add Display Language The confirmation window for updating is displayed 6 Click OK The updating the camera window is displayed 7 Click Add Language in the updating camera display The Ad...

Страница 46: ...e before taking a picture If the camera is left for 12 minutes it automatically turns off Press o to turn the camera on The mode dial is in the position of R No pictures can be taken when the shooting...

Страница 47: ...to shoot by pressing the shutter button halfway and then recompose your picture and wait for the subject to enter the frame g f Shooting pictures by selecting a scene mode according to the situation...

Страница 48: ...f the image is cropped and enlarged The greater the magnification the grainier the picture appears Increasing the ISO sensitivity When you increase the ISO setting noise which appears as spots of unwa...

Страница 49: ...rded to the card when inserted in the camera When the card is full you download the pictures to a computer and then either erase the pictures from the card or use a new card Pictures are not recorded...

Страница 50: ...240 30 frames sec 30 sec 30 sec 12 min 42 sec 12 min 53 sec Using a new card Lamp indicators Lamp Status Self timer lamp The lamp lights for approximately 10 seconds blinks for approximately 2 seconds...

Страница 51: ...mage size and compression level Use the following examples to help determine the optimal image quality when shooting To print large images on full size paper To edit and process images on a computer S...

Страница 52: ...ter settings When the monitor setting is 1 024 768 and you are using Internet Explorer to view a picture with an image size of 2 048 1 536 at 100 the entire picture cannot be viewed without scrolling...

Страница 53: ...in the internal memory or on the card The internal memory or the card contains no pictures Record pictures r PICTURE ERROR There is a problem with the selected picture and it cannot be played back on...

Страница 54: ...mmed Remove the jammed paper SETTINGS CHANGED The printer s paper tray has been removed or the printer has been operated while changing settings on the camera Do not operate the printer while changing...

Страница 55: ...ng modes IMAGE QUALITY is fixed at 640 480 Functions available in shooting modes and scenes Shooting mode h i A l M h f Function C N V W d R S X i 9 9 9 9 Y 9 9 9 9 Zoom 9 9 F 9 IMAGE QUALITY 9 ISO 9...

Страница 56: ...ended periods remove the battery and card and keep in a cool dry place that is well ventilated Periodically insert the battery and test the camera functions Note Avoid leaving the camera in places whe...

Страница 57: ...ask at your local electrical shop or travel agent Do not use travel voltage converters as they could damage your charger Pictures can be recorded on the optional card The internal memory and card are...

Страница 58: ...insert it into the card slot as shown in the illustration Insert the card straight in Insert the card until it clicks into place Inserting and removing the card HQ HQ 3264 3264 2448 2448 IN IN 4 4 IS...

Страница 59: ...nd remove 5 Close the battery card compartment cover Note Do not open the battery card compartment cover while the card access lamp is blinking as the lamp is indicating that it is reading or writing...

Страница 60: ...r any heat source such as a radiator heat register stove or any type of equipment or appliance that generates heat including stereo amplifiers Safety Precautions General Precautions CAUTION TO REDUCE...

Страница 61: ...ediately if you notice any unusual odors noise or smoke around it Never remove the batteries with bare hands which may cause a fire or burn your hands Never hold or operate the camera with wet hands D...

Страница 62: ...eaking overheating or causing a fire or explosion use only batteries recommended for use with this product Insert the battery carefully as described in the operating instructions If rechargeable batte...

Страница 63: ...fter storage test the camera by turning it on and pressing the shutter release button to make sure that it is operating normally Always observe the operating environment restrictions described in the...

Страница 64: ...sentations or warranties either expressed or implied by or concerning any content of these written materials or software and in no event shall be liable for any implied warranty of merchantability or...

Страница 65: ...ing antenna Increase the distance between the camera and receiver Connect the equipment to an outlet on a circuit different from that to which the receiver is connected Consult your dealer or an exper...

Страница 66: ...the customer may turn the product in at any Olympus service station Please notice that not in all countries such Olympus service station exists 2 The customer shall transport the product to the dealer...

Страница 67: ...regulations by law remain unaffected by this Notes regarding warranty maintenance 1 This warranty will only be valid if the Warranty Certificate is duly completed by Olympus or an authorized dealer or...

Страница 68: ...Lens Olympus lens 7 4 to 22 2 mm f2 8 to 4 7 equivalent to 35 to 105 mm on a 35 mm camera Photometric system Digital ESP metering Shutter speed 4 to 1 1000 sec Shooting range 0 3 m 1 0 ft to W 0 5 m...

Страница 69: ...operation 20 C to 35 C 4 F to 95 F storage Dimensions 31 5 39 5 6 mm 1 2 1 5 0 2 in Weight Approx 15 g 0 5 oz Battery charger LI 40C Power requirements AC 100 to 240 V 50 to 60 Hz 3 2 VA 100 V to 5 0...

Страница 70: ...mer gP 14 Strap eyelet gP 3 Connector cover gP 29 41 Multi connector gP 29 31 41 S button Erase gP 14 Monitor gP 27 m button gP 14 Self timer lamp gP 14 Microphone K button Shooting gP 11 q button Pla...

Страница 71: ...DRIVE i P 20 12 Macro mode Super macro mode P 14 13 Image quality SHQ HQ SQ1 SQ2 16 9 P 18 14 Image size 3264 2448 2048 1536 640 480 etc P 18 15 AF target mark P 8 16 Number of storable still pictures...

Страница 72: ...ure compensation 2 0 2 0 P 13 9 ISO ISO 100 ISO 400 ISO 1600 etc P 19 10 Date and time 07 02 10 12 30 P 28 11 File number M 100 0004 12 Number of frames Elapsed time Total recording time 4 00 00 00 36...

Страница 73: ...heck 71 BEEP 27 C CANDLE W 12 Card 49 57 Card access lamp 43 50 59 Close up playback U 15 Compression 18 Connector cover 29 41 CUISINE V 12 CUSTOM PRINT 32 D Date and time X 6 28 47 Digital zoom 12 15...

Страница 74: ...without sound R 20 Recording R 23 Recording sound when taking still pictures R 20 Red eye reduction flash 14 Remaining recording time 49 RESET 19 51 RESIZE 23 S f Scene 5 12 19 SEL IMAGE 25 Selecting...

Страница 75: ...EN 75 Memo...

Страница 76: ...Printed in Japan 1AG6P1P3451 VH975501...

Отзывы: