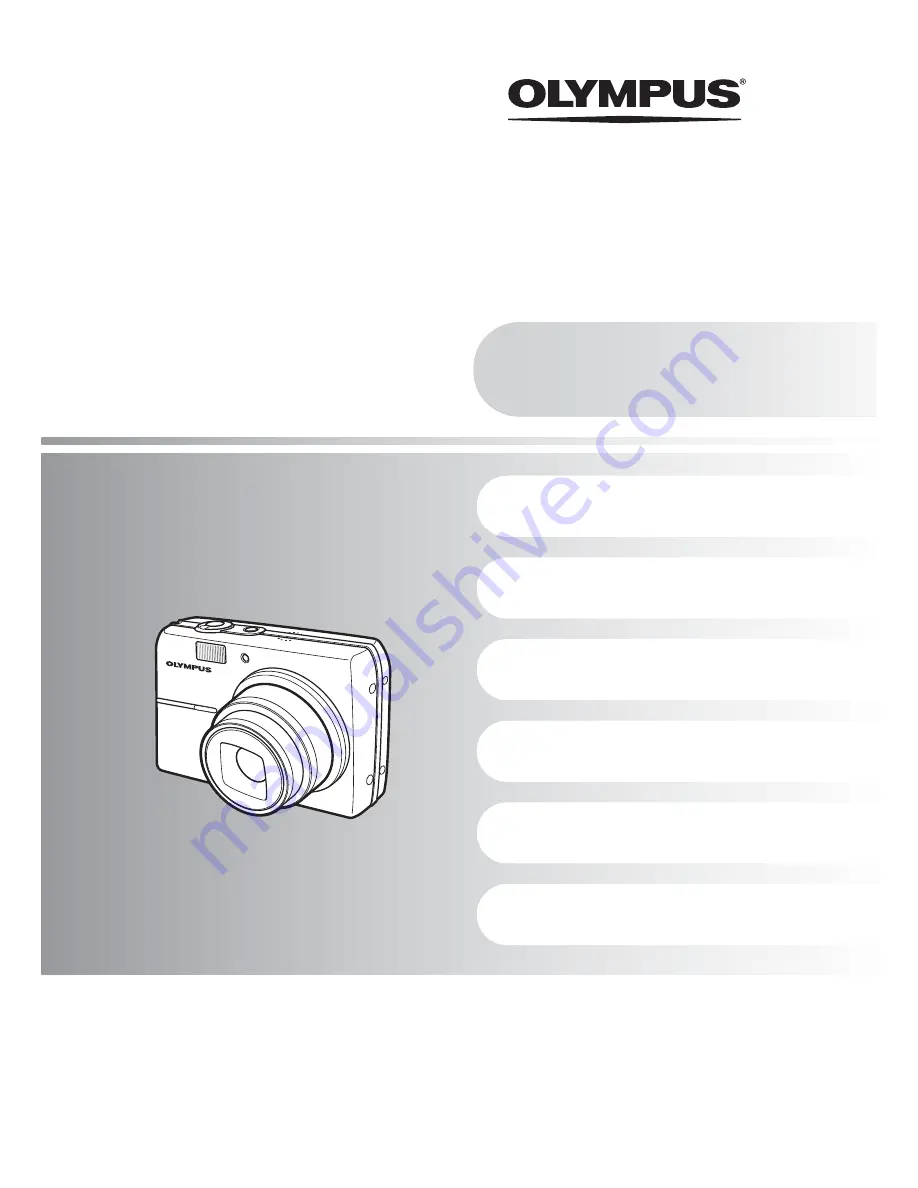
background image

FE-200

Getting to know your 
camera better

Quick Start Guide

Get started using your camera 
right away.

Button operations

Menu operations

Printing pictures

Using OLYMPUS Master

(

Thank you for purchasing an Olympus digital camera. Before you start to use your new camera, please read 
these instructions carefully to enjoy optimum performance. Keep this manual in a safe place for future 
reference.

(

We recommend that you take test shots to get accustomed to your camera before taking important 
photographs.

(

In the interest of continually improving products, Olympus reserves the right to update or modify information 
contained in this manual.

(

The screen and camera illustrations shown in this manual were produced during the development stages and 
may differ from the actual product.

Advanced 

Manual

Miscellaneous

DIGITAL CAMERA

Содержание FE-200

Страница 1: ...o enjoy optimum performance Keep this manual in a safe place for future reference We recommend that you take test shots to get accustomed to your camera before taking important photographs In the inte...

Страница 2: ...nd out more about your camera and learn what to do when you have a question regarding operations Read about convenient functions and safety precautions on how to use your camera more effectively Learn...

Страница 3: ...the strap tight so that it does not come loose Digital camera Strap LI 12B Lithium ion battery USB cable AV cable OLYMPUS Master CD ROM Other items Basic manual Advanced manual this manual Warranty c...

Страница 4: ...xD Picture Card hereinafter called the card please refer to Inserting and removing the card P 62 Charging indicator Power cable AC wall outlet Lithium ion battery 1 2 3 Lit red Charging Lit green Char...

Страница 5: ...oving subject or camera movement when taking pictures B Suitable for taking pictures of people E Suitable for taking pictures of landscapes M Suitable for taking pictures of people at night f Shoot pi...

Страница 6: ...b Press the Y button c Press the O button and the NY button to select M MENU CANCEL X Y M D Y M D Y M D T I M E Y M D T I M E Y M D Year Month Day Cancel the setting Minute Date format Y M D M D Y D M...

Страница 7: ...er all items have been set press i The time is displayed in the 24 hour format For a more accurate setting you can press i when the time signal hits 00 seconds 2006 2006 08 08 26 26 CANCEL MENU X Y M...

Страница 8: ...Focus Shutter button Press halfway HQ HQ 2816 2816 2112 2112 IN IN 4 4 The green lamp indicates that the focus and exposure are locked Place this mark over your subject The number of still pictures y...

Страница 9: ...y the picture you want to erase b Press the S button c Press the O button to select YES and press i 12 30 12 30 06 08 26 06 08 26 100 0001 100 0001 1 HQ HQ IN IN Arrow pad Next picture Previous pictur...

Страница 10: ...s lock Compose your picture with the focus locked and then completely press the shutter button to shoot a picture When the green lamp blinks the focus is not adjusted properly Try locking the focus ag...

Страница 11: ...q P 25 Set the mode dial and shoot pictures The camera determines the optimum settings and shoots the picture This function reduces the blur caused by a moving subject or camera movement when taking p...

Страница 12: ...mode dial to a different position and then set it to f again The selection screen is displayed By switching to another scene most settings will be returned to the default settings of each scene OK SET...

Страница 13: ...a Red part Digital zoom area 06 06 08 08 16 16 12 12 30 30 4 100 100 0004 0004 HQ HQ 2 1 3 4 8 7 9 5 6 2 1 3 4 Close up playback Pull continuously towards T to enlarge the picture up to 10 times the o...

Страница 14: ...picture is taken To cancel the self timer press NY Self timer shooting is automatically canceled after one shot 7 MENU button Displaying the menu 8 Arrow pad ONXY 9 i button 0 O button Printing a X b...

Страница 15: ...erasing to avoid accidentally erasing pictures you want to keep g PROTECT Protecting pictures P 23 c Y button Flash shooting AUTO Auto flash The flash fires automatically in low light or backlight con...

Страница 16: ...ode dial is set at g press m to display the shooting guide screen About the menus K button Shooting mode MENU button q button Playback mode Arrow pad ONXY i button OK MENU SET EXIT PANORAMA PANORAMA E...

Страница 17: ...ress i VIDEO OUT is a menu in SETUP Operation guide Using the menus OK MENU SET EXIT PANORAMA PANORAMA EXPOSURE EXPOSURE COMP COMP SILENT SILENT MODE MODE IMAGE IMAGE QUALITY QUALITY SETUP SETUP RESET...

Страница 18: ...he mode dial g Functions available in shooting modes and scenes P 59 The factory default settings are displayed in gray Shooting mode menus K 2 3 1 PIXEL MAPPING K q K q BACKUP MEMORY FORMAT SETUP ENG...

Страница 19: ...pplication SHQ 2816 2112 Low compression This is useful for printing large images on A3 size or full size paper This is useful for performing computer image processing such as contrast adjustment and...

Страница 20: ...e Set the operation beeps alarms and shutter sound to mute when shooting or playing back pictures 3 RESET Returning changed shooting functions to default settings NO YES Function Factory default setti...

Страница 21: ...MOVIE PLAY PLAY PRINT PRINT ORDER ORDER SILENT SILENT MODE MODE OK MENU SET EXIT OK MENU SET EXIT ROTATE ROTATE PROTECT PROTECT RESIZE RESIZE ERASE ERASE SETUP SETUP SLIDE SLIDE SHOW SHOW PRINT PRINT...

Страница 22: ...ause press MENU 2 MOVIE PLAY Playing back movies 06 06 08 08 16 16 12 12 30 30 100 100 0004 0004 4 OK MOVIE PLAY 00 00 00 00 00 00 36 36 06 06 08 08 16 16 12 12 30 30 100 100 0004 0004 32 320 24 240 H...

Страница 23: ...e erased Cancel protection before erasing protected pictures Once erased pictures cannot be restored Check each picture before erasing to avoid accidentally erasing pictures you want to keep When eras...

Страница 24: ...F SETUP menus SILENT SILENT MODE MODE SETUP SETUP ROTATE ROTATE RESIZE RESIZE PRINT PRINT ORDER ORDER SLIDE SLIDE SHOW SHOW PROTECT PROTECT ERASE ERASE OK MENU SET EXIT OK MENU SET EXIT PANORAMA PANOR...

Страница 25: ...ending on the area where you purchased this camera You can add other languages to your camera with the provided OLYMPUS Master software The pixel mapping feature allows the camera to check and adjust...

Страница 26: ...e is displayed in the 24 hour format To set the time precisely with the cursor at either minutes or date format press i as the time signal strikes 0 seconds 8 Adjusting the volume of camera warning so...

Страница 27: ...ng VIDEO OUT Playing back pictures on a TV NTSC PAL AF ILLUMINAT Fill in flash used in low light conditions OFF The AF illuminator does not light ON The AF illuminator lights automatically when the sh...

Страница 28: ...e monitor Your printer s standard settings are used The date and file name are not printed STANDARD All printers that support PictBridge have standard print settings If STANDARD is selected on the set...

Страница 29: ...the USB port refer to the printer s instruction manual 3 Press O Printing starts When printing is finished the picture selection screen is displayed To print another picture press XY to select a pictu...

Страница 30: ...to the operation guide You can use EASY PRINT even when the camera is turned off or in shooting mode With the camera turned off or in shooting mode connect the USB cable The selection screen for the U...

Страница 31: ...he pictures stored in the internal memory or the card PRINT ORDER Prints the pictures according to the print reservation data on the card If no print reservations have been made this option is not ava...

Страница 32: ...INGLE PRINT or MORE has been selected pictures are printed according to the reservation g Go to step 4 SINGLE PRINT Makes a print reservation for the displayed picture MORE Sets the number of prints a...

Страница 33: ...atic print information from digital cameras Pictures with print reservations can be printed using the following procedures Printing using a DPOF compatible photo store The pictures are printed accordi...

Страница 34: ...e card P 25 Follow the operation guide to make a print reservation for a selected picture 1 Press MENU in the playback mode to display the top menu 2 Select PRINT ORDER and then and press i 3 Press XY...

Страница 35: ...ime DATE All pictures are printed with the shooting date TIME All pictures are printed with the shooting time 4 Select SET and press i You can reset all the print reservation data or just for selected...

Страница 36: ...th the print reservations you want to cancel and press N to decrease the number of prints to 0 Repeat this step to cancel print reservations for other pictures 5 When you are finished canceling print...

Страница 37: ...t the camera from the computer gP 44 Using OLYMPUS Master What is OLYMPUS Master Prepare the following items before starting Computer equipped with a USB port OLYMPUS Master CD ROM USB cable Download...

Страница 38: ...98 is not supported Data transfer is only guaranteed on computers with a factory installed OS To install the software in Windows 2000 Professional XP you must log on as a user with administrators pri...

Страница 39: ...n the camera s battery compartment card cover Windows 1 Insert the CD ROM into the CD ROM drive The OLYMPUS Master setup screen is displayed If the screen is not displayed double click the My Computer...

Страница 40: ...install Adobe Reader is displayed Adobe Reader is required to read the OLYMPUS Master instruction manual If this screen is not displayed Adobe Reader is already installed on your computer To install...

Страница 41: ...t The computer restarts Remove the CD ROM from the CD ROM drive and store it 1 Make sure the camera is turned off The monitor is off The lens is retracted 2 Connect the multi connector on the camera t...

Страница 42: ...this case do not use a hub but connect the camera directly to the computer Windows 1 Double click the OLYMPUS Master icon on the desktop The main menu is displayed When OLYMPUS Master is started up fo...

Страница 43: ...sfer Images button Downloads images from the camera or other media 2 Browse Images button The Browse window is displayed 3 Online Print button The online print window is displayed 4 Print Images at Ho...

Страница 44: ...ct the camera 1 Make sure that the card access lamp has stopped blinking 2 Make the following preparations for disconnecting the USB cable Windows 98SE 1 Double click the My Computer icon and right cl...

Страница 45: ...be displayed Make sure that image data is not being downloaded from the camera and that all applications are closed Click the Unplug or Eject Hardware icon again and disconnect the cable 1 Click Brows...

Страница 46: ...menu 1 Click Print Images at Home on the OLYMPUS Master main menu The print menu is displayed 2 Click Photo The Photo Print window is displayed Item Description 1 Playback slider Move the slider to se...

Страница 47: ...size To print the date and time with your image check the box next to Print Date and select between Date and Date Time 5 Select the thumbnail image that you want to print and click Add A preview of t...

Страница 48: ...ndows 98SE you will need to install the USB driver Before connecting the camera to your computer with the USB cable double click the files from the following folders on the provided OLYMPUS Master CD...

Страница 49: ...B connection is displayed 4 Select PC and press i 5 Click OK OLYMPUS Master will recognize the actual version of your camera now Click Check for latest version and the Software is searching at the Oly...

Страница 50: ...mode before taking a picture If the camera is left for 15 minutes it automatically turns off Press o to turn the camera on The mode dial is in the position of g No pictures can be taken when the guide...

Страница 51: ...the date and time settings are correct There are several ways to focus depending on the subject When the subject is not in the center of the frame Place the subject in the center of the frame lock the...

Страница 52: ...nction of high magnification The object is dark and the shutter speed is slow The flash cannot be used or when a low shutter speed shooting mode is selected The flash is activated automatically when t...

Страница 53: ...to activate fill in flash You can shoot a subject against backlight without the face of the subject appearing dark is effective for shooting against backlight and under fluorescent and other artificia...

Страница 54: ...ec 3 min 13 sec SQ 160 120 15 frames sec 4 min 5 sec 4 min 29 sec 23 min 14 sec 25 min 29 sec Using a new card Lamp indicators Lamp Status Self timer lamp The lamp lights for approximately 10 seconds...

Страница 55: ...on a computer SHQ or HQ To print on A4 or letter size paper To print postcard size images SQ1 To send images as an e mail attachment or post on a Web site SQ2 g IMAGE QUALITY Changing the image quali...

Страница 56: ...picture cannot be viewed without scrolling There are several ways you can view the entire picture on the computer screen View the picture using image browsing software Install the OLYMPUS Master softw...

Страница 57: ...card or download such pictures to a computer q CARD FULL The card has no available memory and cannot store any new data Replace the card or erase unwanted data Before erasing download important pictu...

Страница 58: ...d printer correctly NO PAPER There is no paper in the printer Load some paper in the printer NO INK The printer has run out of ink Replace the ink cartridge in the printer JAMMED The paper is jammed R...

Страница 59: ...ure quality is fixed to 640 480 2 Cannot be set P or X is set for f Functions available in shooting modes and scenes Shooting mode h h i l M n f Function j N V W P d R S X i 9 9 9 9 9 Y 9 9 9 9 ZOOM 9...

Страница 60: ...functions Note Avoid leaving the camera in places where chemical products are handled since this may result in corrosion This camera uses one Olympus lithium ion battery LI 12B 10B No other type of ba...

Страница 61: ...memory or card can be easily erased on the camera or processed using a computer Unlike portable storage media the internal memory cannot be removed or exchanged The number of recordable pictures can...

Страница 62: ...t into the card slot as shown in the illustration Insert the card straight in Insert the card until it clicks into place Removing the card 4 Push the card all the way in and release slowly The card pr...

Страница 63: ...the AC adapter optional with this camera Do not use any other AC adapter with this camera Note Do not remove or load the battery or connect or disconnect the AC adapter while the camera is on or the...

Страница 64: ...to the product Heat Never use or store this product near any heat source such as a radiator heat register stove or any type of equipment or appliance that generates heat including stereo amplifiers SA...

Страница 65: ...When used for a long period the camera will get hot If you hold on to the camera in this state a low temperature burn may be caused In places subject to extremely cold temperatures the temperature of...

Страница 66: ...atter if in use or storage Places where temperatures and or humidity are high or go through extreme changes Direct sunlight beaches locked cars or near other heat sources stove radiator etc or humidif...

Страница 67: ...on of Olympus No liability is assumed with respect to the use of the information contained in these written materials or software or for damages resulting from the use of the information contained the...

Страница 68: ...This symbol crossed out wheeled bin WEEE Annex IV indicates separate collection of waste electrical and electronic equipment in the EU countries Please do not throw the equipment into the domestic re...

Страница 69: ...ud etc entering the inside of the product casing h When this Warranty Certificate is not returned with the product i When any alterations whatsoever are made to the Warranty Certificate regarding the...

Страница 70: ...stem Digital ESP metering Shutter speed 4 to 1 2000 sec Shooting range 0 25 m 0 8 ft to W T normal 0 2 m 7 8 in to W 0 5 m 1 7 ft to T macro mode 0 05 m 2 0 in to 0 2 m 7 8 in W only super macro mode...

Страница 71: ...140 F operation 0 C to 30 C 32 F to 86 F storage Dimensions 32 46 10 mm 1 3 1 8 0 4 in Weight Approx 30 g 1 1 oz Battery charger LI 10C Power requirements AC 100 to 240 V 50 to 60 Hz 11 VA 100 V to 1...

Страница 72: ...de dial P 11 Arrow pad ONXY P 14 i button P 14 Strap eyelet P 3 Battery card compartment cover P 4 62 Tripod socket Connector cover Multi connector P 27 29 41 S button P 15 Monitor P 60 MENU button P...

Страница 73: ...nks 7 Silent mode P 20 8 Macro mode Super macro mode P 14 9 Image quality SHQ HQ SQ1 SQ2 P 19 10 Image size 2816 2112 2048 1536 640 480 P 19 11 AF target mark P 8 12 Number of storable still pictures...

Страница 74: ...ge size 2816 2112 2048 1536 640 480 etc P 19 8 Exposure compensation 2 0 2 0 P 20 9 Date and time 06 08 16 12 30 P 6 10 File number M100 0004 11 Frame number Elapsed time Total recording time movie 4...

Страница 75: ...focus 52 AV cable 27 B BACKUP 25 Battery 60 Battery check 73 BEEP 25 BEHIND GLASS V 11 C CANDLE b 11 Card 25 61 Card access lamp 44 54 CCD 25 Close up playback U 13 Compression 19 Connector cover 27...

Страница 76: ...button 10 Press completely 8 Press halfway 8 PRINT ORDER 24 31 Print settings 33 PROTECT 23 R Recording movies n 12 Recording sound R 26 Recording time 22 Red eye reduction flash 15 Remaining recordi...

Страница 77: ...EN 77 SUNSET S 11 Super macro mode 14 T Top menu 16 U USB cable 29 37 41 USB driver 38 48 V VIDEO OUT 27 VOLUME 26 W Warning sound 8 26 X xD Picture Card 19 61 Z Zoom lever 13...

Страница 78: ...2006 VH745601...

Отзывы: