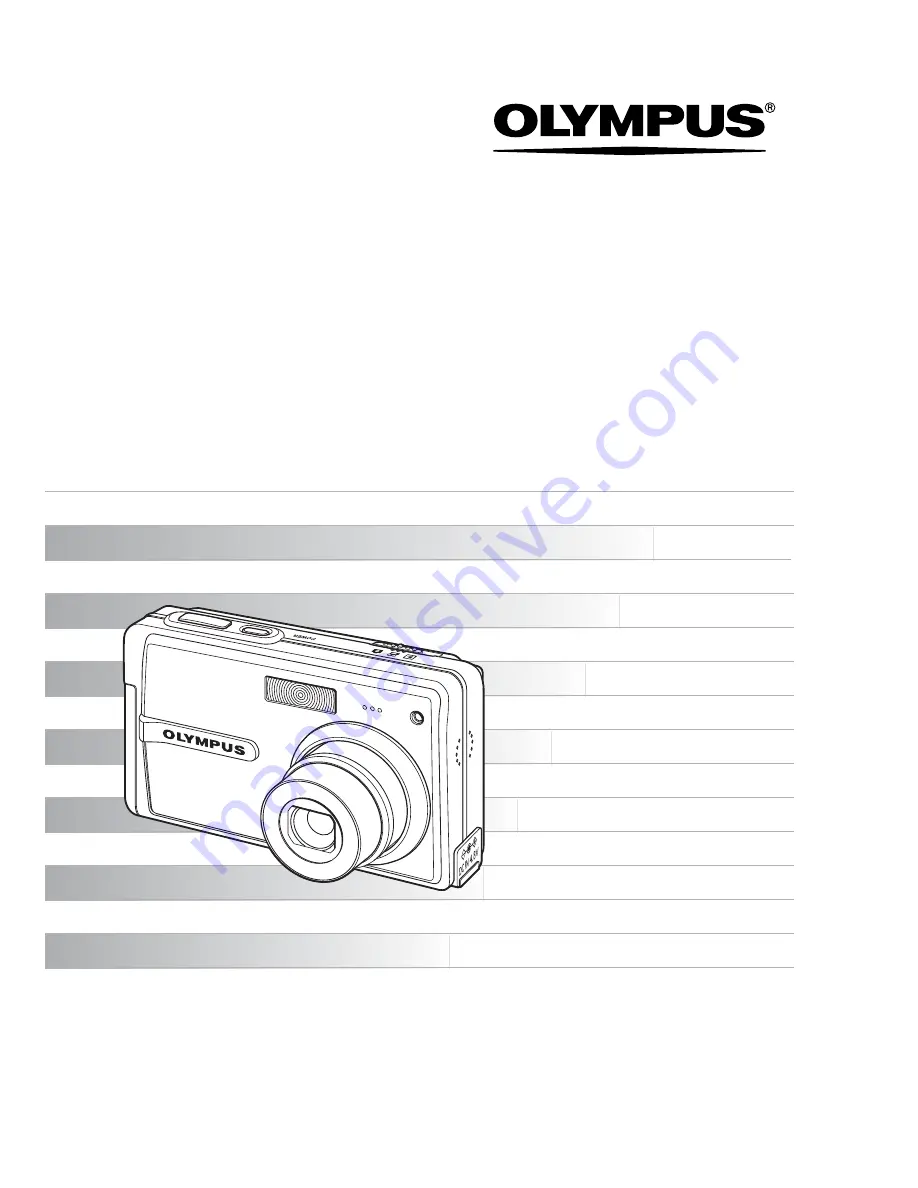
background image

DIGITAL CAMERA

Detailed explanations of all the functions for 
getting the most out of your camera.

Advanced 

Manual


Thank you for purchasing an Olympus digital camera. Before you start to use your new 

camera, please read these instructions carefully to enjoy optimum performance and a 

longer service life. Keep this manual in a safe place for future reference.


We recommend that you take test shots to get accustomed to your camera before taking 

important photographs.


In the interest of continually improving products, Olympus reserves the right to update or 

modify information contained in this manual.


The images of the LCD screen and illustrations of the camera used in this manual may 

differ from the actual product. For this manual, all of the images are based on the FE-150/

X-730 model.

FE-150/X-730

FE-160/X-735

Содержание FE-150/X-730

Страница 1: ...p this manual in a safe place for future reference We recommend that you take test shots to get accustomed to your camera before taking important photographs In the interest of continually improving p...

Страница 2: ...NY button Self timer 12 A AC adapter 66 ALL ERASE 22 ALL INDEX 29 ALL PRINT 29 DPOF 33 60 E EASY PRINT 27 EDIT 22 ERASE 22 Error message 57 EV 60 Exposure 8 60 Exposure compensation F 11 F Fill in fla...

Страница 3: ...mode 9 MENU button Displaying the top menu 9 i button 10 Arrow pad O N X Y 10 Zoom button Zooming while shooting close up playback 10 OF button Changing picture brightness 11 X button Shooting pictur...

Страница 4: ...ctures in the internal memory or on the card 22 EDIT Editing still pictures 22 Q Reducing the size of picture 22 PRINT ORDER Making print reservations DPOF 22 SETUP menu 23 MEMORY FORMAT FORMAT Format...

Страница 5: ...37 What is OLYMPUS Master 37 Install the OLYMPUS Master software 38 Connecting the camera to a computer 42 Start up the OLYMPUS Master software 43 Displaying camera images on a computer 44 Downloading...

Страница 6: ...ormation 53 Increasing the number of pictures that can be taken 53 Using a new card 54 Lamp indicators 54 Extending the useful life of the battery 54 Functions that cannot be selected from menus 55 Se...

Страница 7: ...y and charger 63 Useful use of the accessories 64 The card 64 AC adapter 66 Safety Precautions 67 Index 70 6 Miscellaneous 62 Read about convenient functions and safety precautions on how to use your...

Страница 8: ...button to shoot a picture When the green lamp blinks the focus and exposure are not adjusted properly Try locking the focus again Recording movie Set the mode switch to n and then press the shutter b...

Страница 9: ...ording The last picture taken is displayed Press the arrow pad to view other pictures Use the zoom button to switch between close up playback and index display g MOVIE PLAY Playing back movies P 21 Di...

Страница 10: ...e digital zoom is enabled and the picture will be enlarged more 5 i button 6 Arrow pad O N X Y 7 Zoom button Zooming while shooting close up playback Optical zoom magnification Digital zoom magnificat...

Страница 11: ...on an object can be zoomed in up to 4x Press the arrow pad during close up playback to scroll the picture in the indicated direction Index display Use the arrow pad to select the picture to play back...

Страница 12: ...lets you shoot from 20 cm 7 9 in Most wide angle side to 50 cm 19 7 in Most telescopic side for your subject Super macro mode This mode lets you shoot from as close as 6cm 2 4 in to your subject 0 NY...

Страница 13: ...k mode select the picture you want to erase and press the S button In shooting mode you can also erase any picture by pressing S button Once erased pictures cannot be restored Check each picture befor...

Страница 14: ...switch is set to K or n About the menus 2 Arrow pad O N X Y A MENU button OK EXIT MENU SCN SCN PANORAMA PANORAMA SETUP SETUP RESET RESET IMAGE IMAGE QUALITY QUALITY SET MEMORY FORMAT BACKUP BEEP SHUTT...

Страница 15: ...ess Y and then press A VIDEO OUT is on a menu in SETUP Press Y 2 Press O N to select a setting and press Y Unavailable settings cannot be selected 2 1 W MEMORY FORMAT BACKUP BEEP SHUTTER SOUND LOW ENG...

Страница 16: ...OUT menu and then press A The menu item is set and the previous menu is displayed Press the MENU button repeatedly to close the menu When the MENU button is pressed before pressing A a setting you se...

Страница 17: ...g such as contrast adjustment and red eye reduction HQ FE 150 X 730 2560 1920 FE 160 X 735 2816 2112 Standard compression SQ1 2048 1536 Standard compression Thisisusefulforpostcard sized 4 x6 size pri...

Страница 18: ...of the previous picture where it will be joined to the next picture does not remain in the frame You have to remember what the part in the frame looked like and take the next picture so it overlaps Pa...

Страница 19: ...isplays sample images and the shooting mode to best suit the situation 3 RESET Resetting the settings to the default NO YES Function Factory default setting Ref Page FLASH MODE AUTO P 12 OFF P 12 F 0...

Страница 20: ...F ON OK EXIT MENU SET ERASE ERASE SETUP SETUP PLAYBACK PLAYBACK MENU MENU MOVIE MOVIE PLAY PLAY INDEX INDEX EDIT EDIT PRINT PRINT ORDER ORDER OK EXIT MENU SET SLIDE SLIDE SHOW SHOW ERASE ERASE SETUP S...

Страница 21: ...and press A to playback a movie Selecting MOVIE PLAY from the top menu and pressing A will also playback a movie Operations during movie playback Press A to pause playback Press A again to replay the...

Страница 22: ...rase pictures stored in the internal memory remove the card from the camera To erase pictures stored on the card insert the card to a camera This changes the image size of a picture and saves it as a...

Страница 23: ...emaining Or use an AC adapter You can select a language for on screen display Available languages vary depending on the area where you purchased this camera You can add other languages to your camera...

Страница 24: ...with each image and is used in the file name The first two digits of the year are fixed The time is displayed in the 24 hour format For more accurate setting press A when the time signal hits 00 seco...

Страница 25: ...ies China Playing back pictures on a TV Turn off the camera and the TV before connecting 9 VIDEO OUT Playing back pictures on a TV NTSC PAL Connect to the TV s video input yellow and audio input white...

Страница 26: ...n print out pictures easily either at home using a personal DPOF compatible printer or at a photo store that supports DPOF DPOF is a standard format used to record automatic print information from dig...

Страница 27: ...settings screens P 30 and P 31 pictures are printed according to these settings For its standard settings refer to the printer s instruction manual or contact the printer manufacturer 1 In playback mo...

Страница 28: ...yed To print another picture press X Y to select a picture and press the button When you have finished disconnect the USB cable from the camera with the picture selection screen displayed 4 Disconnect...

Страница 29: ...START PC CUSTOM PRINT USB OK PC EASY PRINT CUSTOM PRINT EXIT SET USB screen OK PRINT MODE SELECT PRINT ALL PRINT MULTI PRINT ALL INDEX SET MENU EXIT PRINT Prints the selected picture ALL PRINT Prints...

Страница 30: ...DERLESS Select framed or unframed In MULTI PRINT mode this function is not available OFF The picture is printed inside a blank frame ON The picture is printed filling the entire page PICS SHEET Availa...

Страница 31: ...OK PRINT INFO SET DATE X FILE NAME 1 WITHOUT WITHOUT MENU BACK Sets the number of prints You can select up to 10 prints DATE If you select WITH pictures are printed with the date FILE NAME If you sel...

Страница 32: ...32 Printing pictures 3 6 Disconnect the USB cable from the camera The camera turns off 7 Disconnect the USB cable from the printer...

Страница 33: ...so be necessary Note This camera cannot change DPOF reservations set by another device Make changes using the original device If a card contains DPOF reservations set by another device entering reserv...

Страница 34: ...ep to make print reservations for other pictures 4 When you finish making print reservations press A 5 Select the date and time print setting and press A NO The pictures are printed without the date a...

Страница 35: ...an reset all the print reservation data or just for selected pictures 1 Select the top menu PRINT ORDER and press A To reset the print reservation data for all the pictures 2 Select or U and press A 3...

Страница 36: ...tures 3 5 When you have finished canceling print reservations press A 6 Select the date and time setting and press A The setting is applied to the remaining pictures with print reservations 7 Select S...

Страница 37: ...les to the computer gP 44 Disconnect the camera from the computer gP 44 Using OLYMPUS Master What is OLYMPUS Master 4 Prepare the following items before starting Computer equipped with a USB port OLYM...

Страница 38: ...or more Note Data transfer is only guaranteed on computers with a factory installed OS To install the software in Windows 2000 Professional XP you must log on as a user with administrators privileges...

Страница 39: ...ra s battery compartment card cover Windows 1 Insert the CD ROM into the CD ROM drive The OLYMPUS Master setup screen is displayed If the screen is not displayed double click the My Computer icon and...

Страница 40: ...t is displayed read the agreement and click Yes A screen asking whether or not you want to install Adobe Reader is displayed Adobe Reader is required to read the OLYMPUS Master instruction manual To i...

Страница 41: ...3 Double click the Installer icon The OLYMPUS Master installer starts up Follow the on screen instructions When the OLYMPUS Master licensing agreement is displayed read the agreement and click Continu...

Страница 42: ...a is recognized by the computer Windows When you connect the camera to the computer for the first time the computer attempts to recognize the camera Click OK to exit the message that is displayed The...

Страница 43: ...efore the main menu Enter your Name and OLYMPUS Master Serial Number and select your region After the User Information dialog box the Registration dialog box is displayed Follow the prompts and fill i...

Страница 44: ...layed All the images in the camera are displayed 3 Select the image files and click Transfer Images A window indicating that the download is complete is displayed 4 Click Browse images now The downloa...

Страница 45: ...ayed 3 When a message is displayed saying that the hardware can be ejected safely click OK Macintosh 1 The trash icon changes to the eject icon when the Untitled or NO_NAME icon on the desktop is drag...

Страница 46: ...yed 2 Click the playback button at the bottom of the screen to play back the movie The names and functions of the controller parts are shown below Viewing still pictures and movies Item Description 1...

Страница 47: ...hoto Print window is displayed 3 Click Settings in the Photo Print window The printer settings screen is displayed Make the necessary printer settings 4 Select a layout and size To print the date and...

Страница 48: ...ac OS 9 0 to 9 2 X Note If the computer is running Windows 98SE you will need to install the USB driver Before connecting the camera to the computer with the USB cable double click the files from the...

Страница 49: ...ly turns off the lens retracts and the monitor turns off And when the camera is turned on with playback mode the camera does not switch to sleep mode and the camera will turn off automatically when it...

Страница 50: ...f the focus is locked In these cases focus focus lock on an object with high contrast at the same distance as the intended subject recompose your shot and then take the picture If the subject has no v...

Страница 51: ...lash in this type of situation Set the camera to h mode The sensitivity of the CCD increases automatically you can hold the camera and take pictures in darker places with the flash off g SCN Scene Sho...

Страница 52: ...metimes using the flash may not produce the brightness exposure that was intended g OF button Changing picture brightness P 11 Set the flash to to activate fill in flash You can shoot a subject agains...

Страница 53: ...rd is inserted in the camera Pictures in the internal memory can be copied to the card using the BACKUP function g BACKUP Copying pictures in the internal memory to the card P 23 The card P 64 Number...

Страница 54: ...d on with shooting mode Lit green Camera turned on with playback mode Off Power is off Blinking in red A picture is being recorded the camera is reading a movie or images are being downloaded when con...

Страница 55: ...elp determine the optimal image quality when shooting To print large images on full size paper To edit and process images on a computer SHQ or HQ To print postcard size images SQ1 To send as an e mail...

Страница 56: ...you are using Internet Explorer to view a picture with an image size of 2 048 1 536 at 100 the entire picture cannot be viewed without scrolling There are several ways you can view the entire picture...

Страница 57: ...available memory and cannot store any new data Replace the card or erase unwanted data Before erasing download important pictures to a computer L NO PICTURE There are no pictures in the internal memor...

Страница 58: ...here is no paper in the printer Load some paper in the printer NO INK The printer has run out of ink Replace the ink cartridge in the printer JAMMED The paper is jammed Remove the jammed paper SETTING...

Страница 59: ...to the table below Functions available in shooting modes Functions available in shooting modes and scenes Shooting mode Function K A P h i Q R R 9 9 9 9 Y 9 Flash 9 Zoom 9 9 SCN 9 F 9 RESET 9 IMAGE QU...

Страница 60: ...shutter is open shutter speed and the amount of light that passes through the lens aperture Image size The size of an image expressed by the number of pixels that make up the image For instance a pict...

Страница 61: ...uire millions of pixels Program auto AlsocalledProgramAEmode Thecamera automaticallysetsthebest shutter speedand aperture for the shot Sleep mode A mode designed to save battery life The camera automa...

Страница 62: ...al blower then wipe gently with a lens cleaner Battery Charger Wipe gently with a soft dry cloth Note Do not use strong solvents such as benzene or alcohol or chemically treated cloth Mold may form on...

Страница 63: ...amera is connected to a computer or printer Using an exhausted battery may cause the camera to turn off without displaying the battery level warning The rechargeable battery is not fully charged at th...

Страница 64: ...ordable pictures can be increased by using a card with a larger capacity 1 Index area You can use this space to write the contents of the card 2 Contact area The part where the data transferred from t...

Страница 65: ...hown in the illustration Insert the card straight in Insert the card until it clicks into place Removing the card 3 Push the card all the way in and release slowly The card protrudes slightly and stop...

Страница 66: ...ny other AC adapter with this camera Note Do not remove or load the battery or connect or disconnect the AC adapter while the camera is turned on Doing so could affect the camera s internal settings o...

Страница 67: ...essing the shutter release button to make sure that it is operating normally Always observe the operating environment restrictions described in the camera s manual When taking pictures against strong...

Страница 68: ...color and brightness This is not a malfunction Olympus makes no representations or warranties regarding any damages or benefit expected by using this unit lawfully or any request from a third person...

Страница 69: ...and found to comply with the limits for a Class B digital device pursuant to Part 15 of the FCC Rules These limits are designed to provide reasonable protection against harmful interference in a resi...

Страница 70: ...ard 18 23 64 CCD 24 60 Close up playback 11 Compression 17 Connector cover 25 27 42 CUSTOM PRINT 29 D Date and time X 24 DCF 60 DC IN jack 66 Digital zoom 10 D IMAGE STABILISATION h 19 Direct printing...

Страница 71: ...ayback mode q 8 9 11 20 Playback on a TV 25 Playing time 21 PORTRAIT i 19 POWER button 8 Power Card access lamp 8 42 44 54 66 PRINT ORDER 22 29 33 PROGRAM AUTO P 19 61 Protect 0 20 R Recording movie n...

Страница 72: ...72 T TFT 61 Top menu 14 Total recording time 21 U USB cable 27 37 42 48 USB driver 38 48 V VIDEO OUT 25 VOLUME 24 X xD Picture Card 17 18 64 Z Zoom 10 Zoom bar 10 Zoom button 10 11...

Страница 73: ...40 23 07 61 Goods delivery Bredowstrasse 20 22113 Hamburg Germany Letters Postfach 10 49 08 20034 Hamburg Germany European Technical Customer Support Please visit our homepage http www olympus europa...

Отзывы: