Teardown, Cleaning, and Reassembly of the Miscellaneous Parts of the Olympus BH-2 Microscope Frames
Revision 1
Page 24 of 45
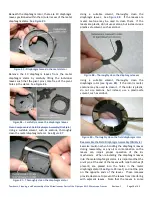
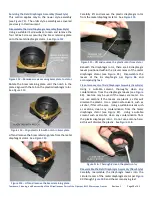
Beneath the diaphragm rotor, there are 10 diaphragm
leaves positioned within the circular recess of the metal
diaphragm stator. See
Figure 85
–
Diaphragm leaves in the metal stator
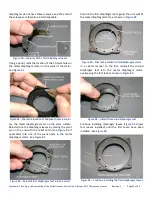
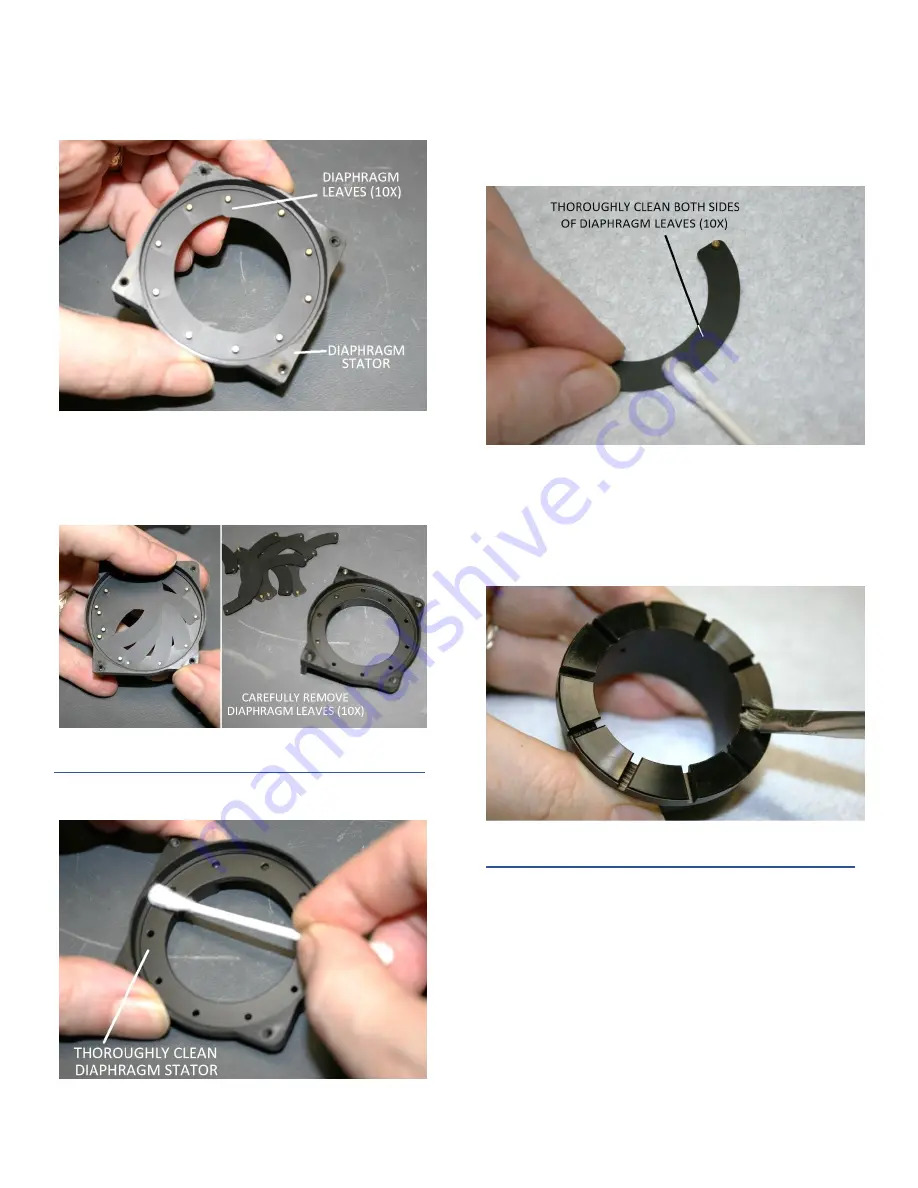
Remove the 10 diaphragm leaves from the metal
diaphragm stator by carefully lifting the individual
leaves such that the pivot pins come free of the pivot
holes in the stator. See
Figure 86
–
Carefully remove the diaphragm leaves
Clean Components of Field Diaphragm Assembly (Old Style)
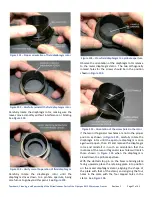
Using a suitable solvent, such as acetone, thoroughly
clean the metal diaphragm stator. See
Figure 87
–
Thoroughly clean the diaphragm stator
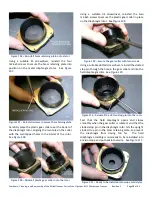
Using a suitable solvent, thoroughly clean the
diaphragm leaves. See
. If the leaves are
metal, acetone may be used to clean them. If the
leaves are plastic, do not use acetone, but instead, use a
plastic-safe solvent, such as alcohol.
Figure 88
–
Thoroughly clean the diaphragm leaves
Using a suitable solvent, thoroughly clean the
diaphragm rotor (see
). If the rotor is metal,
acetone may be used to clean it. If the rotor is plastic,
do not use acetone, but instead, use a plastic-safe
solvent, such as alcohol.
Figure 89
–
Thoroughly clean the field diaphragm rotor
Reassemble the Field Diaphragm Assembly (Old Style)
Exercise caution when handling the diaphragm leaves
during reassembly, as any oil or contamination on the
leaves can impair proper operation of the iris
mechanism. When reinstalling the diaphragm leaves
into the metal diaphragm stator, it is important that the
pivot pin at the end of the leaves with relief notches (if
present) are placed into the holes in the metal
diaphragm stator (See
on the opposite ends of the leaves. These recesses
provide clearance to prevent the leaves from interfering
with adjacent leaves. Note that the leaves in some


