T W O C O R P O R A T E C E N T E R D R I V E
M E L V I L L E , N Y 1 1 7 4 7 - 3 1 5 7
D I G I T A L T E C H N I C A L S U P P O R T
C O N S U M E R P R O D U C T S G R O U P
( 8 8 8 ) 5 5 3 - 4 4 4 8
h t t p : / / s u p p o r t . o l y m p u s a m e r i c a . c o m
Olympus America Inc.
Page 3 of 9
Last updated on 11/20/02
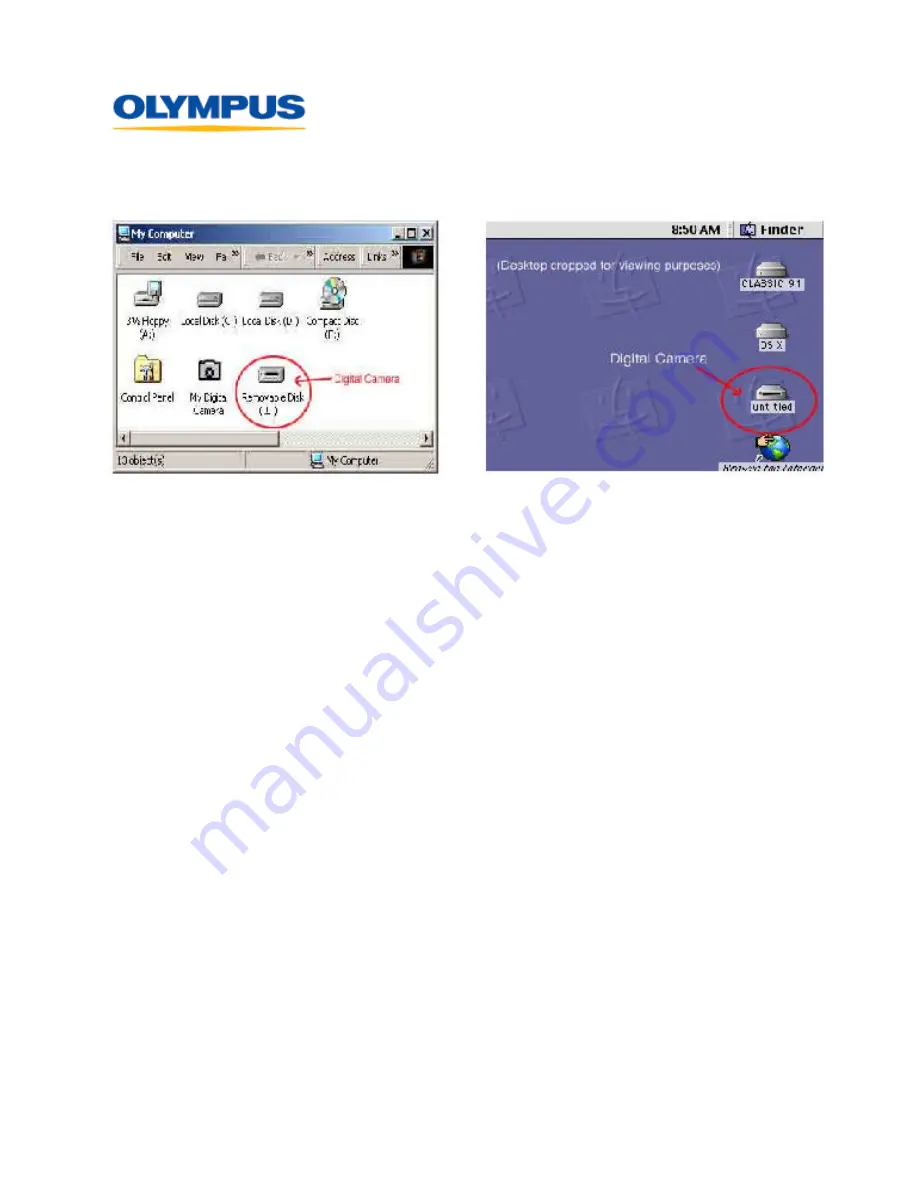
(Fig. A – Windows)
(Fig. B - Macintosh)
3)
Double-click on the camera’s disk drive icon, then the “DCIM” folder, and then the
“100OLYMP” folder. The pictures will be located in this folder. To copy the pictures, start
by selecting the desired pictures. To select a single picture, single-click on the desired
filename. To select multiple pictures, hold down the <Ctrl> key (or the <Shift> key on a
Macintosh) and click on the desired filenames. To select all pictures, go to Edit > Select All.
4)
Drag-and-drop the pictures to the desired folder on the computer hard disk or other storage
device. Please refer to your operating system or computer user’s guide for instructions on
creating a new folder.
Downloading pictures using the Olympus Camedia Master 4.0 program
The Camedia Master 4.0 program that is included with Olympus digital camera models allows
you to view, edit, and print your pictures. You can use Camedia Master 4.0 to download pictures
from your USB Auto Connect camera by following the diagram and procedure below:
1)
Choose
From Camera
to connect to the digital camera.


