


Toll Free 1-888-658-1658 www.outdoorlivingtoday.com [email protected]
Page 12
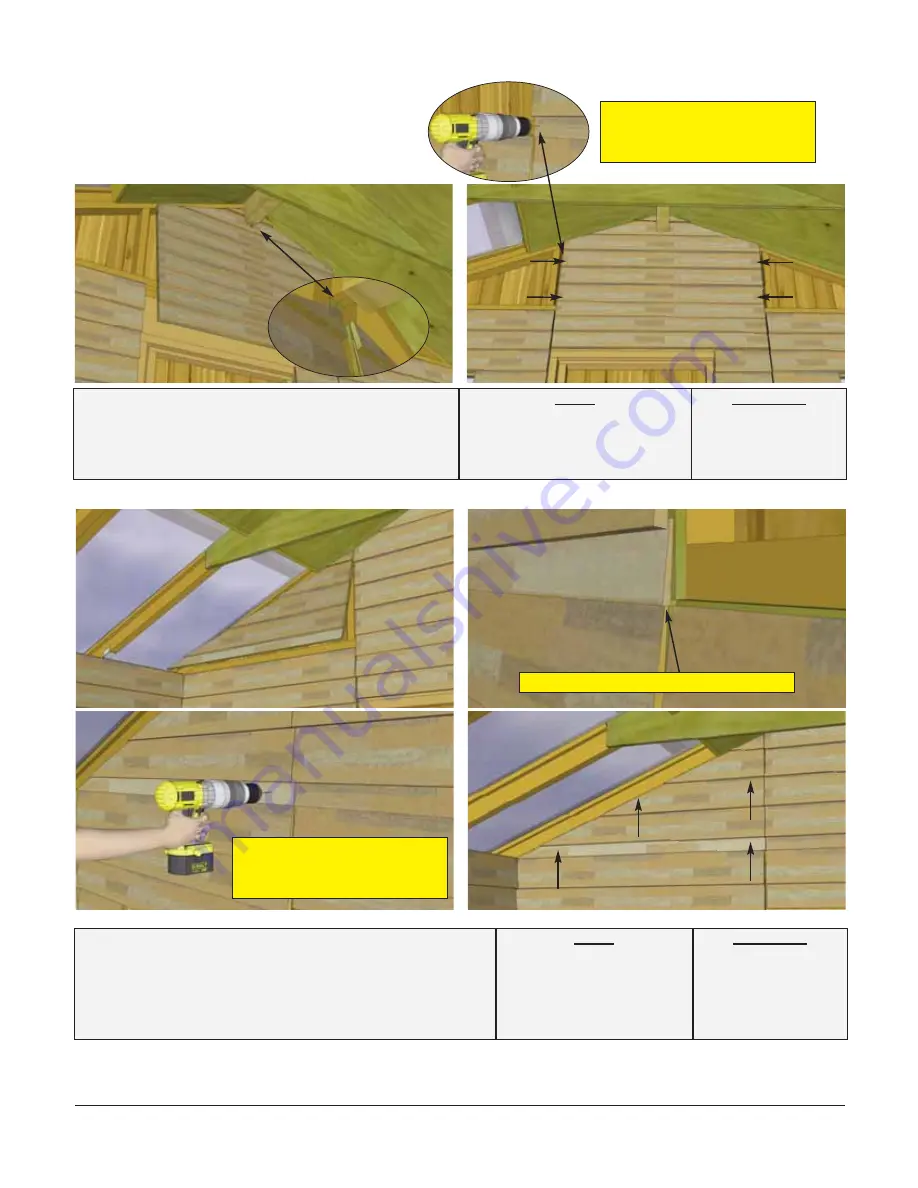
23.
Lift up Front Center Gable Panels and slide
notch up against roof Ridge Board. Once Gable
Panel is aligned correctly, attach to gable framing
with
4 - 1 1/4” screws
.
Hardware
S2
- 1 1/4” Screws
x 4 total
Parts
10B - Front Gable Center
Panel
(45 1/4” x 35 5/8”)
x 1
Pre-drill siding with 1/8” drill
bit before attaching Gable
Panel.
24.
Locate Front Gable Panel Left and position in
front corner against gable framing. When positioned
correctly, gable siding will overhang window wall siding
with plywood backing pushed tight together. Attach
with
4 - 1 1/4” screws
.
Hardware
S2
- 1 1/4” Screws
x 4 total
Parts
11B - Front Gable Left
Panel
(44 3/4” x 18 1/16”)
x 1
Gable siding overhangs wall siding.
Pre-drill siding with 1/8” drill
bit before attaching Gable
Panel.


