CHAPTER 1
12
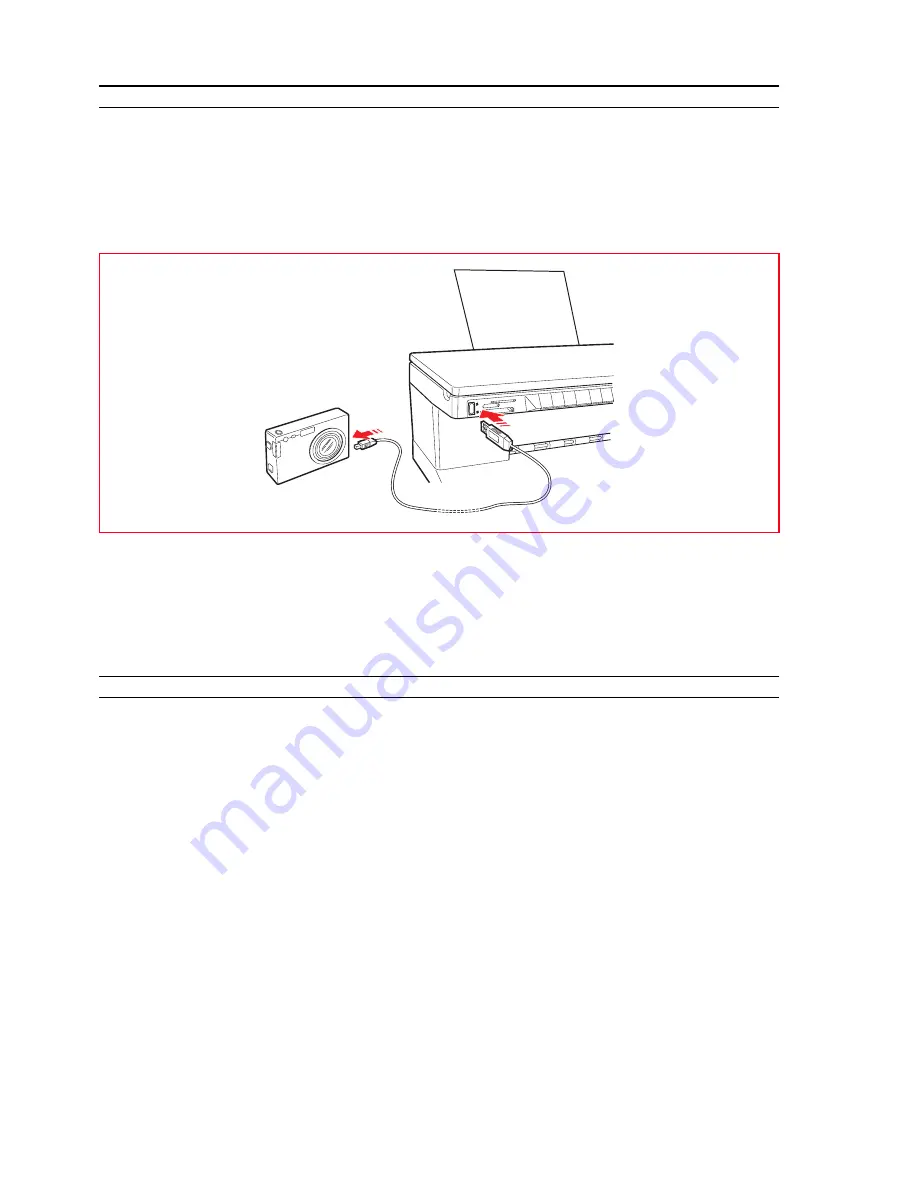
CONNECTING A DIGITAL CAMERA TO YOUR PRINTER
1
Turn on your digital camera. Read your camera’s User’s Guide for more information.
2
With your printer powered on, plug one end of the digital camera’s USB cable to the USB connector on
the camera and the other end to the USB connector on the printer front panel.
note:
When you connect a PictBridge digital camera to your printer, only the print icon on the front
panel will turn off to indicate that printing will be controlled directly from the digital camera. Read your
camera’s User’s Guide for instructions on how to print your photos.
The USB status LED illuminates to indicate that a digital camera is connected.
note:
If the printer does not recognise the camera connected, the USB status LED will not illuminate.
Make sure that you have connected a compatible device.
INSERTING AND REMOVING MEMORY CARDS
After taking pictures with your digital camera, you can remove the memory card where the pictures
taken are stored and insert it into your printer so that you can view and print them. Your printer can
read the following memory storage devices: Compact Flash I, II, Microdrive, SmartMedia, SecurDigital
and MultiMedia cards, Memory Sticks (Duo, Pro, Magic Gate) and xD-Picture cards.
note:
Adaptors for reading Mini SD and MS Pro memory cards can be purchased separately.
Your printer can recognize and print the following file formats stored on the memory cards: DCF, JPEG,
Extif and DPOF.
Inserting a Memory Card
Before proceeding to insert the memory card into its related slot, follow these insertion guidelines
according to the card that you are using:
•
When inserting a CompactFlash card, make sure that the label is facing upward (if the label has an
arrow it needs to be pointing towards the printer) with the metal pinholes entering the printer first.
•
When inserting a Multimedia and SecureDigital cards, make sure that the angled corner is on the
right and the metal contacts are facing downward.
•
When inserting a SmartMedia card or a Memory Stick, make sure that the angled corner is on the
left and the metal contacts are facing downward.
Содержание Photo Wireless Any_Way
Страница 1: ......
Страница 8: ...CHAPTER 1 4 LOCATING YOUR PRINTER S COMPONENTS...
Страница 18: ...CHAPTER 1 14...
Страница 38: ...CHAPTER 4 34...
Страница 46: ...CHAPTER 5 42...
Страница 52: ...CHAPTER 6 48...
Страница 55: ...Code 257657 M 01...


