Construction Manual
www.oldschoolmodels.com
Page 11
Step 53 - Wing Assembly (join wing halves)
Test fit the wing halves together one last time and sand as necessary
for a good fit.
After test fitting, join the wing halves permanently with 30 minute
epoxy. Remove the dihedral brace and apply the epoxy into the
pockets in each wing half and also coat the faces of each root rib.
Slide all the dihedral brace into one of the wing halves, then slide
remaining wing half in place. Using a couple of clamps (or tape),
hold wing halves firmly together. Wipe off any excess epoxy and
remove the clamps only after the epoxy has fully cured.
Remember, any twist in the alignment of the panels cannot be
fixed after the epoxy cures and will lead to a poor flying model.
This completes assembly of the Kaos 60 wings.
Now it’s time to start construction of the tail surfaces.
Prepare your work area
Now tape the elevator/stab plan and a fresh piece of waxed paper
on your building board.
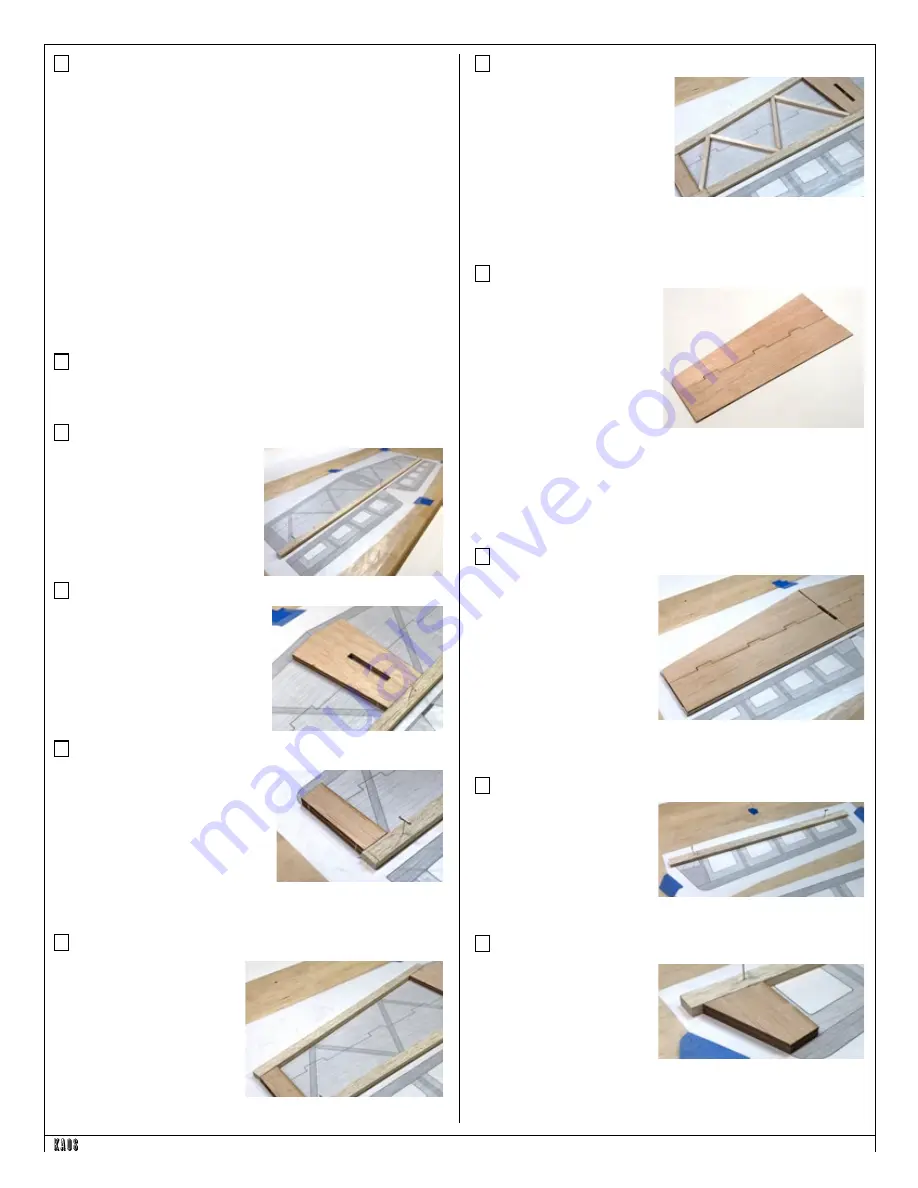
Step 54 - Horizontal Stab Assembly (trailing edge)
Locate a 1/4” x 1/2” x 36" balsa
strip, measure and cut a piece
to form the trailing edge of the
horizontal stab as shown on the
plans. Pin this piece in position,
using a straight edge to make sure
it's straight along it's entire length.
Step 55 - Horizontal Stab Assembly (S1)
Locate both S1s from BP1.These are
glued to the trailing edge as noted
on the plans.
Glue one S1 in place first, then the
other S1 on top, making sure they
are perfectly aligned.
Step 56 - Horizontal Stab Assembly (S2)
Locate four S2s from BP1 and BP2.
These are glued to the outer edges
of the trailing edge, two on each
side.
Glue one S2 in place first, then the
other S2 on top , making sure they
are perfectly aligned.
Then do the same for the opposite
end.
Step 57 - Horizontal Stab Assembly (leading edge)
Next is to cut and install the
leading edge pieces. Check
your scrap pile to see if you
have the proper length first,
but if not, use an uncut length
of 1/4” x 1/2” x 36" balsa strip.
Glue these in position.
Step 58 - Horizontal Stab Assembly (internal bracing)
Locate a length of 1/4" square
balsa stick. Use this to cut the 8
internal brace pieces, 4 on each
side. Take some extra time to get
the angles correct to help the
glue do it's job.
Carefully run a sanding block
over this framing assembly to make sure it's perfectly flat.
Step 59 - Horizontal Stab Assembly (outer sheeting)
Locate four ES1 and four ES2
from BP8. An ES1 and ES2 are
glued together to form a half
sheet as shown here.
These pieces will properly only
fit together one way.
When edge gluing the
sheeting pieces together, first
make sure the edges fit first.
When the adhesive is applied, place the sheeting on the waxed
paper, so that it’s flat (as shown in the photo). Hold it flat with a
weight until it's cured to make sure it stays flat. When cured, you’ll
now have a single piece of sheeting.
Do this 3 more times to create 4 sheeting halves.
Step 60 - Horizontal Stab Assembly (outer sheeting)
Take two of the sheeting
halves from the previous
step and glue them to the
top of the elevator framing.
When cured, remove the
assembly, flip it over and
give the open framework a
quick sand just as you did
before.
Then apply the remaining two sheeting halves to complete the
elevator.
Step 61 - Elevator Assembly (outer sheeting)
Next is to cut and install the
leading edge pieces of the
elevator. Check your scrap
pile to see if you have the
proper lengths first, but if
not, use an uncut length of
1/4” x 1/2” x 36" balsa strip. Pin these in position.
Step 62 - Elevator Assembly (S3)
Locate four S3s from BP1
and BP2. These are glued
to the inner edges of the
leading edge, two on each
side.
Glue one S3 in place first,
then the other S3 on top ,
making sure they are perfectly aligned.
Then do the same for the other elevator half.


