


6.
Now press the “
Item
” button ten times making sure that you w
ait at least 2 seconds for it to finish
printing that line before you hit the next button
, until it prints the following line:
Set-Up
Auto Select
No
7.
Press the “
Set
” button and it will print the same line as above but it will now say “
Yes
” in the right
column.
8.
Finally, hold down the “
Shift
” button, then press the “
Menu
” button, and then release them both. The
menu light should now be turned off. Press the “
Park
” button and completely remove the paper from
the printer.
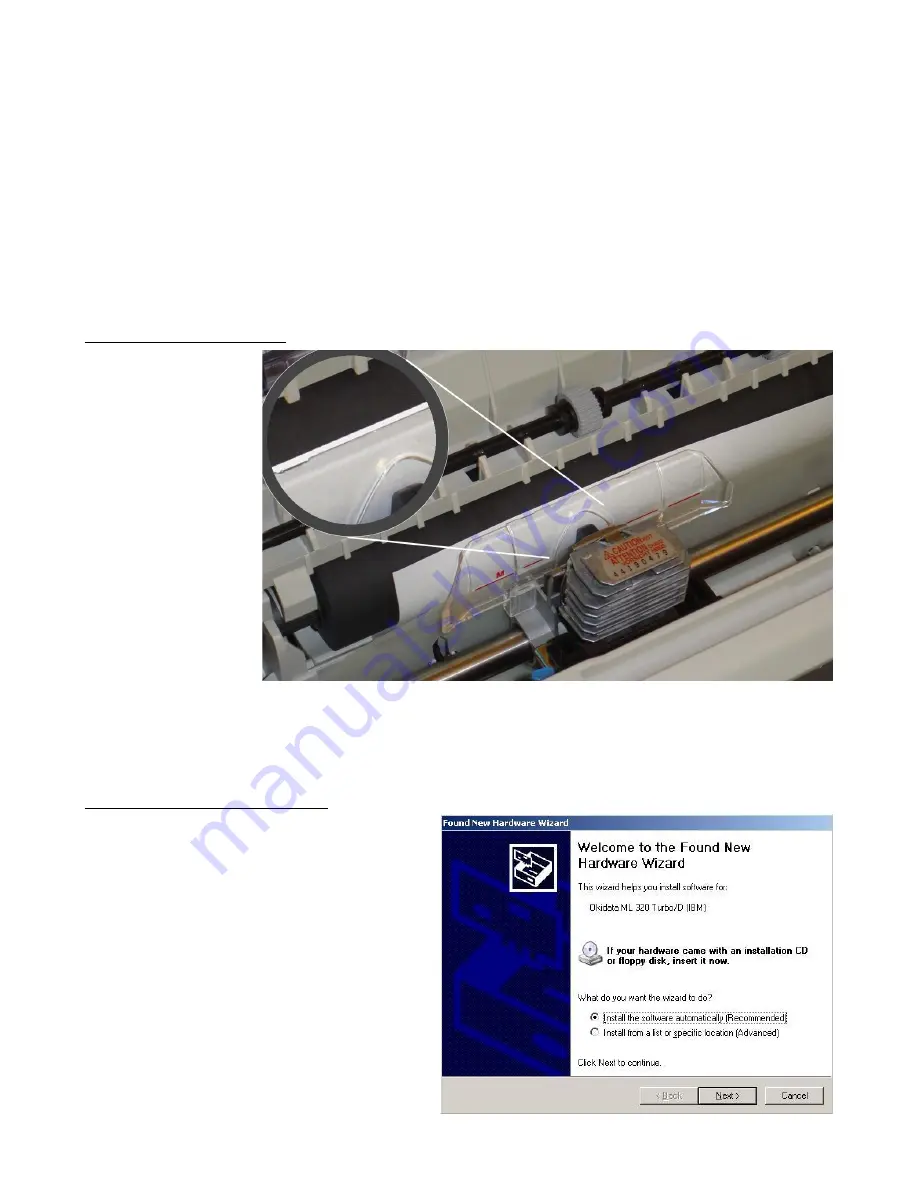
Aligning the Feed Length
Place that same
piece of paper back into
the printer. Notice the
plastic guard that holds
the paper against the
roller. The paper will be
protruding about half an
inch above that guard.
Hold the “
Shift
” button
and then hold down the
“
Micro Feed Down
”
button until the paper has
moved down to the top of
the plastic guard. Adjust
the paper so it is just
barely above the plastic
guard as shown in the
diagram (approximately 1/16
th
of an inch). If you go too far down, hold the “
Shift
” button and then tap the
“
Micro Feed up
” button. It is recommended that you press park and remove the paper and put it back in a few
times to make sure that the paper is loading in the same place every time. If you notice that the paper loads in
different places, you may need to clean or replace the black roller because it is not gripping the paper properly.
Installing the Windows Driver:
When the printer is first plugged into the
computer Windows may bring up a driver installation
dialog box like the one on the right. Click the Next
button after each window, until it says “Finish”, then
click Finish. This installs the default windows driver.
You will never need a driver disk for this printer. The
drivers are already built into all major Windows
versions.


